
Related Manuals for Velleman K8084


Summary of Contents for Velleman K8084
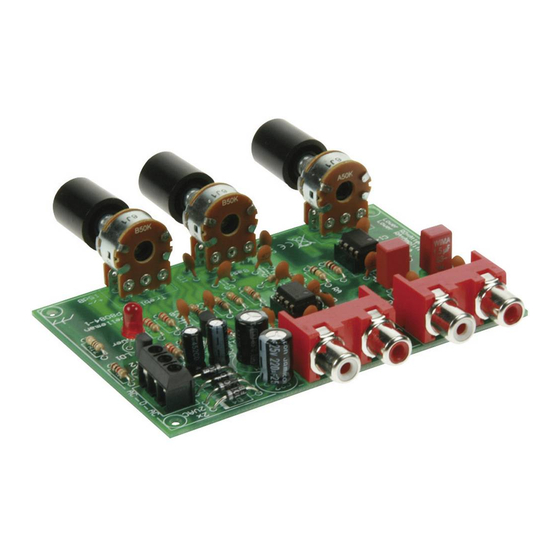
- Page 1 Total solder points: 162 Difficulty level: beginner 1 advanced VOLUME AND TONE CONTROL - PREAMPLIFIER K8084 ILLUSTRATED ASSEMBLY MANUAL H8084IP-1...
- Page 2 Features & specifications When using one of our amplifiers (big or small), you always need a volume control and preferably also a tone control. This kit comes complete with all input / output connections and potentiometers. Furthermore it is possible to amplify or attenuate the input signal. FEATURES: stereo volume control stereo Baxandall bass and treble control...
- Page 3 Assembly hints 1. Assembly (Skipping this can lead to troubles ! ) Ok, so we have your attention. These hints will help you to make this project successful. Read them carefully. 1.1 Make sure you have the right tools: • A good quality soldering iron (25-40W) with a small tip.
- Page 4 Assembly hints 1.3 Soldering Hints : 1- Mount the component against the PCB surface and carefully solder the leads 2- Make sure the solder joints are cone-shaped and shiny 3- Trim excess leads as close as possible to the solder joint REMOVE THEM FROM THE TAPE ONE AT A TIME ! AXIAL COMPONENTS ARE TAPED IN THE CORRECT MOUNTING SEQUENCE !
- Page 5 Construction 1. Zenerdiodes. Watch the Hint for R2 and R4: R16 : 10K (1 - 0 - 3 - B) R17 : 10K (1 - 0 - 3 - B) polarity ! To weaken the input (divide) R18 : 10K (1 - 0 - 3 - B) R19 : 10K (1 - 0 - 3 - B)
- Page 6 Construction 4. IC sockets, Watch the 7. Transistors C11 : 47nF (473) position of the notch! C12 : 47nF (473) T1 : BC547 C13 : 47nF (473) T2 : BC557 IC1 : 8p C14 : 47nF (473) IC2 : 8p C15 : 47nF (473) C16 : 47nF...
- Page 7 Construction 10. Dual RCA Jacks 12. Test Connect a 2 x 12V / min. 100mA transformer with power connector SK2 : input SK1 (e.g. our 212007C). This is a 2 x 12V 3-wire transformer, 1 wire is SK3 : output the common 0 and generally of another colour.
- Page 8 Test Connect the mains voltage to the transformer; mount a 100mAT security fuse in series with the transformer. Use a high-quality power cord and plug for the connection to the mains. When the transformer is live, the LED will light. Disconnect from mains.
- Page 9 Enclosure 13. Building into a enclosure To avoid hum, it is recommended to mount the K8084 and the transformer into a Metal housing. Drill the holes for the connections and the potentiometers. Hint:You can drill the holes for the knobs or the potentiometers and mount the knob afterwards.
- Page 10 14. PCB...
- Page 11 diagram 15. Schematic diagram BC547 1N4007 Power LED AC 2 x 12V 1N4007 LED5RL SCREW03 1N4007 1N4007 BC557 50KLin RV3A SK2A 100nF 100nF In L SK3A RV1A Out L IC1A IC2A 50Klog 100K TL072 TL072 100p 100nF 47nF 47nF 100nF Lower RD for input devide RV2A 50KLin...
- Page 12 VELLEMAN Components NV Legen Heirweg 33 9890 Gavere Belgium Europe www.velleman.be www.velleman-kit.com Modifications and typographical errors reserved © Velleman Components nv. H8084IP - 2007 - ED1 (rev.1.0) 5 4 1 0 3 2 9 3 7 4 4 7 1...
Need help?
Do you have a question about the K8084 and is the answer not in the manual?
Questions and answers