
Subscribe to Our Youtube Channel
Related Manuals for Truma CP 25-UK


Summary of Contents for Truma CP 25-UK
- Page 1 CP 25-UK Operating instructions Page 2 Installation instructions Page 8 To be kept in the vehicle!
-
Page 2: Table Of Contents
CP 25-UK Table of contents Operating instructions Operating instructions Please be sure to read the instructions for installation Symbols used ................ 2 and use before attempting to connect and use this Safety instructions ............2 device! Intended use ................3 Initial operation or activation after a power cut .... -
Page 3: Intended Use
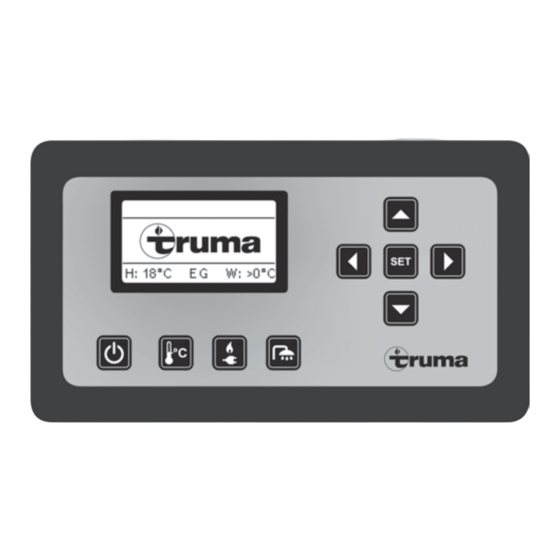
Intended use Room temperature: Display on when the heater is active The CP 25-UK is a digital operating / display and control unit Timer: Display on when the timer is active for the Combi 4 E / 6 E. -
Page 4: On / Off
In manual mode, the heater is controlled via the 4 keys set values below the display. – It is not necessary to set the time because the Truma logo Selection key downwards to select functions or is shown in the display instead of the time. set values A pre-selection between summer / winter operation must be made via the setup. -
Page 5: Energy Selection
Energy selection Water temperature When the menu is selected the yellow LED shines. When the menu is selected the yellow LED shines. During the heating-up phase, the set water temperature flash- Depends on summer / winter operation (see setup) es in the main screen. –... -
Page 6: Setup
Set timer 2 Setup Back (Return to main screen) Start (Set start time) In the main screen display you can enter the setup Stop (Set stop time) menu via the setup key. Water (Set water temperature) Temp (Set room temperature) The following settings can be made: The timer settings can be made every day until the Back... -
Page 7: Technical Data
Cutout dimensions not react 165 x 90 mm Weight If these measures do not rectify the problem, please contact 170 g the next Truma Service point (see Truma service book or www.truma.com). The right to effect technical modifications is reserved! -
Page 8: Installation Instructions
– Connect the cable (TIN-Bus) to the display and lead toward Installation instructions the heater. – Connect the 12 V plug and connect with the 12 V operating voltage. Secure the plus cable with a 1 A fuse. The installation in the vehicle must comply with the technical –... - Page 9 – Press the frame of the panel until it clicks into position. The right to effect technical modifications is reserved!
- Page 12 In Germany, always notify the Truma Service Centre if problems are encountered; in other countries the relevant service should be contacted (see Truma Service Booklet or www.truma.com). Having the equipment model and the serial number ready (see type plate) will speed up processing.
Need help?
Do you have a question about the CP 25-UK and is the answer not in the manual?
Questions and answers