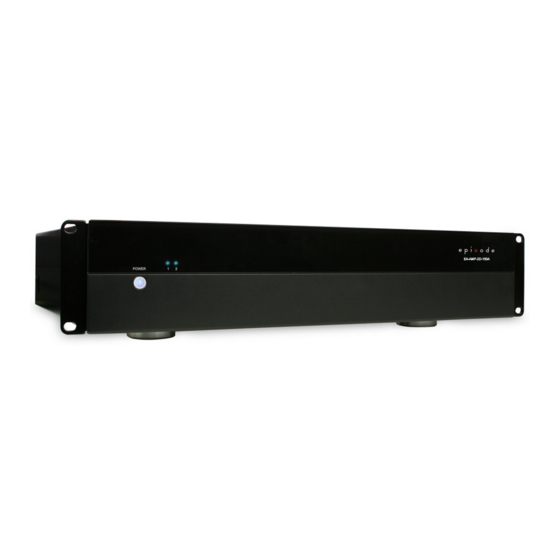
Summary of Contents for Episode EA-AMP-2D-150A
- Page 1 Two-Channel, Class D, OWNER’S MANUAL >> 150 Watt Amplifier EA-AMP-2D-150A 2 CHANNEL...
-
Page 2: Important Safety Instructions
IMPORTANT SAFETY INSTRUCTIONS WARNING: To reduce the risk of fire or electric shock, do not expose this apparatus in or near rain or moisture. 1. Read the following instructions carefully. 2. Keep manual for future reference. 3. Heed all warnings. 4. -
Page 3: Power Mode
RACK-MOUNTABLE Each Episode amplifier includes an accessory package of rack ‘ears’ that may be attached to the amplifier. The amplifier feet can be easily removed for clean rack mounting. The amplifier chassis and rack ears are NOT designed to support anything other than the amplifier. -
Page 4: Rear Panel Features
REAR PANEL FEATURES 1. LOOP OUT Allows Line In inputs to be sent to other amplifiers 2. LEVEL Master Gain Control for the amplifier 3. BRIDGED SWITCH Easily couple both channels together for increased power NOTE: Maintain an 8 ohm minimum when using bridge mode. 4. -
Page 5: Installation - Getting Connected
POSITIONING YOUR EPISODE AMPLIFIER Episode amplifiers are designed to help deliver a great audio experience that makes your music come alive for years to come. However, where you place the amplifier can have a large effect on the performance that you receive and the life of the unit. -
Page 6: Verifying Phase
VERIFYING PHASE When proper polarity is not maintained, the speakers play at the opposite ‘time’ from each other, this is known as out of phase. The result is audio with lack of bass and vocals that sound thin or distant. If during or after calibrating your receiver you suspect the sound is not right and you cannot see any markings on the wire to verify polarity is correct, try this simple test: 1. -
Page 7: Power Connection
One great use for this feature is to limit the volume level. Be sure to set the volume at a level that does not clip or cause distortion when the volume is at the maximum level. This can cause damage to the speakers and the amplifier. pg.7 © 2012 Episode... - Page 8 EPISODE MULTI-ROOM INSTALLATION ® OUTPUT CD PLAYER RECEIVER OUTPUT INPUT INPUT INPUT OUTPUT IPOD OUTPUT DVD PLAYER Note: Maintain a minimum 4 ohm load when connecting multiple speakers ROOM 1 ROOM 2 pg.8...
- Page 9 EPISODE BRIDGED MODE APPLICATION ® RECEIVER OUTPUT Note: Maintain a minimum 8 ohm load when using Bridged Mode pg.9 © 2012 Episode...
-
Page 10: Troubleshooting
TROUBLESHOOTING •Power cable to the amplifier is incorrectly connected or plugged into an outlet that does not have power. No audio from Check connections and verify power on the outlet. any channel. •Audio cable to the source component is not connected properly, input or the cable is defective. Check connections or replace cable with one that has been verified as good. -
Page 11: Specifications
Products to be repaired under this warranty must be returned to SnapAV or a designated service center with prior notification and an assigned return authorization number (RA). pg.11 © 2012 Episode... - Page 12 111221 © 2012 Episode...


Need help?
Do you have a question about the EA-AMP-2D-150A and is the answer not in the manual?
Questions and answers