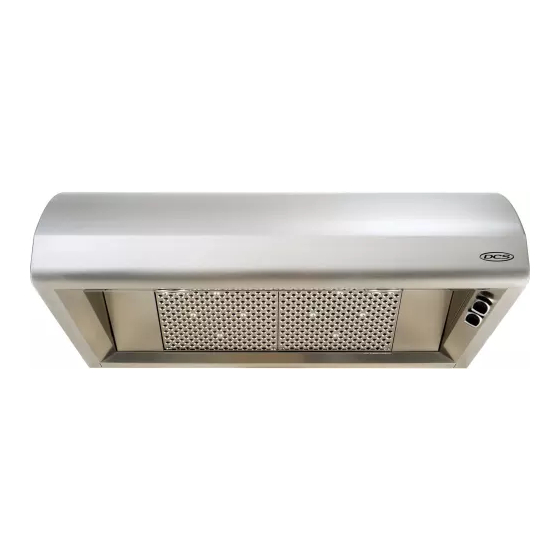
DCS EH-30SS Installation Manual
The professional euro vent hood
Hide thumbs
Also See for EH-30SS:
- Installation manual (16 pages) ,
- Use and care manual (11 pages) ,
- Use and installation manual (18 pages)
Table of Contents
Advertisement
Quick Links
Advertisement
Table of Contents

Related Manuals for DCS EH-30SS


Summary of Contents for DCS EH-30SS
- Page 1 THE PROFESSIONAL EURO VENT HOOD Installation Manual MODELS EH-30SS EH-36SS...
- Page 2 A MESSAGE TO OUR CUSTOMERS Thank you for selecting this DCS Updraft Euro Hood. Because of its unique features, we have developed this Installation Guide. It contains valuable information on how to properly install and maintain your new Updraft Euro Hood for years of safe and enjoyable service.
-
Page 3: Table Of Contents
TABLE OF CONTENTS SAFETY PRACTICES & PRECAUTIONS .......................3 SPECIFICATIONS .................................4 PLANNING THE INSTALLATION ..........................5 INSTALLATION INSTRUCTIONS ........................6-10 Tools Needed ................................6 Standard Installation Dimensions and Ceiling Height Variances ............7 Calculate Duct Run Length..........................8 Wall Preparation..............................8-9 Installing Euro Hood ............................9-10 Optional Ductless Installation Kits .........................10 WIRING DIAGRAM ................................11 HOW TO OBTAIN SERVICE... -
Page 4: Safety Practices & Precautions
SAFETY PRACTICES & PRECAUTIONS This Euro Hood system is designed to remove smoke, cooking vapors and odors from the cooktop area. WARNING ALL WALL AND FLOOR OPENINGS WHERE THE Euro Hood IS INSTALLED MUST BE SEALED. Consult the cooktop or range installation instructions given by the manufacturer before making any cutouts. -
Page 5: Specifications
SPECIFICATIONS 3 /4 " 1 /2 " 7 /8 " min. 7 /8 "max. " 7 /16 " 5 /16 " 7 /8 " - " Hood 1 /2 " 7 /8 " - " Hood FIG.01 Hood with optional Chimney Mounting Screw (provided) 7 /8"... -
Page 6: Planning The Installation
PLANNING THE INSTALLATION VENTING REQUIREMENTS Determine which venting method is best for your application. Ductwork can extend either through the wall or the roof. The length of the ductwork and the number of elbows should be kept to a minimum to provide efficient performance. The size of the ductwork should be uniform. Do not install two elbows together. -
Page 7: Tools Needed
PLANNING/INSTALLATION INSTRUCTIONS WARNING To reduce the risk of fire or electric shock, DO NOT use this fan with any solid state speed control device. CAUTION For General Ventilating Use Only. Do Not Use To Exhaust Hazardous or Explosive Materials and Vapors. TOOLS NEEDED FOR INSTALLATION PARTS SUPPLIED FOR INSTALLATION Saber Saw or Jig Saw... -
Page 8: Installation Instructions
INSTALLATION INSTRUCTIONS CABINETRY FIG.05 Euro Hood with optional chimney FIG.06 Euro Hood without optional chimney FRONT VIEW with optional chimney kit SIDE VIEW with optional chimney kit Upper Chimney Cover min 21- " max 40" Lower Chimney Cover " 5/16 19 1 /2"... -
Page 9: Calculate Duct Run Length
INSTALLATION INSTRUCTIONS CALCULATE THE DUCT RUN LENGTH The duct run should not exceed 35 feet for ducted six inch (6”) round ductwork. Calculate the length of the ductwork by adding the equivalent feet in Fig. 08 for each piece of duct in the system. An example is given in Fig. -
Page 10: Installing Euro Hood
INSTALLATION INSTRUCTIONS 5) Determine and make all necessary cuts in the wall for the ductwork. Each Euro Hood is shipped from the factory vented through the top. In order to vent to the rear, ductwork must run first vertical then elbow to the back. The dimensions for the duct openings are given in Fig. 02a and Fig. -
Page 11: Optional Ductless Installation Kits
INSTALLATION INSTRUCTIONS 10) Turn the power supply on. Turn on blower and light. The Euro Hood controls are located on the right-hand side under the canopy. If the Euro Hood does not operate, check that the circuit breaker is not tripped or the house fuse blown. If the unit still does not operate, disconnect the power supply and check that the wiring connections have been made properly. -
Page 12: Wiring Diagram
WIRING DIAGRAM 30” & 36” HOODS Slide Switches 0-1 FAN 1 2 3 SPEED 0-1 LIGHT WIRING BOX IND. LIGHT WIRE NUTS PLUG (HARNESS) LAMPS 20 W MAX. SOCKET (MOTOR) MOTOR CAPACITOR 25 u F 240 V MOTOR 120 V 60 HZ... -
Page 13: How To Obtain Service
SERVICE HOW TO OBTAIN SERVICE: For warranty service, contact DCS Customer Service at (888) 281-5698. Before you call, please have the following information ready: Model Number Serial Number Date of installation A brief description of the problem Your satisfaction is of the utmost importance to us. If a problem cannot be resolved to your... -
Page 14: Warranty
DCS to be defective. Replacement will be F.O.B. DCS, and DCS will not be liable for any transportation costs, labor costs, or export duties. This warranty shall not apply, nor can we assume responsibility for damage that might...
Need help?
Do you have a question about the EH-30SS and is the answer not in the manual?
Questions and answers