Sign In
Upload
Download
Table of Contents
Contents
Add to my manuals
Delete from my manuals
Share
URL of this page:
HTML Link:
Bookmark this page
Add
Manual will be automatically added to "My Manuals"
Print this page
×
Bookmark added
×
Added to my manuals
Manuals
Brands
Nilfisk-ALTO Manuals
Pressure Washer
POSEIDON 2-29
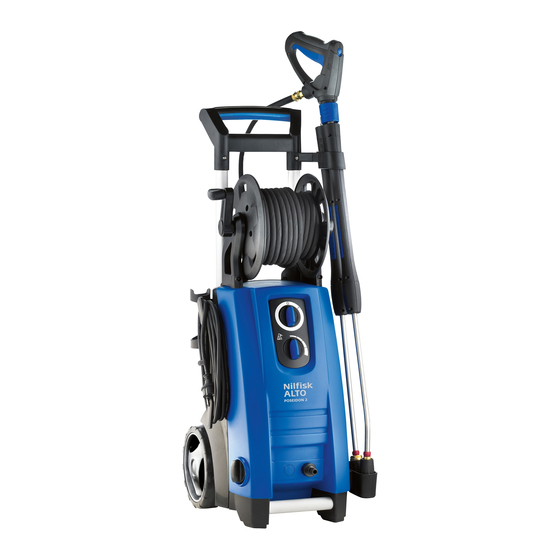
Repair manual
Nilfisk-ALTO POSEIDON 2-29 Repair Manual
Hide thumbs
1
2
3
4
5
6
7
8
9
10
11
12
13
14
15
16
17
18
19
20
21
22
23
24
25
26
27
28
Table Of Contents
29
page
of
29
Go
/
29
Contents
Table of Contents
Bookmarks
Table of Contents
Index
Safety Precautions
Technical Data
Structure
Poseidon 2, Cabinet Parts Overview
Motor/Pump Unit Overview Including Assembly Torque and Glue Specification
Service/Repair
Dismounting/Mounting of Front Cabinet
Disassembly/Assembly of Switchbox and Motor Cover
Disassembly/Assembly of the Pump
Disassembly of the Brass Connector (Inside the Outlet)
Disassembly/Assembly of Start/Stop Valve
Valve Adjusting
Micro Switch Adjustment
Control Method of Clearance after Adjustment
Check the Clearance with Your Finger
Change of Hose (Hose Reel Version)
Guidance of Measuring the Resistance of Electrical Motor
Operating Supplies
Recommended Oil Types
Recommended Lubrication
Recommended Glue
Function
Machine Stopped and Outlet Hose Emptied
Machine Operation
Machine Standby
Electric Diagram
Curcuit Diagram
Advertisement
Quick Links
1
Technical Data
2
Poseidon 2, Cabinet Parts Overview
3
Motor/Pump Unit Overview Including Assembly Torque and Glue Specification
4
Service/Repair
5
Dismounting/Mounting of Front Cabinet
6
Disassembly/Assembly of the Pump
Download this manual
POSEIDON 2-29, 2-25 & 2-22
POSEIDON 2-29, 2-25 & 2-22 XT
Repair Manual
Table of
Contents
Previous
Page
Next
Page
1
2
3
4
5
Advertisement
Table of Contents
Need help?
Do you have a question about the POSEIDON 2-29 and is the answer not in the manual?
Ask a question
Questions and answers
Related Manuals for Nilfisk-ALTO POSEIDON 2-29
Pressure Washer Nilfisk-ALTO POSEIDON 2-26 PORTABLE Operating Instructions Manual
(10 pages)
Pressure Washer Nilfisk-ALTO POSEIDON 2-19 X Instruction Manual
(11 pages)
Pressure Washer Nilfisk-ALTO ALTO P 130.1 Instruction Manual
(14 pages)
Pressure Washer Nilfisk-ALTO POSEIDON 2-26 PORTABLE Operating Instructions Manual
(12 pages)
Pressure Washer Nilfisk-ALTO POSEIDON 2-19 X Instruction Manual
(11 pages)
Pressure Washer Nilfisk-ALTO POSEIDON 2-19 X Návod Na Používanie
Nilfisk-alto pressure washer user manual (11 pages)
Pressure Washer Nilfisk-ALTO POSEIDON 2-21 XT Priručnik Za Korisnike
Nilfisk-alto pressure washer instruction manual (14 pages)
Pressure Washer Nilfisk-ALTO POSEIDON 2-21 Manual De Instrucciones
Nilfisk-alto pressure washer instruction manual (15 pages)
Pressure Washer Nilfisk-ALTO POSEIDON 2-31 User Manual
Nilfisk-alto pressure washer user manual (14 pages)
Pressure Washer Nilfisk-ALTO POSEIDON 5-54 DE User Manual
(14 pages)
Pressure Washer Nilfisk-ALTO Pressure Washers Specifications
Nilfisk-alto high pressure washers brochure (2 pages)
Pressure Washer Nilfisk Alto POSEIDON 2-26 PORTABLE Operating Instructions Manual
(13 pages)
Pressure Washer Nilfisk-ALTO POSEIDON 2-25 XT Repair Manual
(29 pages)
Pressure Washer Nilfisk-ALTO Poseidon PE Operating Instructions Manual
Nilfisk-alto high pressure washer operating instructions (17 pages)
Pressure Washer Nilfisk-ALTO Poseidon PE Operating Instructions Manual
(20 pages)
Pressure Washer Nilfisk-ALTO POSEIDON 2-22 Repair Manual
(29 pages)
This manual is also suitable for:
Poseidon 2-25
Poseidon 2-29 xt
Poseidon 2-25 xt
Poseidon 2-22 xt
Poseidon 2-22
Table of Contents
Save PDF
Print
Rename the bookmark
Delete bookmark?
Delete from my manuals?
Login
Sign In
OR
Sign in with Facebook
Sign in with Google
Upload manual
Upload from disk
Upload from URL


Need help?
Do you have a question about the POSEIDON 2-29 and is the answer not in the manual?
Questions and answers