Table of Contents
Advertisement
Quick Links
Advertisement
Table of Contents

Related Manuals for moon 330A


Summary of Contents for moon 330A
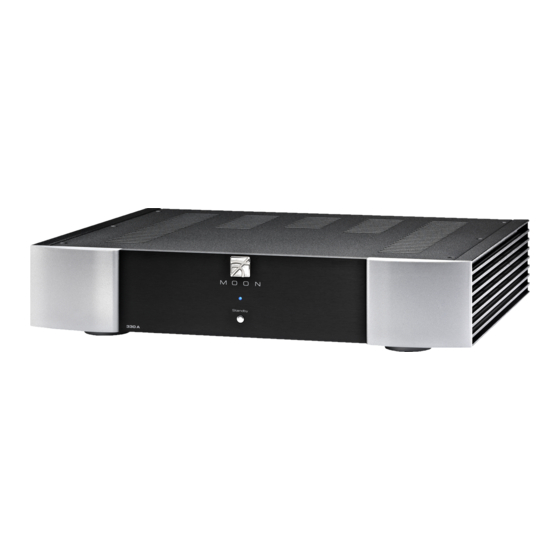
- Page 1 330A Series Power Amplifier Owner’s Manual...
- Page 2 330A Nēo Series...
-
Page 3: Important Safety Instructions
Owner’s Manual Important Safety Instructions Read these instructions. receptacles, and the point where they exit from the apparatus. Unplug mains cord during Keep these instructions. transportation. Heed all warnings. 11. Only use attachments and accessories specified by Follow all instructions. the manufacturer. - Page 4 330A, immediately disconnect it from the AC component. To completely disconnect this mains and take it to your MOON dealer for a apparatus from the AC mains, disconnect the complete check-up. power supply cord plug from the AC receptacle.
-
Page 5: Table Of Contents
Owner’s Manual Table of Contents Introduction Unpacking Installation & Placement Rear Panel Layout Connections the Nēo 330A Balanced Operation Bridged Mono Operation Operating the Nēo 330A Remote Operation Specifications www.simaudio.com Simaudio Ltd., 1345 Newton Road Boucherville, Québec J4B 5H2 CANADA... -
Page 6: Introduction
We hope you enjoy RS-232 port for i) full unsolicited bidirectional feedback listening to the Nēo 330A Power Amplifier as much as in custom installation setups and ii) firmware updates. the pride we have taken in creating this fine audio product. -
Page 7: Unpacking
Warranty and product registration information (USA and Canada only) Once the Nēo 330A is unpacked, inspect it thoroughly and report any damage to your dealer immediately. We suggest that you keep all of the original packaging, storing it in a safe, dry place in case you’re required to transport this product. -
Page 8: Rear Panel Layout
Series Rear Panel Layout Figure 1: Nēo 330A Rear panel The rear panel will look similar to Figure 1 (above). Each channel has one balanced (differential) input on an XLR connector and one unbalanced (single-ended) input on a RCA connector. There is no switch to toggle from balanced mode to single-ended mode. -
Page 9: Connecting The 330A
“Balanced Operation” on for further information. Balanced Operation Do not connect cables to both the XLR and RCA inputs at the same time. Damage to both the 330A When using an unbalanced interconnect, the audio and the connected equipment can result that is not signal runs through both the center wire and the covered by warranty. -
Page 10: Bridged Mono Operation
Bridged-Mono Operation Figure 3: Bridged-Mono operation of the Nēo 330A Power Amplifier In the event that you wish to operate the Nēo 330A adapter must plug into right channel XLR input and the Power Amplifier as a monoblock amplifier, it can be other lead must plug into left channel XLR input. -
Page 11: Operating The Nēo 330A
Owner’s Manual your 330A on or off, you should always power up your Operating the 330A preamplifier prior to powering up your 330A. As well, always power down your 330A prior to powering down We recommend leaving your Nēo 330A powered up at your preamplifier. -
Page 12: Remote Operation
In figure 4 we have a Nēo 350P Preamplifier and 330A Amplifier connected together via their respective 12V triggers; The 12V trigger output on the 350P is connected to the 12V trigger input on the 330A using a 1/8” mini- jack cable. -
Page 13: Specifications
Positive Pin 3 Negative NOTE: If you require the RS-232 codes for your Nēo 330A, please visit the "Contact Us" page and complete the "Information request" form on our website at www.simaudio.com. Fuse Replacement: 120V version uses a 6A fast blow (3AG) - Page 14 330A Nēo Series...
Need help?
Do you have a question about the 330A and is the answer not in the manual?
Questions and answers