
Related Manuals for moon 600i


Summary of Contents for moon 600i
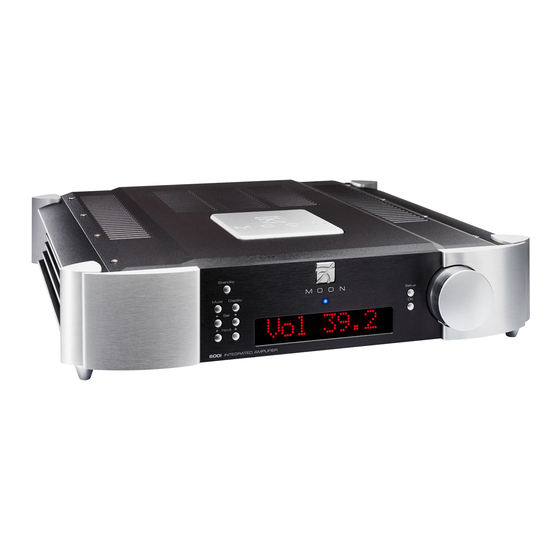
- Page 1 Owner’s Manual MOON Evolution Series 600i Reference Dual-Mono Integrated Amplifier...
-
Page 2: Important Safety Instructions
MOON 600i Dual-Mono Integrated Amplifier Important Safety Instructions Read these instructions. Keep these instructions. Heed all warnings. Follow all instructions. Do not use this apparatus near water. Clean only with a dry cloth. Do not block ventilation openings. Install in accordance with the manufacturer’s instructions. - Page 3 To prevent shock hazard, all three connections must ALWAYS be used. Connect the MOON 600i only to an AC source of the proper voltage; Both the shipping box and rear panel serial number label will indicate the correct voltage. Use of any other voltage will likely damage the unit and void the warranty AC extension cords are NOT recommended for use with this product.
-
Page 4: Table Of Contents
MOON 600i Dual-Mono Integrated Amplifier Table of Contents Congratulations ..........5 Unpacking............5 Introduction ............. 6 Installation & Placement ........6 Front Panel Controls ........7 Software Setup ..........8 Rear Panel Connections ........12 SimLink™ ............13 Operating the 600i .........13 Troubleshooting .......... -
Page 5: Congratulations
Your new Integrated Amplifier is a true dual-mono design, whereby each channel operates completely independent of the other. The performance of your 600i will continue to improve during the first 400 hours of listening. This is the result of a “break-in”... -
Page 6: Introduction
In the event that the surface you have chosen isn’t perfectly level, each of the four (4) legs of your 600i are height adjustable; carefully using your fingers, you can either raise each leg by turning the cone underneath clockwise, or lower each leg by turning it counterclockwise. -
Page 7: Front Panel Controls
(9) which are all described in detail below: The “Standby” button disengages the input section from the rest of the 600i’s circuitry and turns off the digital display. However, when in “Standby” mode all audio circuitry remains powered up to help maintain optimal performance. When switching back from “Standby”, both the ‘input’... -
Page 8: Software Setup
The next section, entitled “Software Setup”, explains their usage in detail. Software Setup The MOON 600i integrated amplifier includes powerful software that allows you to configure it to meet your specific needs. label For each of the five (5) inputs, you can assign a to replace the factory assigned name (i.e. - Page 9 The fourth configurable option is the volume bypass feature for use with home-theater processors and source components that have their own volume control. When activated, the volume control of the 600i is bypassed and the volume level is adjusted using the component connected to the input. Slowly rotate the volume control clockwise and “BYPASS”...
- Page 10 Press “OK” and “SAVED” will appear briefly in the display followed by “LINE OUT”. The MOON 600i is equipped with a 12 Volt trigger output. When an input is assigned to the 12 Volt trigger, the device connected to the trigger will automatically start-up whenever you switch to that input. The default setting for all five inputs is on.
- Page 11 The MOON 600i is equipped with a rear mounted IR input for use with aftermarket wired infrared remote control receivers. In the event that you want control the MOON 600i with a universal remote control and NOT the one included (FRM-2), you can change the RC-5 remote control system codes.
-
Page 12: Rear Panel Connections
12V trigger output on a 1/8” mini-jack. The MOON 600i is equipped with a “Line Out”, that can be configured as either a fixed or variable output (refer to page 10 in the section entitled “Software Setup” for details). Beside each of the “Line Out” connectors are balanced XLR inputs labeled B1, with each channel’s input connector located on its respective side, just like the single-ended inputs. -
Page 13: Simlink
In the event that you plan to be away from your home for a few days, powering off the integrated amplifier may not be a bad idea. Once fully “broken-in”, please keep in mind that your 600i will require several hours of playing time before it reaches its peak performance after you’ve powered it up again. -
Page 14: Troubleshooting
DC is present, the front panel display will show “DC LEVEL”; when overheating “HIGHTEMP” will appear in the display. If your 600i powers itself off or will not power up, there may very well be DC present in one (or more) of the inputs coming from one (or more) of your source components. -
Page 15: Remote Control Operation
Allen key to remove the three screws located on the back plate; insert the batteries in the correct direction and then screw the back plate back into place. To operate the 600i with this remote control, you must first press the button labeled ‘Preamp’ in the top right corner. -
Page 16: Specifications
Pin 1........ Ground Pin 2........ Positive Pin 3 ......Negative NOTE: In the event that you require the RS-232 codes for your MOON 600i, please contact Simaudio Ltd. directly by either email (service@simaudio.com) or by toll-free telephone (877-980-2400). Fuse Replacement: For the 120V version use a 5A fast blow (3AG size).
Need help?
Do you have a question about the 600i and is the answer not in the manual?
Questions and answers