Sign In
Upload
Download
Table of Contents
Contents
Add to my manuals
Delete from my manuals
Share
URL of this page:
HTML Link:
Bookmark this page
Add
Manual will be automatically added to "My Manuals"
Print this page
×
Bookmark added
×
Added to my manuals
Manuals
Brands
Miele Manuals
Washer
WS 5243
Operating instructions manual
Miele WS 5243 Operating Instructions Manual
Hide thumbs
1
2
Table Of Contents
3
4
5
6
7
8
9
10
11
12
13
14
15
16
17
18
19
20
21
22
23
24
25
26
27
28
29
30
31
32
33
34
35
36
page
of
36
Go
/
36
Contents
Table of Contents
Bookmarks
Table of Contents
Table of Contents
Warning and Safety Instructions
Caring for the Environment
Guide to the Machine
Control Panel
Guide to the Controls
Operation
Setting the Local Language
Setting the Current Time of Day and Date
Commissioning
Open the Drum
Close the Drum
Load Weight / Adding Detergent
Selecting a Disinfection Programme
Unloading the Machine
Selecting an "Unlocked" Programme
To Change the Temperature and the Spin Speed
Additional Functions
With Pre-Wash / Starching / Without a Spin
Programme Interruption / Delay Start
Notes
Locked Programmes (Disinfecting Programmes)
Locating the Drum Door to the "Clean Side
Hot Water Rinse
Connecting a Printer
Liquid Dispensing
Problem Solving Guide
Power Cut During a Wash Programme
Emergency Door Release
Fault Messages
After Sales Service
Cleaning and Care
Explanation of the Symbols on the Data Plate
Notes for the Installer
Transit Bars
Plumbing
Electrical Connection / Steam Connection
Advertisement
Quick Links
1
Table of Contents
2
Guide to the Machine
3
Control Panel
4
Load Weight / Adding Detergent
5
Emergency Door Release
6
Fault Messages
7
Electrical Connection / Steam Connection
Download this manual
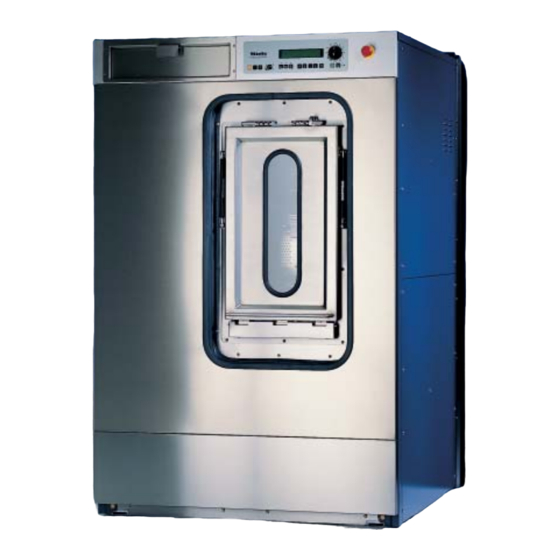
Operating instructions
Washer-Extractor
WS 5243
WS 5323
Q
It is essential to read these
operating instructions before
installing, commissioning or using
the machine, to avoid the risk of accident
M.-Nr. 05 730 940
or damage to the machine.
Table of
Contents
Previous
Page
Next
Page
1
2
3
4
5
Advertisement
Table of Contents
Need help?
Do you have a question about the WS 5243 and is the answer not in the manual?
Ask a question
Questions and answers
Related Manuals for Miele WS 5243
Washer Miele WS 5427 MC 13 Operating And Installation Instructions
Washer-extractor (52 pages)
Washer Miele WS 5323 Operating Instructions Manual
(36 pages)
Washer Miele WS 5425 MC 7 Professional Operating Instructions Manual
Washer-extractor (48 pages)
Washer Miele WS 5071 Operating Instructions Manual
Washer-extractor (36 pages)
Washer Miele WS 5101 Operating Instructions Manual
Washer-extractor (32 pages)
Washer Miele PW 6101 Fitting Instructions Manual
Connection for water recycling (60 pages)
Washer Miele WS 5240 Operating Instructions Manual
Washer-extractor (36 pages)
Washer Miele WS 5073 SLUICE Operating Instructions Manual
(30 pages)
Washer Miele WS 5425 MC 13 Operating And Installation Instructions
Washer-extractor (52 pages)
Washer Miele WS 5427 MC 23 Operating And Installation Instructions
Washer-extractor (52 pages)
Washer Miele WS 5426 MC 13 Operating And Installation
Washer-extractor (52 pages)
Washer Miele WS 5191 Fitting Instructions Manual
Connection for water recycling (60 pages)
Washer Miele WWG 660 Operating Instructions Manual
(108 pages)
Washer Miele WSK 363 Operating Instructions Manual
(88 pages)
Washer Miele WSA 123 Operating Instructions Manual
(68 pages)
Washer Miele WSD 383 Operating Instructions Manual
(76 pages)
This manual is also suitable for:
Ws 5323
Table of Contents
Print
Rename the bookmark
Delete bookmark?
Delete from my manuals?
Login
Sign In
OR
Sign in with Facebook
Sign in with Google
Upload manual
Upload from disk
Upload from URL


Need help?
Do you have a question about the WS 5243 and is the answer not in the manual?
Questions and answers