
Related Manuals for Hyundai DV2X708DU


Summary of Contents for Hyundai DV2X708DU
- Page 1 DVD Player DVD Player DVD Player DVD Player DVD Player DVD Player DVD Player DVD Player DVD Player DVD Player DVD Player DVD Player DVD Player DVD Player DVD Player DVD Player DV2X708DU...
-
Page 2: Table Of Contents
Contents Features........................2 For your Attention......................3 Accessories.........................4 Panel...........................5 Connections......................6-7 System Setup......................8-11 Remote Control.....................12-13 Playback.......................14-18 Troubleshooting......................19 Specifications....................Back Cover... -
Page 3: Features
Features Thanks for your purchase of our product. Please read through this manual before making Retain this manual for future reference. connections and operating this product. DVD player is a domestic video player of new generation which produces high quality pictures and Hi-Fi audio effect. -
Page 4: For Your Attention
For Your Attention IMPORTANT NOTES Please read through this manual before making connections and operating this product. Retain this manual for future reference. Don't open the cabinet of this unit. No user-serviceable parts inside. Refer servicing to qualified personnel only. Switch off the unit when you don't use it. -
Page 5: Accessories
Accessories Accessories User manual Remote control A/V cable Playable Disc and Media Types: Disc types Symbol Contents Audio + Video Audio Video-CD COMPACT Audio + Video DIGITAL VIDEO VIDEO CD CD-DA Audio Picture CD JPEG Photo CD Kodak Electronic Photo Picture CD Audio + Video MPEG-4... -
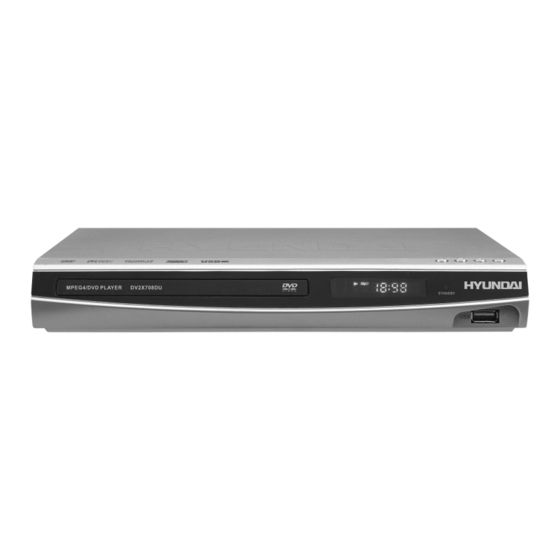
Page 6: Panel
Panel Front panel 6 6 7 7 STANDBY 1. DISC DOOR 5. OPEN/CLOSE 2. DISPLAY SCREEN 6. STOP 3. USB INTERFACE 7. PLAY/PAUSE 4. STANDBY BUTTON Rear panel SCART U/Pb V/Pr VIDEO MIX L MIX R COAXIAL S-VIDEO 4. COAXIAL AUDIO OUTPUT 1. -
Page 7: Connections
Connections Connections Connections Connections Connections Connections Connections Connections Connections Connections Video System Connection TV/Monitor Video Input TV/Monitor Video Input TV/Monitor Video Input TV/Monitor Video Input TV/Monitor Video Input TV/Monitor Video Input TV/Monitor Video Input TV/Monitor Video Input TV/Monitor Video Input TV/Monitor Video Input Component Input Component Input... - Page 8 Connections Connections Connections Connections Audio System Connection Audio System Connection Audio System Connection Audio System Connection TV/Monitor/Amplifer Audio Input TV/Monitor/Amplifer Audio Input TV/Monitor/Amplifer Audio Input TV/Monitor/Amplifer Audio Input There two types of audio output systems. They are analog There two types of audio output systems. They are analog There two types of audio output systems.
-
Page 9: System Setup
System Setup Menu Operation 1. Press [SETUP] on the remote control to show the SETUP MENU. 2. Press [ ]/[ ] to select GENERAL SETUP PAGE, AUDIO SETUP PAGE, DOLBY DIGITAL SETUP, VIDEO SETUP PAGE or PREFERENCE PAGE. The submenu of the selected item will be listed below instantly. 3. -
Page 10: Audio Setup Page
System Setup 1.4 CLOSED CAPTIONS: Some discs have closed captions. Set this item to ON to show the closed captions if the playing disc has closed captions. Set this item to OFF to hide closed captions. You can also press [SUBTITLE] on the remote control to show/hide the closed captions. 1.5 SCREEN SAVER: ON: When the player stops or the picture becomes motionless for some time, there will be a screen saver to prevent damage to the display screen. -
Page 11: Video Setup Page
System Setup R-mono: Set audio output to the mono-right channel. Mix-mono: Set audio output to the Mix mono channel. 3.1.2 DYNAMIC When you watch films with large dynamic scope in low volume, for example at night, you can adjust the dynamic value up to avoid losing sound details resulted from the low volume. -
Page 12: System Setup
System Setup 5.1 TV TYPE This product supports both NTSC(National Television System Committee) and PAL (Phase Alternating Line) television broadcasting standards. PAL : This is used in China, Hongkong and Europe etc. MULTI: When this option is selected, the uni t will detect the standard automatically. NTSC: This is used in Taiwan, America and Canada etc. -
Page 13: Remote Control
Remote control Remote Control Operation Install the batteries into the remote control. Point the remote control at the remote sensor on the front panel. The remote control works within about 8 metres from the sensor and within an angle of about 30 degrees from the left and right side. -
Page 14: Remote Control
10 PBC 26 V-MODE É ù µ À AUDIO MENU 27 L/R/ST 11 REPEAT ANGLE V-MODE L/R/ST 12 PROGRAM 28 STEP PROG REPEAT STEP 13 MUTE 29 USB SLOW RESET ZOOM 14 SLOW 30 ZOOM 15 SETUP 31 RESET DV2X708DU -13-... -
Page 15: Playback
Playback After all the connections have been made correctly, the unit is ready for service. 1. Switch on the TV and select AV mode. Select S-video if you made S-Video connection. 2. Switch on the power amplifier if the unit's connected to it. Select AC-3 or DVD mode. - Page 16 Playback Press this button to play the disc if it is not in normal playing status. Press this button for fast forward playback. Press this button for fast reverse playback. When a disc is currently playing, press this button to pause it and press [ ] to resume playing from the position where you stopped playback;...
- Page 17 Playback MENU When a DVD is currently playing, press this button to return to the main menu. It works as [PBC] for VCD2.0 disc and SVCD, etc. Press it to show or hide the PBC menu. ANGLE Some discs include scenes recorded in multiple camera angles. Press this button switch the camera angle.
- Page 18 Playback You can repeat a specific section of a disc. When a DVD or CD disc is currently playing, press this button to mark down the starting point (A) and press it again to mark down the ending point (B). Then, the unit will playback this section over and over again.
- Page 19 Playback PICTURE CD PLAYBACK Place a Picture CD in the disc tray, then a menu will be displayed on the screen showing the contents in the disc. Use the direction keys to move the highlight on a photo file, then press [ ]/[ENTER] to play the picture CD. When a picture CD is playing, you can Press [ ]/[ ] to skip to the next/previous photo;...
-
Page 20: Troubleshooting
Troubleshooting Symptom Cause(s) Remedy No power The power cord isn't connected Connect the power cord properly No picture TV video setup isn't corrected Select the suitable setup The setup mismatch the real connection Press [V-MODE] until the picture appears again Connect the cable properly Video cable isn't connected well Connect the cable properly... -
Page 21: Specifications
Specifications Power supply AC~100-240V/50/60Hz Power consumption PAL /NTSC TV system 650nm, 780nm Laser wave length DVD: 4Hz~22kHz 48kHz PCM 4Hz~ 44kHz 9 6kHz PCM Audio frequency range 4Hz~20kHz 90dB S/N ratio Audio dynamic range 90dB Operating conditions Temperature: 0~40 , operation flat, horizontal Video output 1.0V P-P Y 1.0V(P-P),75...
Need help?
Do you have a question about the DV2X708DU and is the answer not in the manual?
Questions and answers