Table of Contents
Advertisement
Advertisement
Table of Contents

Related Manuals for Shoprider mobility scooter


Summary of Contents for Shoprider mobility scooter
- Page 1 guide...
-
Page 2: Table Of Contents
9.2 If the Scooter does not run....9 5.1.7 Lights..........5 10 Warranty Information......9 5.1.8 Hazard Lights........5 5.1.9 Indicators........5 5.1.10 High/Low Speed Switch....5 5.1.11 Free Wheeling Device....5 5.1.12 Anti Tip Wheels......5 Shoprider Scooters User Guide... -
Page 3: Introduction
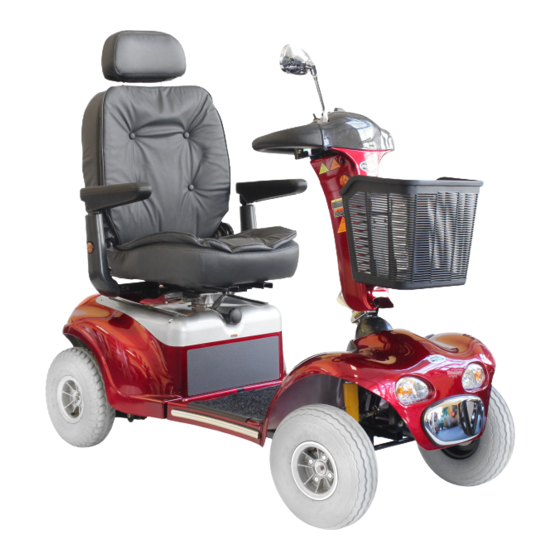
1. introduction Congratulations on your purchase of the Shoprider Scooter. This scooter is the ultimate combination of style and comfort and incorporates Shopriders latest innovative designs. Your scooter has been designed to be easily manoeuvred within the smallest spaces both in and outdoors. -
Page 4: Safety Precautions
• Always keep your feet on the platform when riding • Do not use parts or accessories that are not authorised by Shoprider NZ • Do not connect any medical device to the scooter battery - doing so could cause injury •... -
Page 5: Adjustments
4.10 4. Adjustments 4. adJustments The Shoprider Scooter allows various adjustments to be made to suit the individuals requirements: 4.1 - SEAT SlIdE AdjuSTMEnT A lever located on the side of the seat, allows you to adjust your seat forward and back. -
Page 6: Armrest Angle Adjustment
On the left side at the base of the tiller is a red release lever. Push the lever to adjust the tiller angle to one of the pre-set positions. Pull the lever back to lock in position. On the Shoprider TE 889XLSN, the release lever is situated on the right side near the top of the tiller. -
Page 7: Led Battery Indicator
WARNING! - Always re-engage the free wheeling device after use. Failure to do so may result in injury. Do not sit on the scooter while in freewheel mode. 5.1.12 - Anti-Tip Wheels These wheels are located on the rear frame of the scooter. Shoprider Scooters User Guide... -
Page 8: Mounting
If it is a self closing door, you can go through allowing the door to close behind you. If not, just stop when you are clear of the Shoprider Scooters User Guide... -
Page 9: Control On Ramps
7. maintenance 7.1 - WHEElS And TyrES All Shoprider Scooters have split rim wheels. This allows any puncture to be repaired with ease. 7.1.1 - Changing Wheels and Tyres When changing a wheel, remove the centre bolt and then remove the wheel. Replace with new/repaired wheel and re-bolt the centre bolt to the hub. -
Page 10: Lubrication
8. batteries and battery charging 8.1 - BATTErIES The Shoprider Scooters are supplied with two sealed lead acid or gel maintenance free batteries. These are fitted under the seat in the centre of the scooter. For easy handling, Velcro carrying straps are provided to assist in fitting or removal. The range of the batteries can be affected by temperature, terrain, battery condition, weight of user, etc. -
Page 11: Troubleshooting
Misuse of the scooter, operation not in accordance with the owners manual, exceeding the load capacity or performance specification and modifications to the scooter by anyone without approval by Shoprider NZ will void the warranty. Warranty only applies to the original purchaser. Copy the following information from your dealer for future reference: Model No. - Page 12 108 Sawyers Arms Rd, Papanui, Christchurch, New Zealand Freephone: 0800-220-110 Fax: +64-3-354-4356 Email: freedom@shoprider.co.nz • • Your Shoprider Dealer...
Need help?
Do you have a question about the mobility scooter and is the answer not in the manual?
Questions and answers
the battery indicator light is flashing , the high hight on the right hand side why
How to remove seat to enable removal of the Silver Battery Cover
Where can I get a lower steering post replacement, the original one broke