
Related Manuals for VPI Industries VPI Classic 1


Summary of Contents for VPI Industries VPI Classic 1
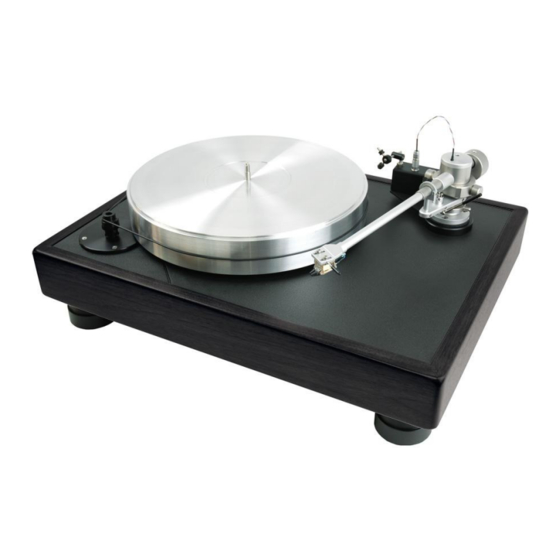
- Page 1 The VPI Classic 1 Turntable Setup and Instruction Manual VPI Industries, Inc., 77 Cliffwood Ave. #3B, Cliffwood, NJ 07721 phone: 732-583-6895 fax: 732-946-8578 http://www.vpiindustries.com...
- Page 2 Important: Read Before Proceeding! Read and follow the Safety Instructions below. Save all packing materials. The Classic 1 should only be moved or shipped in its original packaging to reduce the risk of damage in transit. The Classic 1 must be placed on a flat, level surface. This will make setup easy, ...
- Page 3 Complete and return the warranty card. The warranty does not take effect until the warranty card is returned. Remove and set aside the following items: Alignment Jig. Record clamp. Power cord. Bag containing screwdrivers and screws for mounting the cartridge. Shure Stylus Force Gauge JMW-Classic tonearm wand ...
-
Page 4: Cartridge Mounting
Connect the supplied power cord to the Classic 1 in the fused rear socket. Verify the turntable is level by using a 9- or 12-inch bubble level front-to-back and side-to-side on the platter. If it is not level, rotate the TNT mini feet up or down. If you must turn the Classic feet more than three full turns, level the shelf or platform the table sits on first. - Page 5 THE COLOR CODE OF THE WIRE IS: RED = right hot BLACK OR WHITE = left hot GREEN = right ground BLUE = left ground IF YOUR PHONO SECTION INVERTS PHASE, THE HOT COLOR BECOMES THE GROUND COLOR Using tweezers or fine tipped pliers grip the center of the red wire's connector (do not grip the wire) and push it onto the cartridge's right hot terminal pin.
- Page 6 While the arm is in its rest, loosen the screws that hold the cartridge just enough that the cartridge can be moved back and forth. Carefully swing the arm over the grid at the far end of the jig and place the stylus as close to the dot in the center of the grid as possible.
- Page 7 FIG #2: THE PROPER WAY TO ALIGN A CARTRIDGE, ALIGN THE CARTRIDGE, NOT THE TONEARM HEADSHELL! SHOWN IN WHITE FOR CARITY. C. TRACKING FORCE AND AZIMUTH Place the arm tube assembly on the lower bearing, taking care not to strain or damage the 4-color wire and Lemo connector.
- Page 8 to the grooves than running a cartridge at a heavy setting. Make sure the damping fluid is not installed when setting this force. VERY IMPORTANT: MAKE SURE THE TONEARM IS PARALLEL TO THE PLATTER WHEN SETTING THE TRACKING FORCE. IF IT IS NOT THE END RESULT WILL BE HIGHER OR LOWER VTF THAN YOU WANTED.
-
Page 9: Anti-Skating
D. ANTI-SKATING: REMEMBER: A 10.5” ARM NEEDS VERY LITTLE ANTI-SKATING FORCE Anti-skating is one of the least understood forces acting on a tonearm. Skating force is created by friction between the stylus and the record, causing a force vector in a direction towards the center of the record when the headshell of the tonearm has an offset angle. -
Page 10: Playing Records
Remember to always retighten those two setscrews when listening. If they are left loose the sound will be unfocused. H. VISCOUS DAMPING The JMW-Classic has the ability to use damping fluid around the pivot. Use this option sparingly and only if needed with certain cartridge like Grado or Clearaudio or if the sound is not smooth enough. - Page 11 VPI Industries, Inc. Limited Warranty VPI Industries, Inc. (VPI) warrants this unit against defects in materials and/or workmanship for three (3) years from the date of purchase by the original retail purchaser. VPI’s sole obligation under this warranty is limited to the repair or replacement, at VPI’s option, of any part(s) found to be defective.
Need help?
Do you have a question about the VPI Classic 1 and is the answer not in the manual?
Questions and answers