Table of Contents

Subscribe to Our Youtube Channel
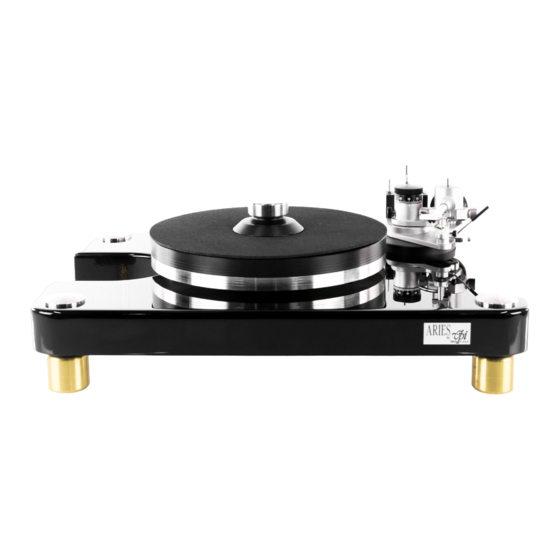
Summary of Contents for VPI Industries ARIES 3
- Page 1 SETUP MANUAL FOR THE ARIES 3 TURNTABLE WITH CLASSIC 3 ARM READ THIS MANUAL VERY CAREFULLY NOT FOLLOWING THIS MANUAL WILL VOID YOUR WARRANTEE VPI INDUSTRIES INC., 77 CLIFFWOOD AVE #3B, CLIFFWOOD NJ 07721 www.vpiindustries.com...
-
Page 2: Specifications
Remove all packaging, noting how it fits together. If you ever need to send the Aries 3 back for service you must pack it properly. Save the packaging if you can, it will be very expensive to order it later. - Page 3 33 and 45 operation with the smaller section being 33 and the larger section being 45. The motor pulley of your ARIES 3 is designed to let you slightly adjust the speed at 33 and 45. The center groove on the pulley in each diameter is the correct speed.
-
Page 4: Before You Begin
Level the turntable using a 9” or 12” long bubble line level placed next to the spindle on the platter. The feet rotate in their sockets and will move up and down allowing fine leveling of the ARIES-3. A level turntable will always sound better than an unleveled one and will put less strain on the main bearing. -
Page 5: Cartridge Mounting
UNPACKING YOUR JMW MEMORIAL TONE ARM This instruction manual was lying on a large foam pad. Remove the pad and put it nearby on your work surface. You will now see a number of things in plastic bags: ... - Page 6 IF YOUR PHONO SECTION INVERTS PHASE, THE HOT BECOMES THE GROUND COLOR The arm tube should be on its side on the foam pad when doing this. Using tweezers or fine tipped pliers grip the center of the red wire's connector (do not grip the wire) and push it onto the cartridge's right hot terminal pin.
- Page 7 With a unipivot arm it is particularly important to level the turntable Move the counterweight until the arm has a very slight downward tracking force, just enough to keep it from moving sideways on the platter or enough to keep it in the groove of the record ...
-
Page 8: Anti-Skating
TRACKING FORCE (VTF): Tracking force is adjusted by moving the counterweight forward and back just a bit at a time. At least initially, you will be setting the tracking force twice. The first time will be before the cartridge's overhang is set. After this is done, you will need to double check the tracking force and adjust it as needed. - Page 9 affecting the sound quality. You now have the option of installing a mechanical anti-skate for those that want it. Adjust the counterweight so there is no down force on the cartridge. Swing the tonearm toward the spindle and release it. The arm should swing out toward the outer edge of the turntable.
- Page 10 While holding the one end against the bearing well, swing the other end (with the hole) over the turntable's spindle so that the spindle holds the jig in place. Check figure 1 on the last page. While the arm is in its rest, loosen the screws that hold the cartridge just enough that the cartridge can be moved back and forth.
- Page 11 Rotating the knob clockwise lowers the arm and rotating it counterclockwise raises it. Set the arm height as follows: Start the turntable and place a record on it. Lower the arm onto the record and make the arm tube parallel to the record surface by rotating the arm-height knob as needed.
- Page 12 G. CONNECTING TO THE PREAMPLIFIER/AMPLIFIER ONLY USE INTERCONNECTS THAT ARE SHIELDED AND PROPERLY GROUNDED. NON-SHIELDED INTERCONNECTS CAN HUM AND PICK UP RF. The ground connection is available to eliminate hum if necessary. If hum is present, first connect a ground lead from the connector block to the preamplifier or amplifier to which the output cable is connected.
-
Page 13: Warranty
WARRANTY VPI INDUSTRIES, INC. LIMITED WARRANTY OF THE ARIES TURNTABLE VPI Industries, Inc. (VPI) warrants this unit against defects in materials and/or workmanship for three (3) years from the date of purchase by the original retail purchaser. VPI’s sole obligation under this warranty is limited to the repair or replacement, at VPI’s option, of any part(s) found...


Need help?
Do you have a question about the ARIES 3 and is the answer not in the manual?
Questions and answers