Advertisement
Quick Links
Advertisement

Subscribe to Our Youtube Channel
Related Manuals for Fiilex P100


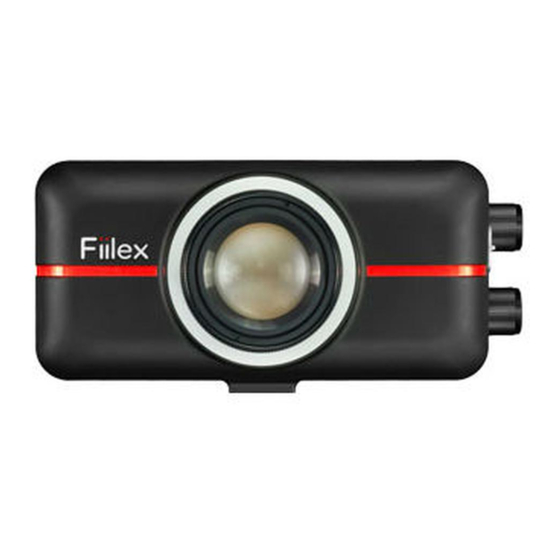
Summary of Contents for Fiilex P100
- Page 1 P100 Portable LED Light User Manual...
-
Page 2: Table Of Contents
Table of Contents What’s In The Box Getting To Know The Light Set Up And Basic Operation Optional Accessories Specifications For Your Safety Warranty... -
Page 3: What's In The Box
What’s In The Box • P100 Light • Rechargeable Battery • Cold Shoe w/ Mini Ball Head • User Manual • Power Charger... -
Page 4: Getting To Know The Light
Getting To Know The Light... - Page 5 Air Vents Beam Shaper On/Off Switch CCT Tuning Knob (3000-5600K) Intensity Knob Battery Lock DC Power Input Jack 1/4” - 20 Female Accessory Mount 1/4” - 20 Male Thread Cold Shoe w/ Mini Ball Head Battery Battery Pin Power Charger Input Jack Battery Indicator Light Connector of Power Charger Charge State Light...
-
Page 6: Set Up And Basic Operation
Insert 1/4” - 20 Male Thread (I) into 1/4” - 20 Female Mount (H). Mount P100 to the cold/hot shoe of your camera via Cold Shoe w/ Mini Ball Head (J). Slide Battery (K) into P100, or plug Connector of Power Charger (O) into DC Power Input Jack (G). - Page 7 P100. Note * P100 is powered by a rechargeable Li-ion battery. Use only Fiilex approved batteries and chargers. * You must fully charge the battery for the first time. A discharged battery recharges fully in approximately 3 hours.
-
Page 8: Optional Accessories
Optional Accessories Half Yoke D-tap Cable P100 Accessory Rechargeable Mount Battery See website for additional accessories. www.fiilex.com... -
Page 9: Specifications
0 to 40 °C For Your Safety •Do not attempt to disassemble the body of P100. •Do not install P100 in a damp or wet area. •Do not cover the air vents. •Use only the included power supply. Failure to do so may cause damage to the LED light. -
Page 10: Warranty
It is necessary to obtain a Return Authorization Number (RA#) from your dealer / point of purchase BEFORE any units are returned for repair. Fiilex will make the final determination as to whether or not the unit is covered by warranty. - Page 11 Any product unit or part returned to Fiilex must be packaged in a suitable manner to ensure the protection of such product unit or parts. The package must be clearly and prominently marked to indicate that the package contains returned product units or parts with a Return Authorization (RA#) number.
- Page 12 Fiilex.com...
Need help?
Do you have a question about the P100 and is the answer not in the manual?
Questions and answers