
Related Manuals for Jensen JiMS-75i


Summary of Contents for Jensen JiMS-75i
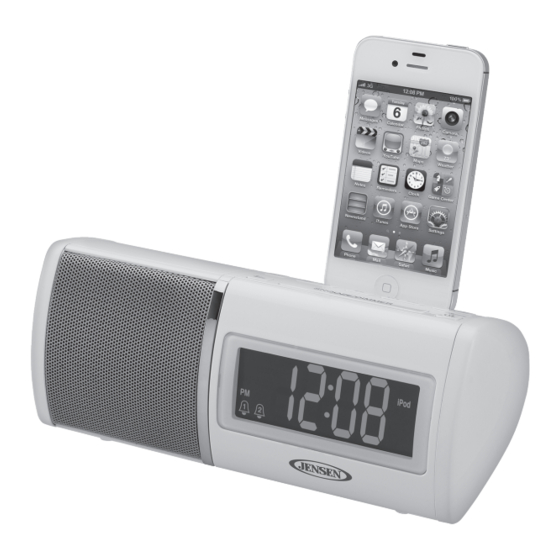
- Page 1 DOCKING DIGITAL CLOCK RADIO ® ® FOR iPod AND iPhone USER MANUAL JiMS-75i (iPhone/iPod Not Included) PLEASE READ THIS USER MANUAL COMPLETELY BEFORE OPERATING THIS UNIT AND RETAIN THIS BOOKLET FOR FUTURE REFERENCE.
-
Page 2: Dear Jensen® Customer
The serial number of this product is found on its bottom cover. You should note the serial number of this unit in the space provided as a permanent record of your purchase to aid in identification in the event of theft of loss. Model Number: JiMS-75i Serial Number: ____________________... -
Page 3: Important Safety Instructions
IMPORTANT SAFETY INSTRUCTIONS When used in the directed manner, this unit has been designed and manufactured to ensure your personal safety. However, improper use can result in potential electrical shock or fire hazards. Please read all safety and operating instructions carefully before installation and use, and keep these instructions handy for future reference. -
Page 4: Important Notes
13. This appliance shall not be exposed to dripping or splashing water and that no object filled with liquids such as vases shall be placed on the apparatus. 14. Power Sources – The appliance should be connected to a power supply only of the type described in the operating instructions or as marked on the appliance. -
Page 5: Compliance With Fcc
COMPLIANCE WITH FCC This device complies with Part 15 of the FCC Rules. Operation is subject to the following two conditions: (1) this device may not cause harmful interference, and (2) this device must accept any interference received, including interference that may cause undesired operation. -
Page 6: Location Of Controls
LOCATION OF CONTROLS FRONT SIDE 1. iPod PLAY/PAUSE / FM Memory Up button button TIME SET/MEMORY /DISPLAY 3. ALARM 1 button ALARM 2 button 4. iPhone/iPod docking connector 5. SKIP FORWARD / TUNING UP button SKIP BACK / TUNING DOWN button 6. -
Page 7: Getting Started
REAR SIDE 12. USB Charging Port 13. DC IN Jack 14. AUX IN Jack 15. Reset button 16. Battery Compartment (bottom of unit) 17. FM Wire Antenna GETTING STARTED Clock Back-up Battery Installation 1. Remove the battery compartment cover. 2. Install 2 “AAA” (UM-4) batteries (not included) in the battery compartment following the polarity markings shown on it. - Page 8 Warnings: Batteries shall not be exposed to excessive heat such as sunshine, fire or the like. Be sure that the batteries are installed correctly. Wrong polarity may damage the unit. Do not mix old and new batteries. Do not mix alkaline, standard (carbon-zinc) or rechargeable (nickel- cadmium) batteries.
-
Page 9: Clock Setting
The iPod internal clock is automatically updated when sync’d with iTunes. We recommend you sync the iPod with iTunes prior to docking to the JiMS-75i to make sure you have the most current time available. -
Page 10: Alarm Setting
If you select wake to Radio, make sure your radio station is set to the one you want to be woken up to. The JiMS-75i will play the last radio station you listened to when the wake time is reached. - Page 11 Wake to Radio The Radio will automatically turn on when the alarm time is reached. The respective indicator will blink. The sound starts softly and gradually becomes louder until the preset volume level is reached. The radio alarm will sound for 60 minutes and then turn off automatically if the snooze button is not pressed.
-
Page 12: Listening To Radio
LISTENING TO RADIO 1. Press the POWER button to turn on the unit. 2. Tap the SOURCE button to select Radio mode, the radio icon appears on display. 3. To manually tune the radio station, tap the button repeatedly. Use the manual tuning method to tune to weaker stations that are bypassed during Automatic Tuning. -
Page 13: Listening To Your Iphone/Ipod
LISTENING TO YOUR iPhone/iPod Dock your iPod/iPhone into the unit Carefully place your iPhone/iPod into the docking bay by placing the connector on the bottom of the iPhone/iPod onto the connector in the docking bay. NOTE: Remember to remove any bumper you may have installed on the iPhone 4 before inserting it onto the docking connector. - Page 14 USB port. Please refer to your device user manual before you attempt to charge them. 2.) It is normal for the JiMS-75i to be warm while the USB port is in use and charging your smart phone or portable device.
-
Page 15: Auxiliary Input
SLEEP TIMER OPERATIONS 1. In Radio, iPod or AUX mode, press the SLEEP button once, then the “SLEEP” indicator will appear on the LCD display. 2. Tap the button repeatedly to select the desired sleep time. The sleep timer can be chosen from 10 - 120 minutes in 10 minute step. After sleep timer selected, wait for 5 seconds to confirm. -
Page 16: Resetting The Unit
RESETTING THE UNIT If the unit experiences a power surge or electric shock, it is possible that the internal micro-controller may lock up and the unit will not respond to any commands from the panel controls. In this event, use a straightened paper clip, toothpick or similar objects to press the RESET button located at rear of the unit (see the below figure). -
Page 17: Troubleshooting Guide
TROUBLESHOOTING GUIDE Symptom Possible Problem Solution The unit is disconnected from Reconnect to the AC outlet. The unit does not the AC outlet. respond (no power) The AC outlet has not power. Try the unit on another outlet. Unit is ON but there The volume control has been Turn the Volume control to a is low or no volume... -
Page 18: Specification
SPECIFICATION Power requirement: AC-DC adaptor Input: AC 120V~, 60Hz Main Unit DC Input: DC 5V, 2200mA Backup Battery for Clock 2 X AAA (UM-4) Batteries (not included) Frequency Range Radio Band FM 87.5 ~ 108 MHz "Made for iPod" and “Made for iPhone” mean that an electronic accessory has been designed to connect specifically to iPod and iPhone respectively, and has been certified by the developer to meet Apple performance standards. - Page 19 90 DAY LIMITED WARRANTY AND SERVICE VALID IN THE U.S.A ONLY SPECTRA MERCHANDISING INTERNATIONAL, INC. warrants this unit to be free from defective materials or factory workmanship for a period of 90 days from the date of original customer purchase and provided the product is utilized within the U.S.A. This warranty is not assignable or transferable.
Need help?
Do you have a question about the JiMS-75i and is the answer not in the manual?
Questions and answers