Table of Contents

Related Manuals for Jet JML-1014I


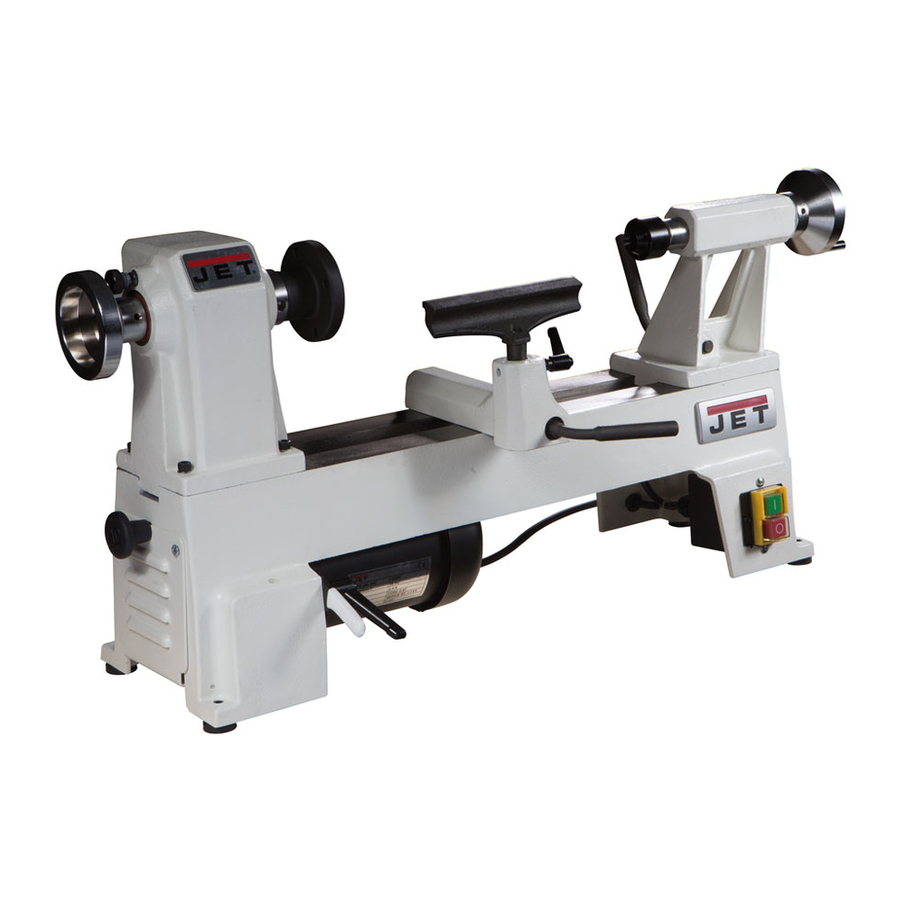
Summary of Contents for Jet JML-1014I
- Page 1 Operating Instructions and Parts Manual Mini Lathe Models JML-1014I and JWL-1220 WMH TOOL GROUP 2420 Vantage Drive Elgin, Illinois 60123 Part No. M-708376 Ph.: 800-274-6848 Revision A 9/06 www.wmhtoolgroup.com Copyright © WMH Tool Group...
-
Page 2: Warranty And Service
WARRANTY AND SERVICE WMH Tool Group, Inc., warrants every product it sells. If one of our tools needs service or repair, one of our Authorized Service Centers located throughout the United States can give you quick service. In most cases, any of these WMH Tool Group Authorized Service Centers can authorize warranty repair, assist you in obtaining parts, or perform routine maintenance and major repair on your JET tools. -
Page 3: Table Of Contents
Removing and Installing Live Center ... 11 Index Pin ... 12 Maintenance... 12 Replacement Parts ... 12 JML-1014I Mini Lathe... 13 Parts List for JML-1014I Mini Lathe ... 14 JWL-1220 Lathe... 16 Parts List for JWL-1220 Lathe ... 17 Electrical Connections for JWL-1220... 19... -
Page 4: Warning
Warning For your own safety, read this instruction manual before operating the lathe. Wear eye protection. Do not wear gloves, necktie, or loose clothing. Tighten all locks before operating. Rotate the workpiece by hand before applying power. Rough out the workpiece before installing on the faceplate. - Page 5 Do not operate this lathe while tired or under the influence of drugs, alcohol or any medication. Turn off the tool and disconnect from power before cleaning. Use a brush or compressed air to remove chips or debris —...
-
Page 6: Specifications
Chuck & Insert ...709344 Stand for JML-1014I ...708354 Stand for JWL-1220 ...708378 Bed Extension for JML-1014I ...708355 Bed Extension (28”) for JWL-1220 ...708377 The above specifications were current at the time this manual was published, but because of our policy of continuous improvement, WMH Tool Group reserves the right to change specifications at any time and without prior notice, without incurring obligations. -
Page 7: Electrical Requirements
Electrical Requirements In the event of a malfunction or breakdown, grounding provides a path of least resistance for electric current to reduce the risk of electric shock. This tool is equipped with an electric cord having an equipment-grounding conductor and a grounding plug. The plug must be plugged into a matching outlet that is properly installed and grounded in accordance with all local codes and ordinances. -
Page 8: Unpacking
1 – 3mm hex wrench 1 – 5mm hex wrench Assembly The JML-1014I is fully assembled and comes ready to use right out of the box. However, it is a good practice to thoroughly check the machine for loose fasteners, handles, etc. before use. -
Page 9: Operations
The piece must be re-inserted to operate the lathe. Work Lamp (JWL-1220 only) The 20” lathe is provided with a flexible work lamp which uses a 40-watt bulb (not provided). Position the work lamp so that wood chips do not accumulate inside the lamp shade and pose a fire hazard. -
Page 10: Adjusting The Tool Rest
To remove the face plate from the spindle, place the drift rod into hole (A, Figure 6) and let the drift rod contact the bed of the lathe for leverage. Then unscrew the face plate. Drift Rod (Figure 7) –... -
Page 11: Belt Replacement
4. Move the belt (E, Figure 9) to the desired pulley groove according to the speed chart found on the inside of the headstock access door. Be sure the belt is aligned with spindle pulley and motor pulley. 5. Tension the belt by pushing down on the motor plate handle (D, Figure 11) and re- tighten lock handle (C, Figure 11) Belt Replacement... -
Page 12: Index Pin
Lathe centers. There are 24 index positions on the lathe. 1. To use the index pin (Figure 13), screw it farther into the headstock until it engages a hole in the spindle pulley. -
Page 13: Jml-1014I Mini Lathe
JML-1014I Mini Lathe... -
Page 14: Parts List For Jml-1014I Mini Lathe
Parts List for JML -1014I Mini Lathe Index No. Part No. Description Size 1... JML1014-101 ...Headstock... 1 2... JML-2...Faceplate...3”... 1 3... JML-3...Spur Center...MT2 ... 1 3A... JML-3A ...Center Point for Spur Center ... 1 4... JML-4...Spindle ...1” x 8 TPI... 1 5... - Page 15 58 ... JML-58 ...Eccentric Locking Rod ... 1 59 ... JML-59A ...Lock Handle Assembly, Tailstock... 1 60 ... JML-60W ...White Tailstock ... 1 61 ... JML-61 ...Hand Wheel ... 1 62 ... JML-62 ...Handle ... 1 63 ... JML-63 ...C-Ring ... 1 64 ...
-
Page 16: Jwl-1220 Lathe
JWL-1220 Lathe... -
Page 17: Parts List For Jwl-1220 Lathe
Parts List for JWL-1220 Lathe Index No. Part No. Description Size 1... JWL1220-101 ...Headstock... 1 2... JML-2...Faceplate...3”... 1 3... JML-3...Spur Center...MT2 ... 1 3A... JML-3A ...Center Point for Spur Center ... 1 4... JML-4...Spindle ...1” x 8 TPI... 1 5... JML-5...Key ...5x25mm ... 1 6... - Page 18 55 ... JML-55 ...Tailstock Spindle ... 1 56 ... JML-56 ...Leadscrew ... 1 57 ... JML-57 ...E-Ring ...ETW -12 ... 1 58 ... JML-58 ...Eccentric Locking Rod ... 1 59 ... JML-59A ...Lock Handle Assembly, Tailstock... 1 60 ... JWL1220-160 ...Tailstock ... 1 61 ...
-
Page 19: Electrical Connections For Jwl-1220
Electrical Connections for JWL-1220... - Page 20 WMH Tool Group 2420 Vantage Drive Elgin, Illinois 60123 Phone: 800-274-6848 www.wmhtoolgroup.com...
Need help?
Do you have a question about the JML-1014I and is the answer not in the manual?
Questions and answers