Table of Contents
Advertisement
Advertisement
Table of Contents

Related Manuals for Jensen JCD3006


Summary of Contents for Jensen JCD3006
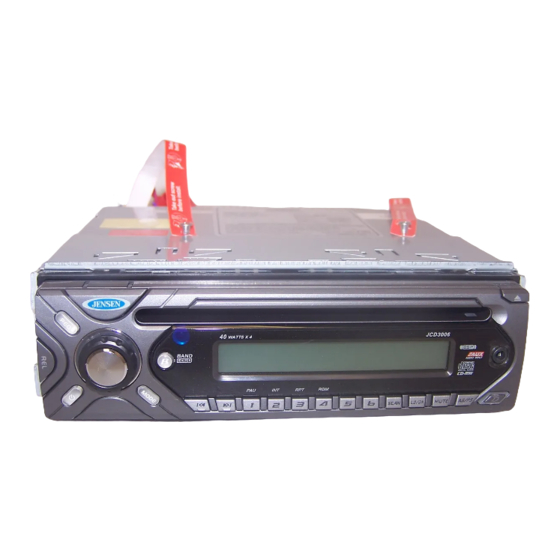
- Page 1 JCD3006 MOBILE CD PLAYER / RECEIVER Installation and Operation Manual JCD3006...
-
Page 2: Safety Information
SAFETY INFORMATION When Driving Keep the volume level Iow enough to be aware of the road and traffic conditions. When Washing your Vehicle Do not expose the product to water or excessive moisture. Moisture can cause electrical shorts, fire or other damage. When Parked Parking in direct sunlight can produce very high temperatures inside your vehicle. -
Page 3: Installation
INSTALLATION Before You Begin Disconnect Battery Before you begin, always disconnect the battery negative terminal. Remove Transport Screws Important Notes • Before final installation, test the wiring connections to make sure the unit is connected properly and the system works. •... - Page 4 Carefully unsnap the plastic trim ring from the front of the new radio chassis. Remove and discard the trim ring. Remove the factory mounting brackets and hardware from the existing radio and attach them to the new radio. Select a position where the screw holes of the bracket and the screw holes of the main unit are aligned (are fitted).
- Page 5 WIRING 688A FUSE 20-PIN AUDIO/POWER HARNESS (See Figure 1) REAR LINE OUT GREY LEFT FRONT RIGHT FRONT WHITE-BLACK LF- GREY-BLACK RF- WHITE LF+ GREY RF+ RIGHT REAR LEFT REAR GREEN-BLACK LR- VIOLET-BLACK RR- VIOLET RR+ GREEN LR+ ANTENNA JACK ANTENNA SOCKET RCA-TO-RCA CABLE (not supplied) WHITE...
-
Page 6: Basic Operation
|<< button (20) to adjust the minutes. (You can also use the U and D buttons on the remote control to set the hour and minutes.) JCD3006 Reset After releasing the control panel, use a pencil or any non-metallic object to press and hold the RESET button for five seconds to reset the main unit. -
Page 7: Tuner Operation
Select a band (if needed), then select a station. Hold a preset button (12-17) for three seconds. The preset number will appear in the display. Recall a Station Select a band (if needed). Press a preset button (12-17) to select the corresponding stored JCD3006 station. Automatically Store / Preset Scan (AS/PS, AMS) Automatically Store Select a band (if needed). -
Page 8: Controlling Disc Playback
JCD3006 CD OPERATION JCD3006 Insert and Eject Disc Insert a disc, label-side up, with the unit turned on. “S-CDP” will display on the LCD for about 2 seconds and the unit will play the first track on the disc. Press the eject button (2) to stop disc play and eject the disc. -
Page 9: Specifications
SPECIFICATIONS Signal to Noise Ratio..........> 70dB Sampling Frequency . - Page 10 JCD3006 ASA Electronics Corporation www.asaelectronics.com © 2006 ASA Electronics Corporation v.071206...
Need help?
Do you have a question about the JCD3006 and is the answer not in the manual?
Questions and answers