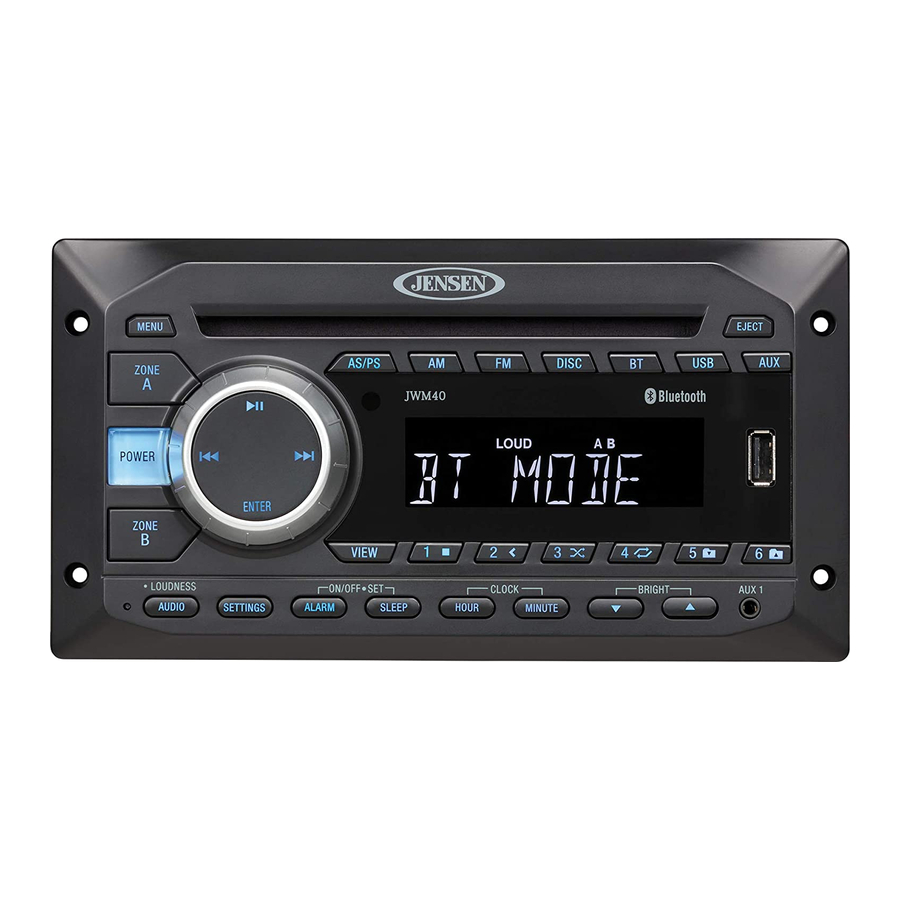
Jensen JWM40 Installation And Owner's Manual
Mobile audio system
Hide thumbs
Also See for JWM40:
- Installation and owner's manual (23 pages) ,
- Quick reference manual (2 pages)
Table of Contents
Advertisement
Advertisement
Table of Contents

Subscribe to Our Youtube Channel
Related Manuals for Jensen JWM40


Summary of Contents for Jensen JWM40
- Page 1 JWM40 MOBILE AUDIO SYSTEM Installation and Owner's Manual...
-
Page 2: Table Of Contents
CONTENTS Introduction............3 Disc Notes............Installation............5 Wiring.............. Basic Operation............. Tuner Operation............. Disc Operation............CD Operation............DVD/VCD Operation..........10 MP3/USB Operation..........13 Bluetooth Operation..........15 Remote Control Operation...........17 DVD Setup Menu...........19 Care and Maintenance..........21 Troubleshooting............ 21 Specifications............22 FCC Notice............22... -
Page 3: Introduction
Use Recommende d Accessories. Ÿ Than k you for choosin g a Jensen product. We hope yo u will find th e instructions TO REDUCE THE RISK OF FIRE OR ELECTRIC SHOCK AND ANNOYING in this owner ’s manua l clea r an d easy to follo w. If yo u tak e a fe w minutes to look INTERFERENCE, USE ONLY THE RECOMMENDED ACCESSORIES. -
Page 4: Disc Notes
JWM40 DISC NOTES Be sure to use only round CDs fo r this unit and do not use any special shap e Ÿ CDs. Use of specia l shape CDs may caus e th e unit to malfunction. Do no t stick paper or tape on th e disc. Do not use CDs wit h labels or stickers Ÿ... -
Page 5: Installation
JWM40 INSTALLATION NOTE: Before cutting the mounting hole , mak e sure th e area behind the mounting location is clea r of wires, fuel and vacuum or brak e lines. It's a good ide a to rea d all of the instructions before beginnin g th e installation . -
Page 6: Wiring
JWM40 WIRING WARNING : Wirin g harness comes with stripped and tinne d leads to aid in th e installatio n process. Any unuse d speake r wire s must have their exposed ends cu t The wiring diagra m depicts all th e wirin g connection s required fo r prope r off or insulate d individually. -
Page 7: Basic Operation
BAL 0” indicates an equal balance between th e left and right speakers . Press ENTER knob button to reset the JWM40 to factory default set up values. FAD: Adjus t the speaker fade betwee n “R7 ” (rear) and “F7” (front). “FAD 0”... - Page 8 Sleep Mode th e AUDIO IN (AUX IN2 ) on the back of the unit (see“Wiring” on page 3) . The Sleep Time r will automatically turn off the JWM40 in the designated number of Auxiliary Input Connector minutes . To set th e Sleep Time, press the SLEEP button (26) an d th e sleep time will For front pane l A/ V input, an external audio/vide o (A/V) source such as a video appea r in the display with the number representin g th e minute s (SLEE P 0).
-
Page 9: Tuner Operation
JWM40 TUNER OPERATION Automatically Store / Preset Scan (AS/PS) Automaticall y Store Select an AM or FM band. Press and hold th e AS/PS button (30) for more tha n 3 second s and th e unit will automatically sca n for an d store 12 or 18 strongest storing is complete, press AS/PS again. -
Page 10: Disc Operation
JWM40 DISC OPERATION Track Select Press th e >>| or |<< button (3 , 4) to advance to the previou s or next track on th e CD. The selected track numbe r will appea r on the display. Press and hold th e >>| or |<<... - Page 11 JWM40 Remote Control Direct Track Entry Stop Playback To select a track directly, use th e numbe r pa d on the remote contro l (10). ■ Press the 1/ button (27) to suspen d disc pla y, and “PRE STOP” will appea r in For single digit entries, press th e correspondin g numbe r fo r two digit th e display.
- Page 12 JWM40 2. Us e the ◄►or ▲▼ cursor buttons (15) on th e remot e control to acces s 00:02:18 –total elapsed playing tim e of th e current track; the fields on the "PROG" screen . C –00:34:37 –remainin g playing time of the curren t track;...
-
Page 13: Mp3/Usb Operation
JWM40 Mp3 Monitor Display MP3/USB OPERATION Afte r loading an MP3 disc or USB device, th e following scree n will appear on you r outpu t Monito r. Select on e of these icons to acces s the correspondin g media on your disc or USB device. - Page 14 JWM40 Random Shuffle (RDM) GOTO Direct Track/Chapter Access Press th e 3/ button (13) during disc to pla y all files in random , shu ffled orde r. Press 3/ again to stop rando m pla y. Use th e GO TO functio n to access a trac k (chapter ) directly.
-
Page 15: Bluetooth Operation
1. Make sure th e device yo u want to pair is on an d ready to receive a signal from the JWM40. With th e JWM40 in BT Mode . Press an d hold th e BT butto n (10 ) fo r about 4 seconds . - Page 16 JWM40 Selecting Tracks During playback, press the >>| or |<< button (2, 5) to play th e previou s or next track . Pausing Playbac k During playback, press the ▶II button (3) to pause th e Bluetoot h audio playback.
-
Page 17: Remote Control Operation
JWM40 JWM40 REMOTE CONTROL OPERATION DESCRIPTIO N TUNER BLUETOOTH CD/MP3/USB LOUD Turn radi o on/standb y Turn radi o on/standb y Turn radi o on/standby Turn radi o on/standb y Power mode. mode . mode. mode. Adjust volume up/down. Adjust volume up/down. - Page 18 JWM40 Press to view title TITLE menu . Use directiona l arrows an d play button to play selected title. May no t be supporte d by al l discs. Repeat track Repeat chapter Select sourc e for Select source for...
-
Page 19: Dvd Setup Menu
JWM40 DVD SETUP MENU Langua ge Setup Press th e (setup) button (10) on the remot e contro l to access th e SETUP The Languag e Setu p menu controls the following features: menu an d adjust syste m settings for th e following categories :... - Page 20 JWM40 Video Setup The Video Setu p menu controls th e following features: Syste m Setu p – Language Setup – Audio Setu p – Video Setu p – Digital Setu p – Digital Setup The Speaker Setu p menu control s the following features: OP Mode: Selec t LINE OUT or RF REMOD.
-
Page 21: Care And Maintenance
JWM40 CARE AND MAINTENANCE TROUBLESHOOTING Keep the product dr y. If it does ge t wet , wipe it dry immediately. Liquids – Symptom Solution might contai n minerals that ca n corrode the electronic circuits. Keep the product awa y fro m dust and dirt , which ca n cause premature wear –... -
Page 22: Specifications
JWM40 SPECIFICATIONS FCC Notice NOTE: This equipment has bee n tested and found to comply with the limits fo r a FM Tune r Class B digital device, pursuant to Par t 15 of th e FCC Rules. These limit s ar e Frequenc y Coverag e (USA) . - Page 23 ELECTRONICS 26 02 Marina Drive, Elkhart, IN 46514 www.asaelectronics.com...
Need help?
Do you have a question about the JWM40 and is the answer not in the manual?
Questions and answers