
Subscribe to Our Youtube Channel
Related Manuals for Jenn-Air JRTDE228


Summary of Contents for Jenn-Air JRTDE228
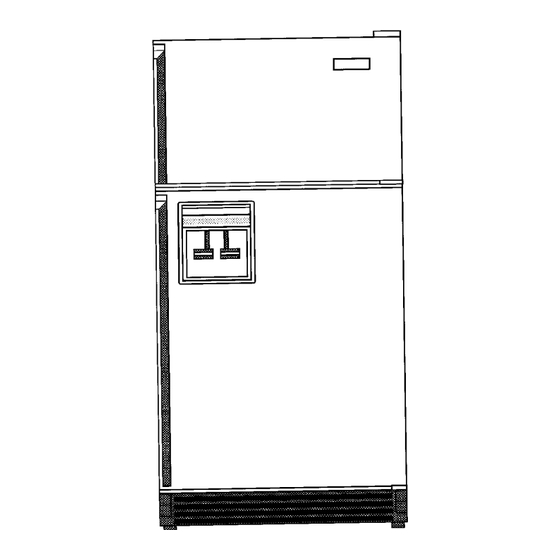
- Page 1 Use& CareManual MODELS JRTE17fi, JRTE198, JRTE218, JRTDE228 Frost Free Refrigerators Model JRTDE228 Printed in U.S.A. Cat. No. STUI76UA 1994 Jenn-Air Part No. 109269-1 2/'94...
- Page 2 Jenn-Air, you follow the instructions carefully. Should you have any questions Be sure to provide the model number...
-
Page 3: Safety Precautions
Never unplug your appliance by pulling on the powercord. 5. Your refrigeratorshould not be operated in the presence of explosive fumes. 6. Remove the doors from any out-of-use refrigerator to prevent child entrapment and suffocation. 7. Do not place fingers or hands on the automatic ice making mechanism while the refrigeratorisplugged in. -
Page 4: Installation
The front wheels were adjusted at the factory so the cabinet wouldbe level. However,jarring in transit, or standing the refrigerator on an unevenfloor may cause the cabinet to appear unlevel. -
Page 5: Electrical Connection
Electrical Connection Your refrigerator is designed to operate on a nominal115volt, 15amp., 60cycle line. There should be a separate, grounded circuit, serv- ing this refrigerator only. DO NOT use an extension cord. Your refrigerator is equipped with a three- pronged grounding plug for your protection against possibJeelectrical shock hazards. -
Page 6: Tools Required
Changing Reversible Your refrigeratormay have been built with the doors hinged to the right or hinged to the left. Refer to the following instructionsfor door reversal. Tools Required Phillips screwdriver End wrench (5/16") 5/16" Socket and ratchet Putty knife T25-TORXdriver Changing Doors 1. - Page 7 11. Removethe base grille by grasping at both ends and pulling it straight out. 12. Remove the hinge cover by squeezing both sides together. 13. Use a 5/16" socket and ratchet to remove the two screws from the bottomhinge. Save the spacer.
-
Page 8: Operation
The "No.g" freezer control setting is recom- mended for short term use only. Your refrigerator may run for several hours when you first start it. This is normal and shouldn't be cause for alarm. Changingeither control will have some effect on the temperatureof the other compartment. -
Page 9: Energy Tips
Check the temperature;avoid unnecessary cold settings. Keep the freezer full to near capacity; less cold air is lost during door openings. Let hot dishes cool before putting into refrigerator or freezer. Cover liquids; if uncovered,the unit must work longer. Clean refrigerator condenser coils at least twice a year. - Page 10 Refrigerator Compartment To maintain the natural flavor, moisture, and nutrition of fresh foods, we recommendthat all dishes, trays, and containersof food be covered. Shelves suit your special needs. To removea shelf, lift the rear straightup a fraction of an inch and pull straight out.
- Page 11 If the crisper shelf is not "_ level, adjust the support leg (see below). Models JRTE198, JRTE218,JRTDE228: Pushup on the glass cover from underneathand carefully remove. Leveling Crisper Shelf...
-
Page 12: Door Features
Bottle Retainer Some models havea bottle retainer located on the lower refrigerator door shelf. It prevents tall bottles from falling out when the door is opened or closed. The bottle retainer can be adjusted to any position on the shelf by sliding sideways. -
Page 13: Freezer Shelf
Tilting the basket forward by its upper edge provides easy access to packages. A slight push upward will tilt the basket back to its proper stored position. J RTE176) JRTDE228) FREEZER S HELF (Models JRTE198/JRTE218) "\-.-, _'_ ... -
Page 14: Optional Automatic Ice Maker
We suggest you start with your refrigeratorandfreezercontrolsattheirmidsettings. }nmostcases, thisis satisfactory. Ifthe door to the refrigerator or freezer is opened frequently or temperatures in the kitchen are abnormally high, a colder setting may be necessary. - Page 15 Starting or Stopping Your automaticicemaker is locatednear the top of the freezer compartmentbehind the Ice Access Panel. To gain access to the ice making mechanism,rift the ice Access Panel. The ice maker has a wire sensor arm that is the mechanismwhen the ice cube storage bin is full, and restarts it after several ice cubes have connectedto a shut-off switch.
- Page 16 When you first operate your dispenser or after recon- necting water to your refrigerator, air will escape from the dispenser for a few minutes beforewater begins to flow. Draw 10 glasses of water and empty them in the kitchen sink.
-
Page 17: Defrost Pan
Automatic Ice Maker, we recommend that you turn off the water supply before moving the cabinet. After cleaning behind your refrigerator, push it back and turn the levelers clockwise until they touch the floor and lock the cabinet in place. - Page 18 Condenser To a_low your refrigerator to run more efficiently, the basegrille and the area around thecondenser shouldbe cleanedat least one per year. The area around the condenser can be cleaned whenever the refrigerator is moved during routine house- away from the wall. Vacuum the condenser and cleaning.
-
Page 19: Replacing Light Bulbs
If you will be gone for a month or less, leave the control knob at its usual setting. During longer absences, (a) remove all food, (b) disconnect from electrical outlet, (c) clean the refrigerator thoroughly, including defrost pan, (d) leave doors open to prevent odor formation. -
Page 20: Before You Call For Service
Before You Call For Service Problems? Save yourself the nuisance of unnecessary service calls; check these first: Refrigerator runs too frequently. • Frequent running provides more stable temperatures. ° Too many door openings. • Prolonged door openings. Refrigerator runs too long. - Page 21 Noisy operation. • Fan noise perfectly normal in frost-free refrigerators. You may not be used to this if previous model was manual defrost. • Cabinet not level. • Weak floor. Defrost pan not positionedcorrectly. Odor in cabinet. • Defrost pan needs cleaning, •...
- Page 22 Be sure to retain proof of purchaseto verify warranty status. Refer to WARRANTY for further information of owner's responsibilities for warranty service. • If the dealer or service company cannot resolve the problem, write to Jenn-Air CustomerAssistance,c/o MaytagCustomerService,PO Box2370, Cleveland,TN 37320-2370, 615o559-3646.
- Page 23 Important Information Model Number Bill of Material Number Date Purchased JENN-AIR DEALER FROMWHOM PURCHASED Address City Phone AUTHORIZEDSERVICECONTRACTOR Address City Phone IMPORTANT: Retainproof of purchase documents for warranty service Serial Number...
Need help?
Do you have a question about the JRTDE228 and is the answer not in the manual?
Questions and answers