Advertisement
Advertisement

Related Manuals for Yamato DP-6100GP


Summary of Contents for Yamato DP-6100GP
- Page 1 DIGITAL PLATFORM SCALE MODEL DP-6100GP OPERATING INSTRUCTIONS YAMATO CORPORATION YAMATO TECH CORPORATION P.O. Box 15070 #112-19425 Langley By-Pass Colorado Springs, CO 80935-5070 Surrey, B.C. V3S 6K1 U.S.A. Canada Phone (719) 591-1500, Fax (719) 591-1045 Phone (604) 533-2338, Fax (604) 533-0827...
-
Page 2: Table Of Contents
SECTION 1: TABLE OF CONTENTS Section Page 1) Table of Contents 2) Display and Key Functions 3) Setup 4) On/Off, 0/Clear, Net/Gross, and Lb/Kg Keys 5) One Touch Taring 6) Preset Taring 7) Over/Under Weighing 8) Error Messages 9) Maintenance... -
Page 3: Display And Key Functions
SECTION 2: DISPLAY AND KEY FUNCTIONS Display Indicators Key Functions... -
Page 4: Setup
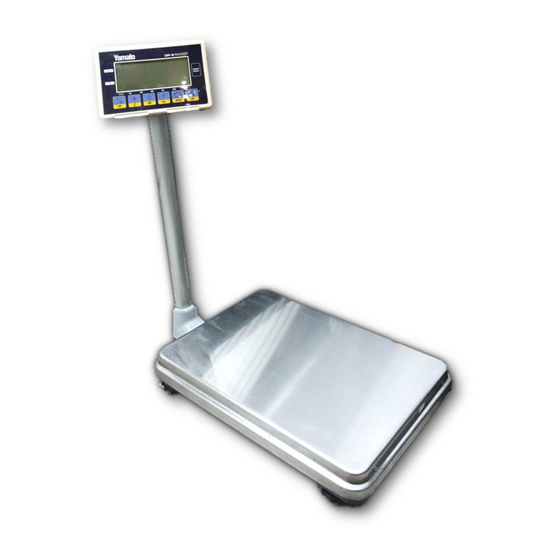
SECTION 3: SETUP Mount column securely (Figure 1). • Insert column (1) into base collar (2). • Fasten screws (3) and (4). Figure 1 Insert 4 D-size batteries in indicator housing. • Open indicator housing by pulling tab, located on right rear of housing, forward. -
Page 5: On/Off, 0/Clear, Net/Gross, And Lb/Kg Keys
SECTION 4: ON/OFF, 0/CLEAR, NET/GROSS, AND LB/KG KEYS key: Press this key to turn scale on and off. At power up, all segments of the display will flash approximately 4 times, followed by a weight display of zero, a center zero indication, a stable indication, a lb and/or kg indication, and a gross indication. -
Page 6: One Touch Taring
SECTION 5: ONE-TOUCH TARING Operational Procedure Display and Indication Place container on platform. ex. weight of container = 0.5 lb Press the key. The weight indication changes to "0.00" and the tare indicator is lit. WEIGHT Weighing Put product to be weighed in container on platform. -
Page 7: Preset Taring
SECTION 6: PRESET TARING If the tare value is known in advance, you can use the preset tare option. Operational Procedure Display and Indication Switch to Tare Setting mode WEIGHT Press and hold the key, SETTING then press the key. Tare indictor and first digit blink. - Page 8 SECTION 6: PRESET TARE (CONT.) Operational Procedure Display and Indication Place container on platform. WEIGHT The display indicates "0.00". WEIGHT Weighing Place product in container. Display indicates net weight of product. Clearing Preset Tare WEIGHT Remove container and product. Press and hold the key, SETTING then press the...
-
Page 9: Over/Under Weighing
SECTION 7: OVER/UNDER WEIGHING Setting Lower Limit Operational Procedure Display and Indication WEIGHT Press the key to enter SETTING setup. "Under" indicator and first digit blink. Keypad Operation Setting the value Press to shift blinking digit left. Blinking digit is ready to be edited. When lower limit setup is complete, Press to decrease blinking digit. - Page 10 SECTION 7: OVER/UNDER WEIGHING (CONT.) Setting Upper Limit Operational Procedure Display and Indication Keypad Operation Setting the value Press to shift blinking digit left. Blinking digit is ready to be edited. When setup is complete, press Press to decrease blinking digit. to enter weighing mode.
- Page 11 SECTION 7: OVER/UNDER WEIGHING (CONT.) Clearing Limits Operational Procedure Display and Indication Press the to enter setup. SETTING Preset value will displayed. Press the key to reset lower limit. Press the key and repeat SETTING above for upper limit. Note: 1) If the upper limit is accidentally set to 0, the over/under mode will not work. 2) If the upper limit is set to a smaller value than the lower limit, an error message will be displayed.
-
Page 12: Error Messages
SECTION 8: ERROR MESSAGES Error Message Possible Cause Action Taken key, or key, is pressed Remove the item CLEAR and press the when too heavy of an item is on the platform. key. CLEAR key is pressed when something Remove the item stuck between the is stuck between the upper and covers or replace... -
Page 13: Maintenance
SECTION 9: MAINTENANCE 1) Do not place scale in direct sunlight or direct wind (heating ducts, etc.). 2) Set scale in an area free of vibration. 3) Set scale on a firm, level surface. 4) Operate in temperatures between -5 C and 40 C. 5) Do not use strong solvents to clean scale.
Need help?
Do you have a question about the DP-6100GP and is the answer not in the manual?
Questions and answers