Table of Contents
Advertisement
Advertisement
Table of Contents

Related Manuals for Quick MILL Alexia


Summary of Contents for Quick MILL Alexia
-
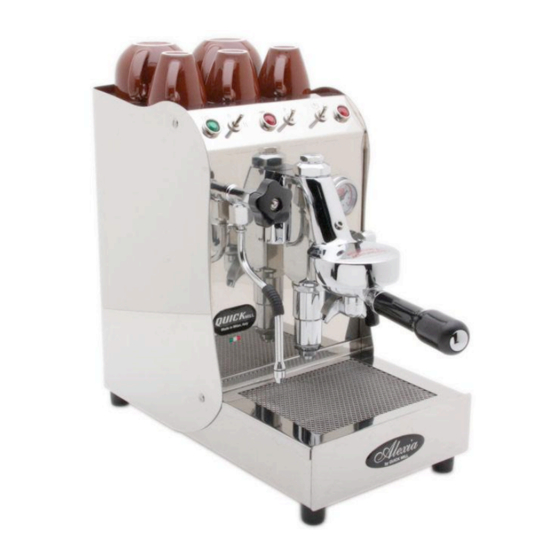
Page 1: Espresso Machine
Alexia Espresso Machine Made In Italy Owner’s Manual ... -
Page 2: Table Of Contents
Alexia Espresso Machine Table Of Contents Table Of Contents ........................1 Diagrams ..........................2 Introduction ..........................3 First Time Set Up ........................3 Before Each Use ........................4 Normal Operation ........................5 Gauges ............................5 ... -
Page 3: Diagrams
Alexia Espresso Machine Diagrams 1. Power Indicator Light 2. Power Switch 3. Heating Indicator Light 4. Hinged Reservoir Door 5. Water Reservoir 6. Cup Warming Tray 7. Pump Switch 8. Steam Mode Switch 9. Steam Mode Indicator Light 10. Portafilter 11. Steam/Hot Water Wand 12. -
Page 4: Introduction
Alexia Espresso Machine Introduction First of all, thank you for your business! You are going to love your new Alexia espresso machine. It combines classic beauty, value, and great performance for making the best espressos, cappuccinos, and lattes you’ve ever tasted! These instructions include tips that will help bring out the Barista that’s hidden within! Enjoy your new machine! First Time Set Up ... -
Page 5: Before Each Use
Alexia Espresso Machine First Time Set Up, Continued Before plugging the machine in, verify the steam knob is closed and the brew lever is in the down position. Also make sure the power switch is in the center off “O” position and the drip tray is in place. Power Switch Plug the machine into the... -
Page 6: Normal Operation
Alexia Espresso Machine Normal Operation Gauge The gauge is for your pump (brew) pressure. When sitting idle the gauge is reading trapped pressure and may vary. To get an accurate pump pressure reading install the backflush disc in the portafilter and lock it into the grouphead and raise the brew lever. -
Page 7: Pump
Alexia Espresso Machine Normal Operation, Continued Pump The machine is equipped with a 52W vibratory pump. Vibratory pumps can be loud by nature and their tone may change during the course of a shot which is normal. The pump (brew) pressure is regulated by the expansion valve. To learn how to set the pump pressure please refer to the maintenance section of the owner’s manual. -
Page 8: Brewing Espresso
Alexia Espresso Machine Water Reservoir Depending on your water quality it may be necessary to periodically sanitize the reservoir or if you are using hard water and have a mineral build up inside. White vinegar can be used to sanitize and will also remove the mineral deposits that can accumulate. -
Page 9: The Grind
A cleaning brush has also been included to clean the group screen and gasket. Setting Coffee Brew Temperature The Alexia is equipped with an adjustable dial thermostat for the coffee brew temperature. To adjust the temperature, unplug the machine from the outlet and remove the outer shell. -
Page 10: Steaming Milk - Basics
Alexia Espresso Machine Setting Coffee Brew Temperature With PID Models The Alexia can be ordered with an optional PID controller. The PID controller provides much better temperature control and the temperature can be easily changed without having to open the machine up. -
Page 11: Steaming Milk - Technique
Alexia Espresso Machine Steaming Milk – Basics – Too little milk in your frothing pitcher will cause splashing when you turn on Amount of Milk the steam arm; too much milk will cause overflow and make a huge mess. The pitcher must be filled between 1/3 to 1/2 full to have the maximum capacity for properly steaming milk. -
Page 12: Steaming Milk - Tips
Alexia Espresso Machine Steaming Milk – Technique Using a steaming thermometer is helpful when you are learning to steam milk. As you gain more experience and become more comfortable with the process you will be able to steam milk without the help of a thermometer. If you notice in the procedure above we mention temperatures ... -
Page 13: Hot Water Wand Operation
Alexia Espresso Machine Hot Water Wand Operation To use the steam wand for hot water for tea or Americano’s the machine must be in coffee mode. Position the container under the steam wand and open the steam knob and then activate the pump switch. When the water has reached the desired level then turn off the pump switch and close the steam knob. -
Page 14: Backflushing With Espresso Machine Cleaner
Alexia Espresso Machine is the same procedure as above Backflushing with espresso machine cleaner with a few minor differences. The first difference is backflushing with espresso machine cleaner only needs to be done approximately once a month or every 35-50 espressos. I don't recommend backflushing with cleaner more often than once every three weeks since overuse will remove oils that lubricate the brew lever and valves. -
Page 15: Setting Pump Pressure On Older Models
The group gasket is a black rubber gasket that makes the seal between the portafilter and the group head. We recommend replacing the gasket on a yearly basis which will make the replacement procedure much easier. The Alexia uses an E61 8.5mm gasket. They can be purchased from our website at the link below. -
Page 16: Gasket And Screen Removal
Alexia Espresso Machine Group Gasket and Screen Removal There are two ways to remove the group gasket and shower screen depending on how old they are. If you replace the group gasket yearly then the first method shown is recommended. If the gasket is older and dried out then the second method shown will be necessary. -
Page 17: Cleaning The Group
Alexia Espresso Machine Cleaning The Group Before installing the new gasket and screen it is very important to clean the group head. Make up a solution of hot water and backflushing cleanser. Using the provided cleaning brush and cleanser, clean the group head and be sure the groove that the gasket sits in is completely free of any residual gasket material and coffee grounds or the new gasket will not seat properly. -
Page 18: Descaling
Alexia Espresso Machine Group Gasket And Screen Installation Step 3 With the gasket and screen in the portafilter, press the portafilter into the group head as shown. Apply equal upward pressure on the portafilter so the gasket goes in evenly. Once... -
Page 19: Troubleshooting
Alexia Espresso Machine Troubleshooting No Steam From Steam Wand Make sure the machine has been turned on for at least 15 minutes with the power switch in the “II” heating position and the steam switch in the on position. Check the steam tip for a blockage. Clean steam tip holes with a paper clip. -
Page 20: Not Heating
Alexia Espresso Machine Troubleshooting – Continued Not Heating Verify the machine is plugged into the outlet and the outlet has power. Verify the power switch is in the “II” heating position. Check the resettable hi-limit switch on the boiler. Unplug the machine from the outlet and remove the outer body panels. -
Page 21: Espresso Coming Out Too Slow Or Not At All
Alexia Espresso Machine Troubleshooting – Continued Espresso Coming Out Too Slow Or Not At All Install the backflush disc into your portafilter and then lock it into the group head. Raise the brew lever to check the pump pressure. Recommended setting with the backflush disc is 9.5-10 bar. -
Page 22: Warranty
Alexia Espresso Machine Warranty The Alexia comes with a 1 year warranty starting from the original date of purchase to protect against defects in materials or workmanship. The warranty is void if the product has been damaged by abuse, neglect, or modification. For more detailed information about the warranty please visit our website at the following link: http://www.chriscoffee.com/policy...
Need help?
Do you have a question about the Alexia and is the answer not in the manual?
Questions and answers