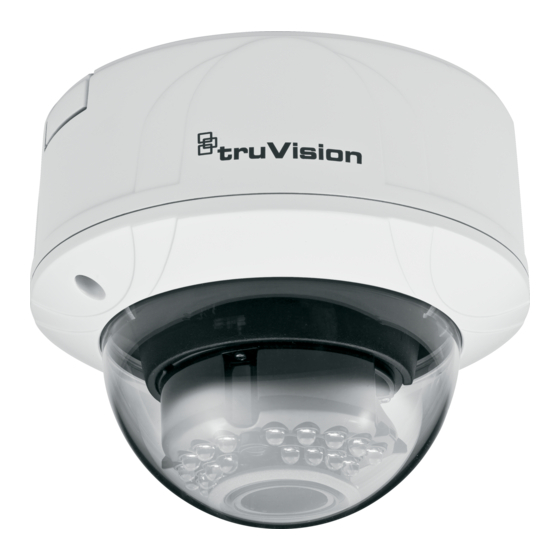
Interlogix TruVision Installation Manual
Indoor ip dome camera
Hide thumbs
Also See for TruVision:
- User manual (169 pages) ,
- Quick start manual (113 pages) ,
- Configuration manual (68 pages)
Summary of Contents for Interlogix TruVision
-
Page 1: Dome Installation
TruVision Indoor IP Dome Installation Manual P/N 1072625A-EN • REV 1.0 • ISS 10APR13... - Page 2 © 2013 UTC Fire & Security Americas Corporation, Inc. Copyright Interlogix is part of UTC Climate Controls & Security, a unit of United Technologies Corporation. All rights reserved. The Product Name and logo are trademarks of United Technologies. Trademarks and...
-
Page 3: Table Of Contents
Mounting the dome cameras on a ceiling 10 Mounting the wedge dome cameras on a ceiling 12 Using the camera with an Interlogix NVR or Hybrid DVR and other systems 14 Using the camera with TruVision Navigator 14 ... -
Page 4: Features
TruVision IP wedge dome: TVD-M1210W-2-N(-P) (1.3 megapixel) TVD-M1210W-2W-N(-P) (1.3 megapixel) TVD-N210W-4-N(-P) (VGA) TVD-M2210W-4-N(-P) (2 megapixel) Features This section describes the camera features. Supports TCP/IP, HTTP, DHCP, DNS, DDNS, RTP/RTSP, PPPoE, SMTP, and NTP protocols Programming and setup through a browser interface ... -
Page 5: Package Contents
Hex wrench Installation manual CD with Configuration Manual and TruVision Device Finder CAUTION: Use direct plug-in UL listed power supplies marked Class 2/CE certified or LPS (limited power source) of the required output rating as listed on the unit. -
Page 6: Camera Description
Cable type Requirements Power 12 VDC cable Camera description Figure 1: IP dome and IR dome cameras Figure 2: IP wedge dome camera Setting up the camera Note: If the light source where the camera is installed experiences rapid, wide- variations in lighting, the camera may not operate as intended. -
Page 7: Connecting The Devices
For further information, please refer to the “TruVision IP Camera Configuration Manual”. Program the camera to suit its location. For further information, please refer to the “TruVision IP Camera Configuration Manual”. To quickly put the wedge dome camera into operation: Prepare the mounting surface. - Page 8 Figure 3: Connections on the base of the dome and IR dome cameras Ground RS-485 D+, D- Connect to ground. Connect to an RS-485 device such as a PTZ unit. Ethernet RJ45 PoE port Connect to network devices. Alarm outputs Connect 1A/1B and 2A/2B to Audio output alarm output devices.
-
Page 9: Accessing The Sdhc Card
Note: The wedge dome does not support a SDHC card. Video and log files stored on the SDHC card can only be accessed via the web browser. You cannot access the card using TruVision Navigator or a hybrid DVR. Installation Manual... -
Page 10: Mounting The Dome Cameras On A Ceiling
Figure 6: SDHC card slot location in the dome cameras SDHC card slot Mounting the dome cameras on a ceiling Mount the dome cameras on a ceiling. They are not recommended for mounting on a wall. Note: If required, cables can be feed through the sides of the dome housing by removing the tabs (1) using a pliers (see Figure 7 below). - Page 11 In the middle of the mounting plate make a hole in the ceiling to access the cabling. If needed, seal all mounting holes so that no moisture can leak into the mounting surface. Insert the fixation pins of the dome camera housing into the fixation slots in the mounting plate (1).
-
Page 12: Mounting The Wedge Dome Cameras On A Ceiling
Video cable for testing RCA video output connector (supplied) Lens adjustment screw 10. Remove the temporary video cable and reattach the camera cover. Tighten the fixed screws. Ensure that the camera is firmly attached to the mounting bracket. 11. Connect a 12 VDC power supply to the power cable. Mounting the wedge dome cameras on a ceiling Mount the wedge dome camera on a ceiling. - Page 13 Pull the camera’s cabling through the ceiling hole and connect to the devices and power. If needed, seal all mounting holes so that no moisture can leak into the mounting surface. Adjust the camera’s angle of view while watching the image on a monitor. Loosen the lens positioning screws (1).
-
Page 14: Using The Camera With An Interlogix Nvr Or Hybrid Dvr And Other Systems
Using the camera with TruVision Navigator A camera must be connected to an Interlogix NVR or hybrid DVR in order to be operated by TruVision Navigator. Please refer to the TruVision Navigator user manual for instructions on operating the camera with the TruVision Navigator. -
Page 15: Ip Wedge Dome Cameras
Operating temperature -10 to +60°C (14 to 140°F) Environmental rating Indoor vandal-resistant PC requirements Intel-based PC 1 GHz or faster Memory I GB RAM Operating system Windows® XP, Vista or Windows 7 Direct X 9.0 or later Browser Microsoft Internet Explorer 6.0 or later IP wedge dome cameras Electrical Voltage input... -
Page 16: Pin Definitions
PC requirements Intel-based PC 1 GHz or faster Memory I GB RAM Operating system Windows® XP, Vista or Windows 7 Direct X 9.0 or later Browser Microsoft Internet Explorer 6.0 or later Pin definitions There are eight wires on a standard UTP/STP cable and each wire is color- coded.


Need help?
Do you have a question about the TruVision and is the answer not in the manual?
Questions and answers