Sign In
Upload
Download
Table of Contents
Contents
Add to my manuals
Delete from my manuals
Share
URL of this page:
HTML Link:
Bookmark this page
Add
Manual will be automatically added to "My Manuals"
Print this page
×
Bookmark added
×
Added to my manuals
Manuals
Brands
Husqvarna Manuals
Trimmer
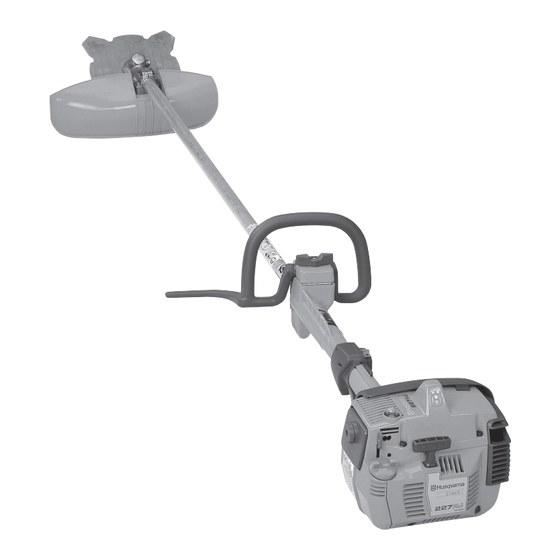
227RJ
Operator's manual
Husqvarna 227RJ Operator's Manual
Husqvarna trimmer operator's manual
Hide thumbs
1
2
Table Of Contents
3
4
5
6
7
8
9
10
11
12
13
14
15
16
17
18
19
20
21
22
23
24
25
26
27
28
29
30
31
32
33
34
35
36
page
of
36
Go
/
36
Contents
Table of Contents
Bookmarks
Table of Contents
Symbol Explanation
Symbols
Contents
Table of Contents
List of Contents
Safety Instructions
Personal Protective Equipment
The Machine's Safety Equipment
Cutting Attachment Guard
Vibration Damping System
Cutting Equipment
Locking Nut
Control, Maintenance and Service of the Machine's Safety Equipment
Cutting Equipment
Filing the Grass Blade
Trimmer Head
General Safety Instructions
Fuel Safety
Transport and Storage
General Working Instructions
Basic Working Techniques
What Is What
What Is What on the Trimmer
Assembly
Assembling the J-Handle
Assembly of the Trimmer Head
Assembling the Spray Guard and Trimmer Head
Superauto II
Assembling Other Guards and Cutting Equipment
Assembling the Blade Guard and Grass Blade
Fuel Handling
Fuel Mixture
Fuelling
Start and Stop
Control before Starting
Basic Setting
Operation
Maintenance
Carburetor
Muffler
Cooling System
Spark Plug
Air Filter
Angle Gear
Maintenance Schedule
Technical Data 227Rj
Technical Data
227Rj
Emission Control Warranty Statement
Your Warranty Rights and Obligations
Trimmy Hit Pro
Trimmy SII
Advertisement
Quick Links
1
Fuel Mixture
2
Carburetor
3
Technical Data
Download this manual
227RJ 232RJ 240RJ
Operator's manual
Read through the Operator's Manual carefully and
understand the content before using the machine.
(EPA)
101 91 68-95
Table of
Contents
Previous
Page
Next
Page
1
2
3
4
5
Advertisement
Table of Contents
Need help?
Do you have a question about the 227RJ and is the answer not in the manual?
Ask a question
Questions and answers
Related Manuals for Husqvarna 227RJ
Trimmer Husqvarna 240RJ Operator's Manual
Ryobi trimmer operator's manual (37 pages)
Trimmer Husqvarna 240L, 232L, 227L/LD Operator's Manual
Husqvarna gas hedge trimmer operator's manual (32 pages)
Trimmer Husqvarna 225L, 225LD, 227L, 227LD, 232L, 240L Operator's Manual
Clearings saws (25 pages)
Trimmer Husqvarna 227R/RD Operator's Manual
Husqvarna grass trimmer operator's manual (36 pages)
Trimmer Husqvarna 227R, 227RD, 232R, 232RD, 235R Operator's Manual
Husqvarna hedge trimmer operator's manual (44 pages)
Trimmer Husqvarna 232R Operator's Manual
Grass trimmer (44 pages)
Trimmer HUSQVARNA 223L Operator's Manual
Epa (36 pages)
Trimmer Husqvarna 225E Operator's Manual
Husqvarna gas trimmer operator's manual (24 pages)
Trimmer Husqvarna 225H60 Operator's Manual
Husqvarna electric hedge trimmer operators manual 225h60, 225h75 (20 pages)
Trimmer Husqvarna 223R Operator's Manual
Husqvarna operator's manual trimmer (32 pages)
Trimmer Husqvarna 225BX-SERIES Operator's Manual
(28 pages)
Trimmer Husqvarna 224L Operator's Manual
Owners manual (36 pages)
Trimmer Husqvarna 224L Operator's Manual
Grass trimmer (84 pages)
Trimmer Husqvarna 226HD Operator's Manual
(40 pages)
Trimmer Husqvarna 226R Operator's Manual
(128 pages)
Trimmer Husqvarna 220iL Operator's Manual
(60 pages)
This manual is also suitable for:
232rj
240rj
Table of Contents
Print
Rename the bookmark
Delete bookmark?
Delete from my manuals?
Login
Sign In
OR
Sign in with Facebook
Sign in with Google
Upload manual
Upload from disk
Upload from URL


Need help?
Do you have a question about the 227RJ and is the answer not in the manual?
Questions and answers