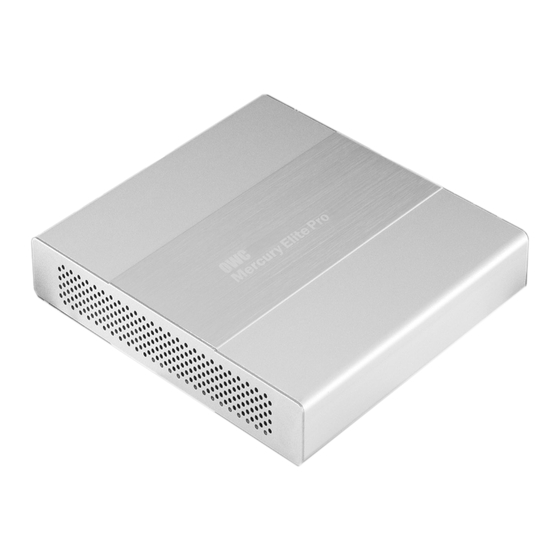
OWC MERCURY ELITE PRO DUAL MINI Assembly Manual & User Manual
Hide thumbs
Also See for MERCURY ELITE PRO DUAL MINI:
- Assembly manual (28 pages) ,
- Assembly manual & user manual (24 pages) ,
- Quick start manual (10 pages)
Table of Contents
Advertisement
Quick Links
Advertisement
Table of Contents

Summary of Contents for OWC MERCURY ELITE PRO DUAL MINI
- Page 1 M E R C U R Y E L I T E P R O D U A L M I N I Assembly Manual & User Guide...
-
Page 2: Table Of Contents
2.3.1 Changing the RAID Mode 2.3.2 RAID Modes 2.4 Drive Failure .................10 2.4.1 Replacing Drives SUPPORT RESOURCES 3.1 Formatting ................11 3.2 Troubleshooting ..............11 3.3 About Data Backup .............11 3.4 Online Resources..............11 3.5 Contacting Technical Support ..........11 OWC MERCURY ELITE PRO DUAL MINI CONTENTS... -
Page 3: Introduction
Standard-A to Type-C cable and cable Not pictured: If the Mercury Elite Pro Dual mini was purchased without drives, a packet of screws is included. 1.3 About This Manual The images and descriptions may vary slightly between this manual and the unit shipped. Functions and features may change depending on the firmware version or driver version, if applicable. -
Page 4: Safety Precautions
Never expose your device to rain, or use it near water or in damp or wet conditions. Never place objects containing liquids on the drive, as they may spill into its openings. Doing so increases the risk of electrical shock, short-circuiting, fire or personal injury. OWC MERCURY ELITE PRO DUAL MINI INTRODUCTION... -
Page 5: Front View
1.4 Front View 1 & 2 LEDs — these LEDs represent the two drives inside the Mercury Elite Pro Dual mini. When the device is powered on but there is no drive activity, the LEDs will display solid blue. When there is drive activity for one or... -
Page 6: Usage Notes
You can use the methods described below to safely unmount your disk(s). • Currently the Mercury Elite Pro Dual mini is not compatible with the USB-C port on the OWC USB-C Dock. Please connect to one of the USB Standard-A ports instead. -
Page 7: Device Setup
2.1 Quick Start Follow the steps below to use the OWC Drive Guide utility to format your Mercury Elite Pro Dual mini for Mac OS X or Windows. If you installed your own drives, please use the formatting method you are most familiar with or check Section 3.1 for a link to our online formatting tips. - Page 8 SATA ports on the printed circuit board. Repeat Steps 4 and 5 with the second SATA drive. 6. Flip the outer enclosure so that its rubber feet are facing up and oriented as shown above. OWC MERCURY ELITE PRO DUAL MINI DEVICE SETUP...
- Page 9 10. Turn the inner chassis over and visually inspect the two drives to ensure they are properly aligned before moving on to the next step. OWC MERCURY ELITE PRO DUAL MINI DEVICE SETUP...
- Page 10 13. Pick up the rear cover, carefully align the cutouts with the ports on the back of the inner chassis, the re-affix the two screws. This completes the assembly process. OWC MERCURY ELITE PRO DUAL MINI DEVICE SETUP...
-
Page 11: Raid Settings
When starting from a powered-off state, rotate the dial on the back of the enclosure to the desired RAID mode, then power on the Mercury Elite Pro Dual mini and immediately press the SET button for three seconds. The LEDs on the front will blink; once the blinking stops the new array has been built. You can access and format the disk in the OS at this time. -
Page 12: Drive Failure
2.4.1 Replacing Drives If the Mercury Elite Pro Dual mini is set up as a RAID 1, a drive that has failed can be replaced. The data will remain accessible via the functioning drive until the array is rebuilt with a new drive. If the enclosure was purchased with drives and it is still under warranty, contact OWC technical support for assistance (see Section 3.5). -
Page 13: Support Resources
See Section 2.4 for steps on how to replace a drive (including how to rebuild a RAID 1 array) if you are sure the drive has failed. If the Mercury Elite Pro Dual mini is not past the three year warranty period, or if you need assistance for other reasons, Section 3.5 provides information for contacting... - Page 14 Warranty: The Mercury Elite Pro Dual mini has a 3 Year OWC Limited Warranty if it was bundled with drives. Mercury Elite Pro Dual mini enclosures that do not ship with drives have a 1 Year OWC Limited Warranty. Please check the web site for details.


Need help?
Do you have a question about the MERCURY ELITE PRO DUAL MINI and is the answer not in the manual?
Questions and answers