Broseley Canterbury Installation And Operation Manual
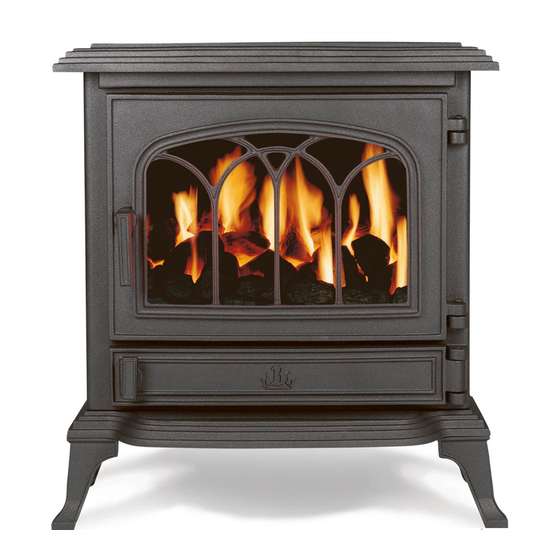
Cast iron multi-fuel stove
Hide thumbs
Also See for Canterbury:
- Installation, servicing and operation manual (19 pages) ,
- Installation and operation manual (19 pages) ,
- Installation & operating instructions manual (19 pages)

Related Manuals for Broseley Canterbury


Summary of Contents for Broseley Canterbury
- Page 1 Installation and Operation Manual CANTERBURY MULTI-FUEL STOVE Revision: GB07 Revision: GB07c c c c Revision: GB07 Revision: GB07...
-
Page 2: Health And Safety Precautions
INSTALLATION AND OPERATION MANUAL Thank You May we take this opportunity to thank you for choosing a Canterbury, cast iron Multi-fuel stove. Please take time to read this manual and follow the guidelines on how to install and operate your new stove, as we feel sure it will enable you to use it to its best advantage for many years. -
Page 3: Installation Of Stove
INSTALLATION OF STOVE These instructions cover the basic principles to ensure the satisfactory installation of the stove, although detail may need slight modification to suit particular local site conditions. In all cases the installation must comply with current Building Regulations, Local Authority Byelaws and other specifications or regulations as they affect the installation of the stove. - Page 4 2. The appliance should be sited in a properly constructed brick fireplace or recess allowing a gap of 100mm all round, at the rear and both sides. The fireplace walls must be made of solid non combustible material and at least 75mm thick. It is possible to reduce the all round clearance to 75mm but this will reduce the ability of the appliance to heat the room and could lead to over firing of the stove and structural damage to the surround.
- Page 5 This stove requires a chimney (not the flue pipe) with a diameter of 225mm. If the chimney and cavity are larger, this may result in less than optimum performance to an extent where it may require a liner to improve the draw and performance of the stove. The liner diameter must not be less than 150mm.
-
Page 6: Combustion Air Supply
Connection to Chimney Flue A single wall metal fluepipe is suitable for connecting the stove to the chimney but is not suitable for using for the complete chimney. It is important that the connection between the stove spigot and the flue pipe is effectively sealed with glass fibre rope and/or cement to prevent harmful gases leaking into the room. - Page 7 The minimum requirement for this stove is a vent measuring 50x55mm giving a total area of 2750 square millimetres. This does not have to be in an outside wall and may be sited at the top of an internal wall perhaps adjacent to a hallway. This will allow air entering the room to mix with the warm air, reducing the effects of draughts.
-
Page 8: Operation Of Stove
and mortar to dry out, when a small fire may be lit and checked to ensure the smoke and fumes are taken from the stove up the chimney and emitted safely to atmosphere. Do not run at full output for at least 24 hours. On completion of the installation and commissioning ensure that this installation and operation manual for the stove is left with the customer. -
Page 9: Air Controls
Air Controls The stove is fitted with a primary air control and a secondary air control (air wash) which together control the rate at which the fuel is burned. The sections “Air-wash system” and “Starting and maintaining the fire” give more detail of their operation and usage. -
Page 10: Permanent Air Vent
The Opening and Closing Grate The grate mechanism allows ash to drop through into the ashpan, therefore collecting ash prior to being removed. This allows proper circulation of air throughout the under grate area. When burning solid fuels, keep the grate in the open position. - Page 11 Under NO circumstances burn ‘petroleum coke’ as it will burn out the internal grate and baffle plates in a very short period of time and may damage the stove beyond repair. Only burn dry, seasoned wood. This will give a good heat yield and help to keep the glass clean.
-
Page 12: Burning Solid Fuel
BURNING SOLID FUEL Solid fuel needs a flow of air for combustion though the bottom of the grate. Wood does not require this and will readily burn on a bed of ash with a flow of air over the top. When burning solid fuel make sure that the grate is in the open position (side rod pushed in). -
Page 13: Chimney Fires
WARNING NOTE Properly installed, operated and maintained this appliance will not emit fumes into the dwelling. Occasional fumes from de-ashing and re-fuelling may occur. However persistent fume emission is potentially dangerous and must not be tolerated. If fume emission does persist, the following immediate actions should be taken:- a) Open doors and windows to ventilate the room. - Page 14 The outside can be cleaned with a soft brush. Use a lint free cloth if necessary but test an area first. Do not use abrasive cleaners as this will remove the paint and may leave a chalky deposit. Under no circumstances use a yellow duster as the fibres will stick to the rough surface of the stove and will produce a pungent odour next time the stove is used! If the stove has a period of non-use leave the primary and secondary air controls in...
-
Page 15: Troubleshooting
Trouble-Shooting 1. Smoke comes out of the stove when the loading door is opened. • The chimney cavity into which the 125mm flue pipe has been installed may be less than the minimum requirement. • Deposits (soot) may have built up in the chimney and be restricting the flow of waste products. - Page 16 If during the warranty period, this Product fails to operate under normal use and service, due to defects in material and / or workmanship, Broseley Fires will either repair or replace the product. The repaired or replaced product shall be warranted for the remaining period of the original warranty + the time taken to days from the date of repair, whichever is longer.
Need help?
Do you have a question about the Canterbury and is the answer not in the manual?
Questions and answers