Datavideo DAC-70 Quick Start Manual
Up / down cross converter
Hide thumbs
Also See for DAC-70:
- Instruction manual (20 pages) ,
- Instruction manual (25 pages) ,
- Instruction manual (18 pages)

Related Manuals for Datavideo DAC-70


Summary of Contents for Datavideo DAC-70
-
Page 1: Quick Start Guide
Up / Down Cross Converter DAC-70 Quick Start Guide www.datavideo.com Jun-10.2013 P/N: G082060577B1... -
Page 2: Table Of Contents
Table of Contents Warnings and Precautions .......... 2 Packing List ..............4 Introduction ..............4 Features ..............4 Functions ..............5 Front Panel .............. 5 Rear Panel ............... 6 DIP Switch Mode Selection: ........7 Firmware Upgrade ............8 DAC-Center Utility ............9 Dimensions .............. -
Page 3: Warnings And Precautions
This product should only be operated from the type of power source indicated on the marking label of the AC adapter. If you are not sure of the type of power available, consult your Datavideo dealer or your local power company. - Page 4 spill liquid of any kind onto or into this unit. 12. Except as specifically explained elsewhere in this manual, do not attempt to service this product yourself. Opening or removing covers that are marked “Do Not Remove” may expose you to dangerous voltage points or other risks, and will void your warranty.
-
Page 5: Packing List
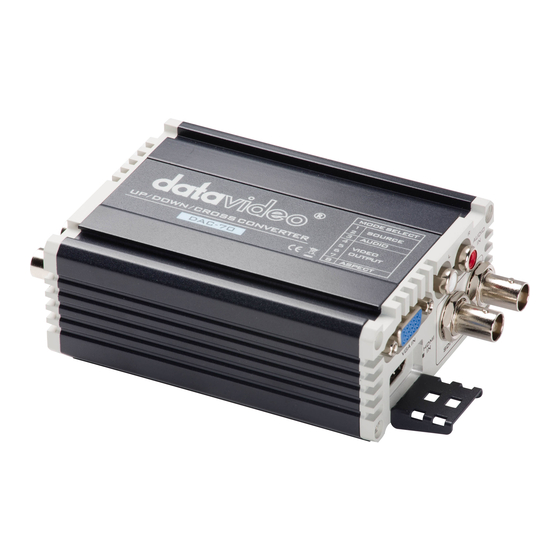
Accessory Note Quick Start Guide Introduction Datavideo DAC-70 up/ down cross converter is for conversation between SD and HD video formats. It allows instantly switch between SD and HD video formats automatically when the video input changes. Compatible with the advanced 3GB/s SDI, the converter includes a built-in mini-USB connection for future updates and video format compatibility. -
Page 6: Functions
Functions Front Panel Mode Select Video source, audio source, output video format & aspect ratio select. Source Indicator Display video source format. HDMI OUT Video and Audio output from HDMI. HD/SD - SDI OUT Video and Audio output from SDI. DC In Socket Connect the supplied 12V PSU to this socket. -
Page 7: Rear Panel
Rear Panel Video In Connect your VGA equipment to this connector HDMI Input Video and Audio input from HDMI. AUDIO In 2 channels RCA unbalanced audio input. HD-SDI In HD - SDI input and Loop-through output connectors. -
Page 8: Dip Switch Mode Selection
DIP Switch Mode Selection:... -
Page 9: Firmware Upgrade
Firmware Upgrade If you need update DAC-70’s firmware please check the User Adjust Tool www.datavideo.com download the tools. CD or you can link Firmware is upgradable in the field using the integrated USB port. Step 1- Open upload firmware program tools.exe, connect unit to PC by... -
Page 10: Dac-Center Utility
DAC-Center Utility Settings the video source, audio source, picture adjusts...etc. Please copy ‘’DAC-70 Center.exe ’’ tool from ‘’User Adjust Tool‘’ CD before you setting. 1. Information – display the input format & firmware version. 2.1 Press “Video” to setting the video source. - Page 11 2.2 Setting the input source, aspect ratio, output format. 2.3 Setting the HDMI output color, HDMI output range.
- Page 12 3.1 Press “Audio” to setting the audio source. 3.2 Setting the audio mute, audio source & audio level...
- Page 13 4.1 Press “Proc AMP” to setting the picture adjusts. 4.2 Setting the Brightness, Contrast, Hue and Saturation values.
- Page 14 5.1 Press “Setting” into the factory default window. 5.2 Press “Factory Default”, reset the DAC-70 to factory default.
-
Page 15: Dimensions
Dimensions... -
Page 16: Specifications
Specifications Input VGA x 1, HDMI x 1 , HD/SD-SDI x 1, Analog Audio L/R Output SDI x 2, HDMI x 1, SDI Loop thru out(front panel) ● Firmware upgrade Mini USB ● Aspect Mode selection ● SDI (YUV) input 3G-SDI: 1080p60/50 1080p59.94 HD-SDI: 1080i60/50, 1080p30/25/24, 720p60/50 1080i59.94, 1080p29.97, 1080p23.98, 720p59.94... -
Page 17: Service & Support
It is our goal to make your products ownership a satisfying experience. Our supporting staff is available to assist you in setting up and operating your system. Please refer to our web site www.datavideo-tek.com for answers to common questions, support requests or contact your local office below.
Need help?
Do you have a question about the DAC-70 and is the answer not in the manual?
Questions and answers