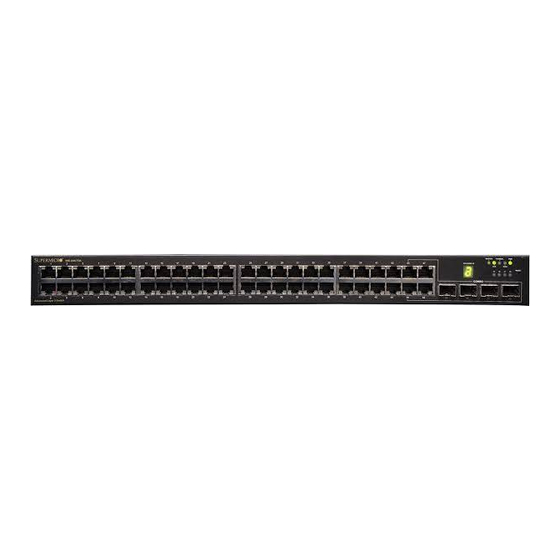
Supermicro SSE-G48-TG4 Quick Configuration Manual
Switch
Hide thumbs
Also See for SSE-G48-TG4:
- Reference manual (985 pages) ,
- Configuration manual (85 pages) ,
- Quick configuration manual (24 pages)

Related Manuals for Supermicro SSE-G48-TG4


Summary of Contents for Supermicro SSE-G48-TG4
- Page 1 Supermicro Switch Quick Configuration CLI Guide Switch Quick Configuration CLI Guide for SSE-G48-TG4 SSE-G24-TG4 SSE-X24S SBM-GEM-X2C SBM-GEM-X2C+ SBM-GEM-X3S+ SBM-XEM-X10SM Release : 1.0b 1 / 19...
- Page 2 Super Micro Computer, Inc. ("Supermicro") reserves the right to make changes to the product described in this manual at any time and without notice. This product, including software and documentation, is the property of Supermicro and/or its licensors, and is supplied only under a license.
-
Page 3: Table Of Contents
Supermicro Switch Quick Configuration CLI Guide Contents Introduction ......................... 4 Basic Configurations ....................5 Console Port ......................5 Management IP Address ..................6 2.2.1 Changing Management IP Address ............7 2.2.2 Default Gateway ..................7 User Accounts ..................... 8 Interface MTU and Jumbo Frames ..............9 Interface Description ................... -
Page 4: Introduction
Supermicro Switch Quick Configuration CLI Guide 1 Introduction This document is designed to provide Supermicro Switch users with the information required to configure the basic functionalities on the switch through the Command Line Interface (CLI). The Supermicro Switch command line interface is accessible through an RS232 console port, or viaTelnet and SSH connections. -
Page 5: Basic Configurations
Supermicro Switch Quick Configuration CLI Guide 2 Basic Configurations 2.1 Console Port Switch Console Port SSE-G24-TG4 These switches have a DB9 RS232 console port. Use the serial cable provided with the switch to connect the switch console port SSE-G48-TG4 to any computer COM port. -
Page 6: Management Ip Address
Supermicro Switch Quick Configuration CLI Guide 2.2 Management IP Address The default management IP address for all Supermicro switch products is: 192.168.100.102. Switch Management IP Interface SSE-G24-TG4 The management IP is configured for VLAN 1. All front 1G ports and back 10G ports are configured as untagged member ports SSE-G48-TG4 of VLAN 1 by default. -
Page 7: Changing Management Ip Address
For example: SMIS(config)# ip gateway 172.31.1.1 For other switches (SSE-G24-TG4 and SSE-G48-TG4) you can add the required route to access the gateway for a desired network. The route can be added using the command ip route <prefix> <mask> {<next hop> | vlan <id> | interface }. -
Page 8: User Accounts
Supermicro Switch Quick Configuration CLI Guide 2.3 User Accounts The default administrative user name for all Supermicro switches is ADMIN and the password for all these switches is also ADMIN. The password for this ADMIN user can be changed using the command username ADMIN password <new password>. -
Page 9: Interface Mtu And Jumbo Frames
MTU for 10Gig ports is 16338. The Supermicro switch MTU refers only to the layer 2 payload size. Hence the MTU of 9202 means a total “in-wire” MTU of 9220 (14 bytes Ethernet Header plus 4 bytes FCS are added). -
Page 10: Configuring Interface Range
Supermicro Switch Quick Configuration CLI Guide 2.6 Configuring Interface Range To configure the same parameters on multiple interfaces, the interface range command can be useful. For example, to configure the MTU as 9000 for all gi 0/1 to gi 0/24 ports, using the range command allows all to be configured in one sequence instead of requiring that they be configured on the individual interfaces 24 times. -
Page 11: Stacking
Supermicro Switch Quick Configuration CLI Guide 2.7 Stacking SSE-G24-TG4 and SSE-G48-TG4 switches support stacking up to 16 switches. SBM-GEM-X2C and SBM-GEM-X2C+ switches support stacking up to 8 switches. Function Command Syntax Examples Enable stack { priority {PM | BM | PS} }... -
Page 12: Tracking Uplink Failure
Supermicro Switch Quick Configuration CLI Guide 2.8 Tracking Uplink Failure The Uplink Failure Tracking Feature (ULFT) is useful for blade switches (SBM-GEM-X2C, SBM- GEM-X2C+, SBM-GEM-X3S+ and SBM-XEM-X10SM). This helps blade servers to move to redundant Ethernet ports in case any blade switch uplink fails. -
Page 13: Saving Configurations
Supermicro Switch Quick Configuration CLI Guide 2.9 Saving Configurations Switch configurations can be saved using the command write startup-config. A configuration saved as a default configuration will be loaded automatically every time the switch reboots. Function Command Syntax Examples Save the configuration as... -
Page 14: Upgrading Firmware
Make sure the TFTP server is running on the computer where the firmware image is available. 2.11 Resetting to Factory Defaults Supermicro switches can be reset to factory defaults using the CLI command reset-to-factory- default. Function Command Syntax... -
Page 15: Vlan Configurations
Supermicro Switch Quick Configuration CLI Guide 3 VLAN Configurations The SSE-G24-TG4, SSE-G48-TG4, SBM-GEM-X2C, SBM-GEM-X2C+ and SBM-GEM-X3S+ switches all support 1024 static VLANs. The SSE-X24S and SBM-XEM-X10SM switches support 4K static VLANs. The below table describes the basic VLAN configuration commands. -
Page 16: Vlan Example
Supermicro Switch Quick Configuration CLI Guide Supermicro switches associate all untagged packets received as VLAN 1. This happens irrespective of the VLANs associated with the received ports. Therefore if you need untagged packets to be associated with a particular VLAN of the ports, it is necessary to configure a pvid for the ports. - Page 17 Supermicro Switch Quick Configuration CLI Guide Let us choose pvid for ex 0/1 as 200 in this case: SMIS(config)# interface ex 0/1 SMIS(config-if)# switchport pvid 200 SMIS(config-if)# exit Release : 1.0b 17 / 19...
-
Page 18: Link Aggregation
Supermicro Switch Quick Configuration CLI Guide 4 Link Aggregation Supermicro switches support both static port channel link aggregation and dynamic LACP link aggregation. The table below describes the basic link aggregation / port channel configuration commands: Function Command Syntax Examples... -
Page 19: Link Aggregation Example
Supermicro Switch Quick Configuration CLI Guide 4.1 Link Aggregation Example Requirement: A. Ports gi 0/15 and 0/16 need to be trunked B. And this trunk has to carry VLANs 100 and 200 First enable the port channel feature: SMIS# config term...
Need help?
Do you have a question about the SSE-G48-TG4 and is the answer not in the manual?
Questions and answers