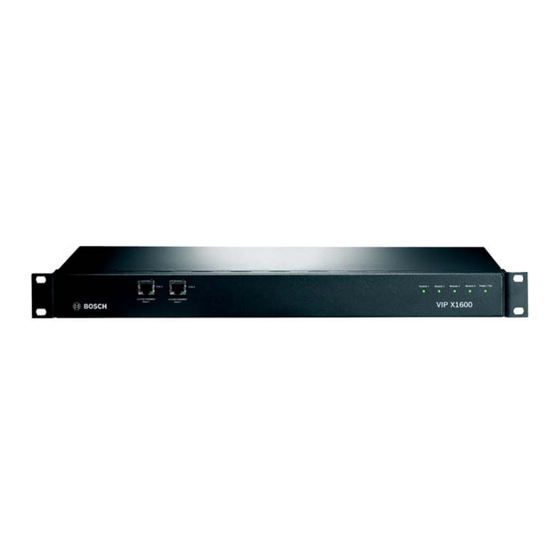
Bosch VIP X1600 Module Quick Installation Manual
Module
Hide thumbs
Also See for VIP X1600 Module:
- Installation and operating manual (134 pages) ,
- Quick information manual (13 pages) ,
- Brochure & specs (7 pages)
Table of Contents
Advertisement
Quick Links
Advertisement
Table of Contents

Related Manuals for Bosch VIP X1600 Module


Summary of Contents for Bosch VIP X1600 Module
- Page 1 VIP X1600 Module...
- Page 2 These instructions "Quick Installation Guide" show the mounting of a VIP X1600 module into a VIP X1600 base and its wiring. In the drawings the VIP X1600 module displayed in audio version stands for all versions.
-
Page 3: Contents Of Delivery
VIP X1600 Module | Quick Installation Guide EN | 3 Contents of Delivery • VIP X1600 module Network Video Server, basic version or audio version • Plug-in connectors • Mounting kit for installation in VIP X1600 base • Quick Installation Guide... -
Page 4: Unpack The Box
Quick Installation Guide | VIP X1600 Module 1. Unpack the Box • Please check the delivery for completeness and integrity. • Have your unit checked by Bosch Security Systems if you detect any damages! Bosch Security Systems | 2006-08 | V2.0... -
Page 5: Mount The Modules
EN | 5 2. Mount the Modules • Fit the first VIP X1600 module into the rails on the right and the left of the left-most slot and slide the module right into the VIP X1600 base carefully. • Fit in the four screws provided and tighten them. -
Page 6: Connect The Cameras
EN | 6 Quick Installation Guide | VIP X1600 Module 3. Connect the Cameras • Connect the cameras to the Video In 1 to Video In 4 sockets. Bosch Security Systems | 2006-08 | V2.0... -
Page 7: Connect The Alarm Switches And Relay Connections
VIP X1600 Module | Quick Installation Guide EN | 7 4. Connect the Alarm Switches and Relay Connections • Connect the alarm switches to the In1 to In4 and GND terminals of the 6-pin terminal connector and connect it to the left part of the connector strip at the module. -
Page 8: Connect The Serial Connector
EN | 8 Quick Installation Guide | VIP X1600 Module 5. Connect the Serial Connector • Connect the leads of a serial connection to the respective terminals of the 6-pin terminal connec- tor if necessary and connect the terminal connector to the right part of the connector strip at the module. -
Page 9: Connect The Audio Components (Audio Version Only)
VIP X1600 Module | Quick Installation Guide EN | 9 6. Connect the Audio Components (Audio Version Only) • For Line connections use the Audio In 1 / 2 and Audio In 3 / 4 jacks. Line In: 9 kOhm typ., 5,5 Vp-p max. -
Page 10: Configure The Ip Address
• Start the Configuration Manager when installation is completed. The network is scanned for compatible devices automatically. • When a VIP X1600 module is listed, click the entry and click the tab Network, located in the right frame. • Enter the desired IP address (e.g. 192.168.0.16) in the Unit IP address field and click the but- ton Set at the bottom on the right. -
Page 11: Test The Configuration
EN | 11 8. Test the Configuration • Launch the Web browser and enter the IP address of the VIP X1600 module as the URL (e.g. http://192.168.0.16) to check that the unit is properly connected to the network. Note: Set the graphics card of the computer to 16-bit or 32-bit color depth. Otherwise the com- puter cannot display the video images. - Page 12 Bosch Sicherheitssyteme GmbH Bosch Security Systems B.V. Robert-Koch-Straße 100 P.O. Box 80002 85521 Ottobrunn 5600 JB Eindhoven Germany The Netherlands www.bosch-sicherheitssysteme.de www.boschsecuritysystems.com © 2006 Bosch Sicherheitssysteme GmbH Subject to change. VIPX1600M4/0806/QIG_en/3...
Need help?
Do you have a question about the VIP X1600 Module and is the answer not in the manual?
Questions and answers