Advertisement
Advertisement
Table of Contents

Related Manuals for Amano PIX-15


Summary of Contents for Amano PIX-15
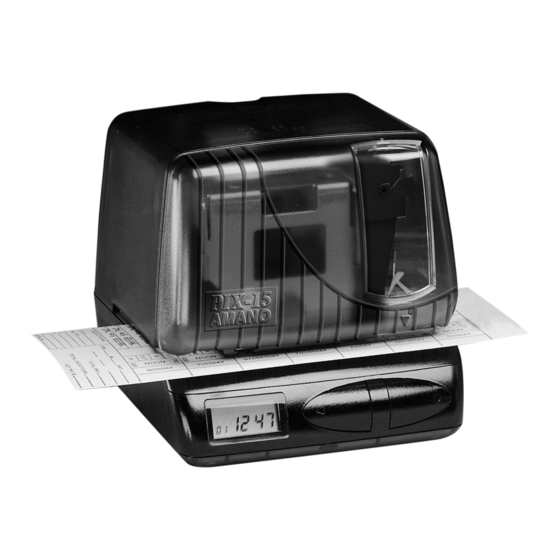
- Page 1 PIX-15 Electronic Time Recorder Operation Manual...
- Page 2 This document contains proprietary information and such information may not be reproduced in whole or part without the written permission from Amano Cincinnati, Inc. 140 Harrison Ave., Roseland, New Jersey 07068. Amano Cincinnati, Inc. reserves the right to make equipment changes and improvements, which may not be reflected in this document.
- Page 3 Enter Button Removing the Cover and Packing Materials Note: You must remove the packaging spacers from the printer block and the printer carriage before attempting to use your PIX-15. 1. Lift the printer block and remove the spacer. Spacer Printer...
- Page 4 2. Insert the key provided and turn clockwise to open the case. Lift the cover to remove. Open Closed Remove the spacer between the Ribbon Cartridge and the Printer Carriage. Remove Spacer Re-install the cover. Your PIX-15 is ready for use! Amano PIX-15 Operation Manual...
-
Page 5: Reset Button
ENTER Button Normally, the Display Window shows the date and time. When you use the Quick Set or Program Mode to change the settings of the PIX-15, the instructions to change the clock are shown in this window. The two buttons on the front panel are used to navigate through the Quick Set and Program Mode to change the clock’s settings. -
Page 6: Making A Test Print
Making a Test Print 1. Plug in the power cord. 2. Insert a piece of paper or time card into the PIX-15. The clock will automatically print YEAR, MONTH, DATE and TIME with AM or PM (in Pacific Time). Note: The PIX-15 will automatically adjust for Daylight Saving Time. -
Page 7: Entering The Clock Program
Tap the ◄ left button until the fourth number of your code appears, then tap the ● right button. With the display flashing all four digits, tap the ● right button again and Pl dA E will display. Amano PIX-15 Operation Manual... -
Page 8: Setting Year/Month/Date
◄ left button until the correct minutes appear, then tap the ● right button. When the display flashes , tap the CLoc ◄ left button to move to the beginning of the Daylight Saving Setting (P3 bdLt will display). Amano PIX-15 Operation Manual... - Page 9 ● right button. Tap the ◄ left button until the correct year appears, then tap the ● right button. Tap the ◄ left button until the correct month appears, then tap the ● right button. Amano PIX-15 Operation Manual...
-
Page 10: Exiting The Program Mode
If you need assistance or have any questions, please contact us at 1-800-253-9836. *Note: The PIX-15 uses a Lithium battery to maintain the user settings incase of a power failure. If a power failure occurs and the Lithium battery is dead, the time clock settings may revert to default settings (i.e., DST Begin and... -
Page 11: Replacing The Ribbon
5. Turn the knob on the cassette clockwise one turn to take up any slack in the ribbon. 6. To replace the cover, remove the key, align the lower back corners to the base of the clock and snap the cover down into position. Amano PIX-15 Operation Manual... -
Page 12: Mounting The Clock
3. Securely mount the PIX mounting bracket on the wall using three #10 wood screws or equivalent. 4. Place the PIX-15 on the Mounting Bracket by sliding the top tabs into the slots on each side of the case. Push the PIX-15 back and down against the Mounting Bracket until the PIX-15 snaps into place. -
Page 13: Error Messages
1-800-253-9836 for assistance. CAUTION: Do not use any chemical solvents or oils to clean or lubricate your PIX-15. This will damage your clock. To clean the inside of your clock, blow it out with air. Amano PIX-15 Operation Manual... -
Page 14: Specifications
Specifications Power Requirements: For PIX-15 Input: AC16.5V, 60Hz, 0.6A (Max.) For AC Adapter: AC120V ± 10%, 60Hz AC230V ± 10%, 50Hz AC240V ± 10%, 50Hz Ambient Temperature: -10°C to 45°C (14°F to 113°F) Ambient Humidity: 10% to 90% (no condensation) - Page 16 • • AJR-211902 Copyright © 2007 Amano Cincinnati, Inc. 1/07/0...
Need help?
Do you have a question about the PIX-15 and is the answer not in the manual?
Questions and answers