Amano PIX-55 Operation Manual
Atomic time clock
Hide thumbs
Also See for PIX-55:
- Operation manual (21 pages) ,
- Repair bulletin (2 pages) ,
- Operation manual (20 pages)
Advertisement
Table of Contents
Advertisement
Table of Contents

Related Manuals for Amano PIX-55


Summary of Contents for Amano PIX-55
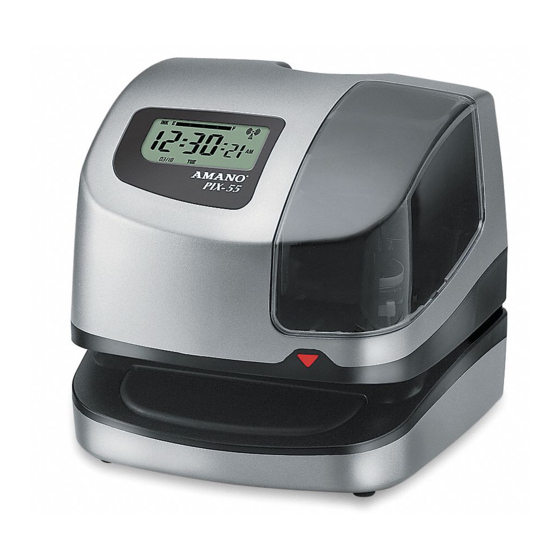
- Page 1 PIX-55 Atomic Time Clock Operation Manual...
-
Page 2: Proprietary Notice
Proprietary Notice This document contains proprietary information and such information may not be reproduced in whole or part without the written permission from Amano Cincinnati, Inc. 140 Harrison Ave., Roseland, New Jersey 07068. Amano Cincinnati, Inc. reserves the right to make equipment changes and improvements, which may not be reflected in this document. -
Page 3: Removing The Cover & Packing Material
Making a Test Print 1. Make sure the PIX-55 is plugged in. 2. Insert a piece of paper or time card into the PIX-55. The clock will automatically print YEAR, MONTH, DATE and TIME with AM or PM. 3. If the imprint is satisfactory, the PIX-55 is ready for use. -
Page 4: Changing The Print Direction
2. Press the HOUR advance button until the correct hour appears. 3. Press the MINUTE advance button until the correct minute appears. Note: You must follow this procedure if you are installing the PIX-55 in a different Time Zone from where it is currently located. - Page 5 4. Press the CHANGE button until the correct month appears, then press the ENTER button. 5. When the display flashes the correct month, date and year, press the ENTER button. 6. Press the PROGRAM button to exit. www.amano.com • 1-800-253-9836 PIX-55...
-
Page 6: Wall Mounting
Be careful not to pinch the power cord with the bracket. Once the tabs are inserted, tilt the clock back down and push it against the wall. The tabs will snap into place. Replace the cover and lock it in place. www.amano.com • PIX-55 1-800-253-9836... -
Page 7: Atomic Clock Feature
If your PIX-55 is located in an area that cannot receive the Atomic time signal, DO NOT be concerned. The PIX-55 will accurately keep the time using its Quartz mechanism (plus or minus three seconds per week). -
Page 8: Ribbon Cartridge Replacement
Ribbon Cartridge Replacement Remove the cover. Pull the two ribbon release tabs upward. While holding the release tabs in an upward position, pull the ribbon cassette out of the cradle. If the print mechanism is down and a piece of paper cannot be inserted, unplug the clock, then plug it back in to move the carriage up.
Need help?
Do you have a question about the PIX-55 and is the answer not in the manual?
Questions and answers