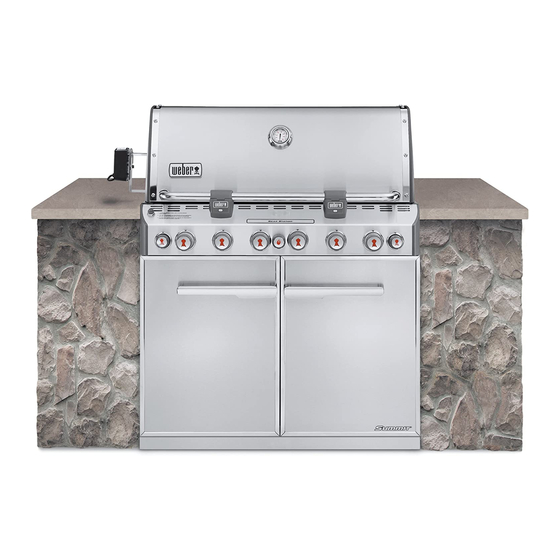
Weber Summit S-460 Installation Manual
Built-in natural gas grill
Hide thumbs
Also See for Summit S-460:
- Owner's manual (215 pages) ,
- Installation manual (64 pages) ,
- Installation manual (28 pages)
Table of Contents
Advertisement
GAS GRILL
Built-In Natural Gas Grill Installation Guide
S-460
™
S-660
™
YOU MUST READ THIS OWNER'S GUIDE
BEFORE OPERATING YOUR GAS GRILL
If you smell gas:
1. Shut off gas to the appliance.
2. Extinguish any open flames.
3. Open lid.
4. If odor continues, keep away from the
appliance and immediately call your gas
supplier or your fire department.
Leaking gas may cause a fire or explosion
which can cause serious bodily injury or death,
or damage to property.
1. Do not store or use gasoline or other
flammable liquids or vapors in the vicinity of
this or any other appliance.
2. An LP cylinder not connected for use shall
not be stored in the vicinity of this or any
other appliance.
THIS GAS APPLIANCE IS DESIGNED FOR OUTDOOR USE ONLY.
DANGER
WARNING:
# 43270
WARNING: Follow all leak-check procedures
carefully in this manual prior to barbecue
operation. Do this even if the barbecue was
dealer-assembled.
NOTICE TO INSTALLER: These instructions
must be left with the owner and the owner
should keep them for future use.
THIS GAS APPLIANCE IS DESIGNED FOR
OUTDOOR USE ONLY.
WARNING: Do not try to light this appliance
without reading the "Lighting Instructions"
section of this manual.
43270 US 08/06/08
NG
Advertisement
Table of Contents

Related Manuals for Weber Summit S-460


Summary of Contents for Weber Summit S-460
- Page 1 GAS GRILL Built-In Natural Gas Grill Installation Guide THIS GAS APPLIANCE IS DESIGNED FOR OUTDOOR USE ONLY. S-460 ™ S-660 ™ # 43270 YOU MUST READ THIS OWNER’S GUIDE WARNING: Follow all leak-check procedures BEFORE OPERATING YOUR GAS GRILL carefully in this manual prior to barbecue operation.
- Page 2 WARNINGS Do not attempt to disconnect any gas fitting while your DANGER barbecue is in operation. Failure to follow the Dangers, Warnings and Cautions Keep any electrical supply cord and the fuel supply hose contained in this Owner’s Manual may result in serious bodily away from any heated surfaces.
- Page 3 BUILT-IN CUTOUT DIMENSIONS BUILT-IN STRUCTURE CUTOUT DIMENSIONS BUILT-IN CUTOUT DIMENSIONS ALL DIMENSIONS ARE TO FINISHED SURFACES. S-460™ S-660™ TOLERANCES WARNING: All countertop finished surfaces must be 30 1 / 4 ˝ (768.35 mm) 38 1 / 4 ˝ (971.55 mm) + 1 / 4 ˝...
- Page 4 PARTS LIST S-460 ™ Left Door - 1 Lid - 1 Right Door - 1 Cookbox - 1 Warming Rack - 1 S-660 ™ Right Enclosure Panel - 1 Lid - 1 Cookbox - 1 Left Enclosure Panel - 1 Front Frame Rail - 1 Front Vent Panel - 1 Rear Frame Rail - 1...
- Page 5 PARTS LIST Flavorizer Bars ® Smoker - 1 ™ S-460 - 12 S-660 ™ Stainless Steel Cooking Grates Smoker Bar - 1 ™ S-460 ™ S-660 1/2 inch Bolts (¼-20 x 1/2 inch Bolt) - 10 Collection Tray - 1 Nylon Washer - 10 Catch-Pan Holder - 1 Hinge Pin - 2...
- Page 6 ASSEMBLY Arrow stickers on Frame Rail (1) and Left Side Panel (2) should point toward each other (shown above). Door Stop Bracket (3) should be positioned as shown (left). WWW.WEBER.COM ®...
- Page 7 ASSEMBLY ATTENTION! Do not fully tighten screws. Clips should slide freely when installed. WWW.WEBER.COM ®...
- Page 8 ASSEMBLY Back WWW.WEBER.COM ®...
- Page 9 ASSEMBLY WWW.WEBER.COM ®...
- Page 10 ASSEMBLY CAUTION: Use two people to lift and install the Summit Built-In frame assembly. ® Lift the frame assembly into the “island” structure opening. Make sure the frame is resting level on the finished surface of the structure. Adjust the Front Vent to rest squarely on ground. CLE AR AN CES 24"...
- Page 11 ASSEMBLY 1/4" (6.35 mm) Drill Bit Apply a bead of silicone sealant (1) around the perimeter and front edges of the grill that are in contact with the “island” structure. This will prevent moisture seepage. The sealant you use must have a temperature rating above 120°F (48.8°...
- Page 12 ASSEMBLY S-460™ BATTERY HOUSING WIRING BLACK WIRE GREEN WIRE RED WIRE RED WIRE WARNING: Make sure that all control knobs are turned to the OFF position before connecting the gas supply and operating the grill. WWW.WEBER.COM ®...
- Page 13 ASSEMBLY Requires 3 “D” alkaline batteries (Included). Use alkaline batteries only. Do not mix old and new batteries or different types of batteries (standard, alkaline or rechargeable). Note: Secure wire to side panel. WWW.WEBER.COM ®...
- Page 14 ASSEMBLY S-460™ S-660™ S-460™ S-660™ WWW.WEBER.COM ®...
- Page 15 ASSEMBLY S-460™ S-660™ Match Holder WWW.WEBER.COM ®...
- Page 16 ASSEMBLY ATTENTION! Before drilling any holes for 1/4" (6.35 mm) the rear vent Drill Bit make sure the cookbox is flush with the front of the grill frame. S-460™ S-660™ WWW.WEBER.COM ®...
- Page 17 ASSEMBLY S-460 ™ S-660 ™ S-460 ™ S-660 ™ S-460™ S-660™ WWW.WEBER.COM ®...
- Page 18 ASSEMBLY S-460™ S-660™ WWW.WEBER.COM ®...
- Page 19 ASSEMBLY ™ S-460 ™ S-660 WWW.WEBER.COM ®...
- Page 20 ASSEMBLY S-460 ™ S-460 ™ S-660 ™ S-660 ™ The Weber Grill Out Handle Light has a “Tilt Sensor”: Lid up - ON / Lid Closed - OFF. ™ The power button (a) activates or deactivates the “Tilt Sensor.” For daytime use, deactivate the sensor by pressing power button (a).
- Page 21 GAS SUPPLY BUILT-IN GAS LINE LOCATIONS TYPICAL NATURAL GAS SUPPLY INSTALLATION Note: Leave an access in the “island” structure for gas supply and regulator service We recommend that this installation be done by a LICENSED professional. that is not inside the grill structure. Note: Area should be kept clear of sharp, jagged, or extremely abrasive surfaces to avoid possible damage to gas supply lines.
- Page 22 GAS SUPPLY TEST CONNECTIONS All connections and joints must be thoroughly tested for leaks in accordance with local codes and all listed procedures in the latest edition of the National Fuel Gas Code ANSI Z223.1/NFPA 54, Natural Gas and Propane Installation Code, CSA B149.1, or Propane Storage and Handling Code, B149.2, or the Standard for Recreational Vehicles, ANSI A 119.2/NFPA 1192, and CSA Z240 RV Series, Recreational Vehicle Code, as applicable.
- Page 23 GAS SUPPLY VENTILATION WARNING: Ventillation holes must be provided in the structure at the top and bottom to provide ventilation in the event of a gas leak. Ventilation holes can be located in a low visibility area and should be protected by screening material to prevent rodents and insects from entering the structure.
- Page 24 ® ©2009 The following trademarks are registered in the name of Weber-Stephen Products Co., an Illinois corporation, located at 200 East Daniels Road, Palatine, Illinois 60067 U.S.A. Australia; Smokey Joe, Weber, Kettle Silhouette , Genesis, Austria; Kettle Silhouette , Smokey Joe, Weber, Benelux; Kettle Silhouette , Smokey Joe, Weber, Compact Grill Configura- tion, Botswana;...
Need help?
Do you have a question about the Summit S-460 and is the answer not in the manual?
Questions and answers