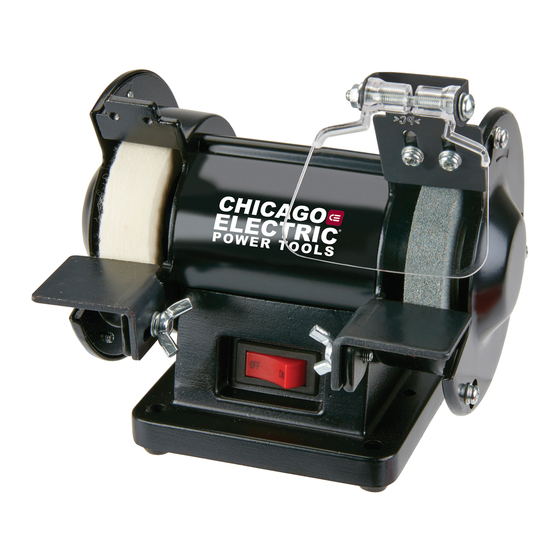
Chicago Electric 94071 Assembly And Operating Instructions Manual
3” mini tool grinder
Hide thumbs
Also See for 94071:
- Set up and operating instructions manual (14 pages) ,
- Owner's manual & safety instructions (16 pages)
Table of Contents
Advertisement
Quick Links
3" MINI TOOL GRINDER
Model 94071
ASSEMBLY AND OPERATING INSTRUCTIONS
®
3491 Mission Oaks Blvd., Camarillo, CA 93011
Visit our Web site at: http://www.harborfreight.com
TO PREVENT SERIOUS INJURY,
READ AND UNDERSTAND ALL WARNINGS
AND INSTRUCTIONS BEFORE USE.
©
®
Copyright 2005 by Harbor Freight Tools
. All rights reserved. No portion of this
manual or any artwork contained herein may be reproduced in any shape or form
without the express written consent of Harbor Freight Tools.
For technical questions, please call 1-800-444-3353.
Advertisement
Table of Contents

Subscribe to Our Youtube Channel
Summary of Contents for Chicago Electric 94071
- Page 1 Copyright 2005 by Harbor Freight Tools . All rights reserved. No portion of this manual or any artwork contained herein may be reproduced in any shape or form without the express written consent of Harbor Freight Tools. For technical questions, please call 1-800-444-3353.
-
Page 2: Product Specifications
Do not operate power tools in explosive atmospheres, such as in the presence of flammable liquids, gases, or dust. Power tools create sparks which may ignite the dust or fumes. SKU 94071 For technical questions, please call 1-800-444-3353 PRODUCT SPECIFICATIONS... -
Page 3: Electrical Safety
Do not use a power tool while tired or under the influence of drugs, alcohol, or medication. A moment of inattention while operating power tools may result in serious personal injury. SKU 94071 For technical questions, please call 1-800-444-3353 ELECTRICAL SAFETY... - Page 4 Do not use a damaged tool. Tag damaged tools “Do not use” until repaired. SKU 94071 For technical questions, please call 1-800-444-3353 TOOL USE AND CARE...
-
Page 5: Specific Safety Rules
Do not abuse the Power Cord/Plug (13). Do not pull the Power Cord to disconnect the Plug from an electrical outlet. Do not move the Grinder with the Power Cord/Plug in the outlet. Keep the Power Cord/Plug away from heat, oil, sharp, edges, and its own Buffing Wheel (39) and Grinding Wheel (40). - Page 6 Remove adjusting keys and wrenches. Check to make sure all adjusting keys and wrenches are removed from this tool before turning it on. Never attempt to remove material stuck in the moving parts of the Grinder while the tool is turned on, plugged in, or running.
-
Page 7: Grounded Tools: Tools With Three Prong Plugs
Industrial applications must follow OSHA requirements. Maintain labels and nameplates on the Grinder. These carry important information. If unreadable or missing, contact Harbor Freight Tools for a replacement. WARNING! People with pacemakers should consult their physician(s) before using this product. Operation of electrical equipment in close proximity to a heart pacemaker could cause interference or failure of the pacemaker. -
Page 8: Double Insulated Tools: Tools With Two Prong Plugs
Standard Association, and the National Electrical Code. (See Figure B.) Double insulated tools may be used in either of the 120 volt outlets shown in the following illustration. (See Figure B.) SKU 94071 For technical questions, please call 1-800-444-3353 THIS... -
Page 9: Extension Cords
12.1 – 16.0 16.1 – 20.0 * Based on limiting the line voltage drop to five volts at 150% of the rated amperes. FIGURE C SKU 94071 For technical questions, please call 1-800-444-3353 EXTENSION CORDS (120 VOLT) EXTENSION CORD LENGTH... -
Page 10: Assembly Instructions
When unpacking, check to make sure all the parts shown on the Parts List on page 14 are included. If any parts are missing or broken, please call Harbor Freight Tools at the number shown on the cover of this manual as soon as possible. - Page 11 To Mount The Grinder On A Workbench: CAUTION! Make sure the workbench on which the Grinder will be mounted is flat, level, and sturdy enough to support the weight of the Grinder, any work- pieces, and any additional tools. The Grinder is equipped with four Rubber Feet (3) which allows the tool to be temporarily placed upon a workbench for use.
- Page 12 Once the 3/16” mounting holes are drilled, align the four mounting holes at the Base (4) of the Grinder with the four predrilled mounting holes in the workbench. Secure the Grinder to the workbench, using four appropriate length Bolts, Lock Washers, and Nuts (not included).
-
Page 13: Inspection, Maintenance, And Cleaning
Wheel (40) to stop them from spinning. Allow the Wheels to completely stop on their own. Then, disconnect the Power Cord/Plug (13) from its electrical outlet. (See Figure F.) Always make sure the Grinder is kept in an area out of reach of children and other unauthorized people. INSPECTION, MAINTENANCE, AND CLEANING WARNING! Always turn the Grinder’s Power Switch (7) to its “OFF”... -
Page 14: Please Read The Following Carefully
To clean: Wipe with a damp cloth, vacuum or use compressed air. Do not use solvents. Do not immerse any part of the Grinder in liquids. When storing: Store the Grinder in a safe, clean, dry, location out of reach of children and other unauthorized people. -
Page 15: Assembly Diagram
Some parts are listed and shown for illustration purposes only, and are not available individually as replacement parts. SKU 94071 For technical questions, please call 1-800-444-3353 ASSEMBLY DIAGRAM NOTE: 45: SPANNERS NOT SHOWN PAGE 15...


Need help?
Do you have a question about the 94071 and is the answer not in the manual?
Questions and answers