
Subscribe to Our Youtube Channel
Related Manuals for Rose electronics VISTA DVI


Summary of Contents for Rose electronics VISTA DVI
- Page 1 VISTA DVI DVI USB KVM Switch INSTALLATION AND OPERATIONS MANUAL 10707 Stancliff Road Phone: (281) 933-7673 Houston, Texas 77099 WWW.ROSE.COM...
- Page 3 LIMITED WARRANTY Rose Electronics® warrants the Vista DVI KVM Switch to be in good working order for one year from the date of purchase from Rose Electronics or an authorized dealer. Should this product fail to be in good working order at any time during this one-year warranty period, Rose Electronics will, at its option, repair or replace the Unit as set forth below.
-
Page 4: Table Of Contents
TABLE of CONTENTS Contents Page # Disclaimer ...................... 1 System Introduction ..................1 About this manual ..................1 Product Registration ..................1 Features ......................2 Package contents ..................2 Models ......................3 Installation ...................... 4 Operation ....................... 5 Front panel buttons ..................5 Hotkey Keyboard switching ................ -
Page 5: Disclaimer
About this manual This manual covers the installation, configuration, and the operation of the Vista DVI USB KVM switch system. The system consists of the Vista DVI USB KVM switch unit, the connected computers, and the locally connected KVM station. The Installation section describes how all components are interconnected to form a seamless switching network. -
Page 6: Features
(Fixed = 5 sec. / Programmable = 10–100 sec.) Multi-platform support for PC’s / Macintosh G4/G5 / iMAC / Package contents Vista DVI unit Power adapter / power cord Rackmount Kit Installation / operations manual... -
Page 7: Models
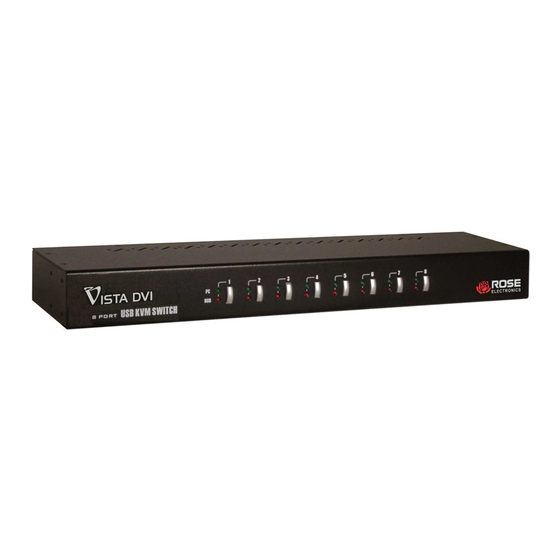
MODELS Models Front View PC LED (Green) – LED Indicators USB HUB LED (Red) - Switches CPU port 1-8 to the local console. CPU Selector Switch Audio and USB ports are switched if binding is enabled. Rear View User console connections Connectors 1-DVI-I monitor 1-Power jack (9VDC) -
Page 8: Installation
INSTALLATION Installation The installation of the Vista DVI is basically a plug-and-play function. The default settings are appropriate for most systems and no configuration is needed before installing the Vista DVI unit. The installation of the Vista DVI unit consists of three procedures:... -
Page 9: Operation
OPERATION Operation There are two methods of operating the Vista DVI unit. It can be operated by the front panel push buttons or by issuing a hotkey sequence from the local keyboard. The USB and audio can be bound to each computer and switched to the user console with a computer selection or you can un-bind the USB and audio and switch them independently. -
Page 10: Keyboard Commands
The following table lists the keyboard commands to select a PC port, bind or unbind the audio or USB hub, scan the PC ports, and define the hotkey sequence. If the hotkey sequence (scroll lock + scroll lock) has been changed, use the changed hotkey sequence to invoke the commands. -
Page 11: Service
This Unit does not contain any internal user-serviceable parts. In the event a Unit needs repair or maintenance, you must first obtain a Return Authorization (RA) number from Rose Electronics or an authorized repair center. This Return Authorization number must appear on the outside of the shipping container. - Page 12 Like all electronic equipment, the Vista DVI USB KVM switch should be used with care. To protect yourself from possible injury and to minimize the risk of damage to the Unit, read and follow these safety instructions.
-
Page 13: Appendix A - Specifications
APPENDICES Appendix A - Specifications Dimensions Width Depth Height Weight (in / mm) (in / mm) (in / mm) (lbs / kg) 16.0 / 406 3.94 / 100 1.74 / 44.2 2.65 / 1.2 Video: Single link DVI-I Resolution Digital – 1920 x 1200 / Analog - 2048 x 1536 Connectors: DVI in / out DVI-I 29 pin female... -
Page 14: Appendix C - Rack Mounting
Appendix C – Rack mounting The Vista DVI can be mounted in a standard 19” rack. To mount the unit in a rack, secure the included rack mounting brackets to the front sides of the unit. Mount the unit in your 19” rack and secure the rack mount brackets to the rack rails. - Page 16 10707 Stancliff Road Phone (281) 933-7673 Houston, Texas 77099 www.rose.com...
Need help?
Do you have a question about the VISTA DVI and is the answer not in the manual?
Questions and answers