Table of Contents
Advertisement
Advertisement
Table of Contents

Related Manuals for Martin MAC 300


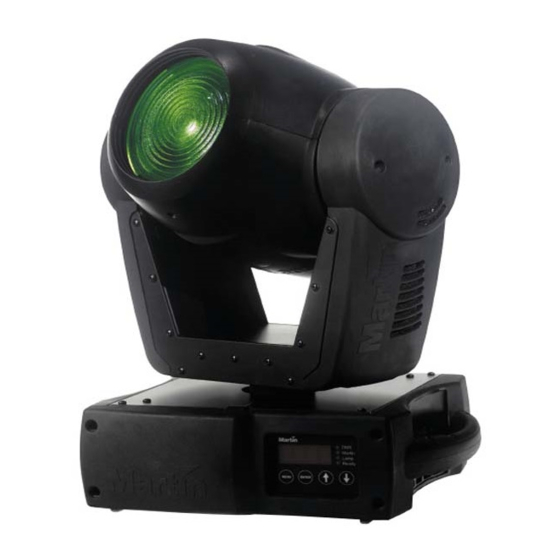
Summary of Contents for Martin MAC 300
- Page 1 MAC 300 user manual...
-
Page 2: Table Of Contents
PCB Layout ......................25 Accessories ......................26 Specifications .....................27 ©1999 - 2000 Martin Professional A/S, Denmark. All rights reserved. No part of this manual may be reproduced, in any form or by any means, without permission in writing from Martin Professional A/S, Denmark. -
Page 3: Introduction
If you have questions about how to operate the fixture safely, please contact your Martin dealer or call the Martin 24-hour service hotline at +45 70 200 201. - Page 4 U n p a c k i n g The MAC 300 comes with: • 1 1/4-turn clamp mounting bracket • 1 5-meter, 3-pin shielded XLR control cable • 1 3-meter, 3-wire IEC power cable • 1 user manual The packing material is carefully designed to protect the fixture during shipment - always use it or a custom flight case to transport the fixture.
-
Page 5: Lamp Installation
This section describes how to install a lamp. C o m p a t i b l e l a m p s The lamps listed in the table below may be used with the MAC 300. Installing any other lamp may damage the fixture. Replace... -
Page 6: Ac Power Connection
This section describes how to tap the power supply for local conditions and how to wire the mains lead. Do not connect the MAC 300 to an electrical dimmer system: doing so can damage the electronics. W A R N I N G ! For protection from dangerous electric shock, the fixture must be grounded (earthed). -
Page 7: Data Connection
D A T A C O N N E C T I O N This section describes how to connect fixtures to a controller. The MAC 300’s 3-pin XLR connectors are configured for use with DMX-512 controllers. To reconfigure them for use with Martin Protocol controllers, see “Changing the XLR pin-out”... -
Page 8: Rigging
L o c a t i o n a n d o r i e n t a t i o n The MAC 300 may be installed in any orientation. It shall be located at least 0.4 meters (16 inches) away from the sur- face to be illuminated and any combustible materials. -
Page 9: Fixture Settings
M e n u n a v i g a t i o n The DMX or Martin address, depending on the mode, and any error messages are displayed after the MAC 300 resets. To enter the menu, press [ MENU ]. Use the [ ] and [ ] keys to move within the menu. To select a function or submenu, press [ Enter ] . - Page 10 P e r s o n a l i t y s e t t i n g s The MAC 300’s personality settings are shown in Table 3; they are described as well in the following section. To select a personality setting: Press [Menu] as required to reach the main menu.
- Page 11 The MAC 300 can be controlled with DMX-512 and Martin RS-485 protocol controllers. When used with DMX con- trollers, there are 4 control protocols to choose from. The control option - DMX mode 1, 2, 3, 4; or Martin - must match the controller setup.
- Page 12 Two MAC 300s may share the same address, however, if they are to respond identically: they will receive the same instructions so individual control will be impossible. Note: Whether the MAC 300 displays a DMX or Martin address at the top of the menu depends on the protocol selected.
- Page 13 R e a d o u t s The MAC 300 has counters to track usage, maintenance intervals, lamp life, etc. One set of counters shows total TOT L ) accumulated usage and cannot be reset. Another set shows usage since the counter was reset ( RS ET ).
- Page 14 M a n u a l c o n t r o l MA N The manual control menu ( ) permits limited operation from the control panel. • To reset the fixture, select • To turn the lamp on or off, select L O N LoF F SHU T...
-
Page 15: Operation
The controller divides the move into steps and updates the fixture with small changes at the rate required to achieve the fade. The MAC 300 follows or “tracks” the changes, and averages them with a digital filter algorithm to ensure smooth movement at all speeds. - Page 16 The filters are replaceable; please see “Changing color filters” on page 18, and additional colors are available from Martin; please see “Accessories” on page 26. The wheel can be scrolled continuously - allowing for split color effects - or in steps, and rotated continuously in both directions at different speeds.
-
Page 17: Basic Service
The fixture requires regular maintenance to keep performing at its peak. The schedule will depend on the application and should be discussed with your Martin distributor. Refer any service that you are not qualified to per- form to a professional technician. - Page 18 C h a n g i n g c o l o r f i l t e r s Handle color filters by their edges as much as possible and be careful not to chip the edges. Disconnect the fixture from AC power and allow it to cool. Remove the top cover from the head as shown in Figure 5.
- Page 19 U p d a t i n g s o f t w a r e The latest CPU control software for the MAC 300 is available from your Martin dealer and the Martin web site. This software is uploaded to the MAC 300 using the Martin MPBB1 Uploader. The display module and feedback system software are not updated this way.
- Page 20 C h a n g i n g l e n s e s A wide angle diffusion “lens” is available for the MAC 300. The diffuser gives the MAC 300 a 59° beam angle. If the frost filter is fully applied, the beam angle is 67°. Photometric data for this option is available at http://www.martin.dk/ service/Photometrics/MAC300-wide.htm.
-
Page 21: Troubleshooting
2 and 3 in the fix- match (pins 2 and 3 reversed). ture that behaves erratically. An effect fails to reset The effect requires mechanical Contact Martin technician for service. correctly. adjustment. The ballast and transformer set- Disconnect fixture. Check ballast and No light and “LERR”... -
Page 22: Dmx Protocol
a p p e n d i x a D M X P R O T O C O L DMX1 DMX2 DMX3 DMX4 Value Percent Function Start code = 0 Shutter, Strobe, Reset, Lamp On/Off 0 - 19 0 - 7 Shutter closed 20 - 49 8 - 19... - Page 23 DMX1 DMX2 DMX3 DMX4 Value Percent Function Frost 0 - 255 0 - 100 Open (off) to full 0 - 255 0 - 100 Left to right (128 = neutral) Pan Fine (LSB) 0 - 255 0 - 100 Left to right (128 = neutral) Tilt 0 - 255 0 - 100...
-
Page 24: Error Messages
a p p e n d i x b E R R O R M E S S A G E S Display readout Appears if... What to do AUTO (Automatic protocol detec- ... automatic protocol detection is • Verify that controller is connected tion error) enabled and there is no control input. -
Page 25: Pcb Layout
a p p e n d i x c P C B L A Y O U T Switch Hall sensor Hard boot jumper Color wheel XLR jumper Link Cyan Light sensor Magenta Yellow Dimmer Frost AC input Tilt PCB Layout... -
Page 26: Accessories
a p p e n d i x d A C C E S S O R I E S • Wide angle diffuser lens: .......................... 91610016 • Flight case, 4 x MAC 250/300:........................91510005 • Flight case, 2 x MAC 250/300:........................91510004 •... -
Page 27: Specifications
Data pin-out ....................pin 1 shield, pin 2 cold (-), pin 3 hot (+) • Receiver ..........................Opto-isolated RS-485 • Protocols ....................USITT DMX-512 (1990), Martin RS-485 • DMX Channels ..............................9 - 13 C o n n e c t i o n s •... - Page 28 MAC 300 DMX Protocol Start code = 0 Implemented from CPU software version 0.1 HUTTER TROBE ANDOM TROBE ESET closed open fast slow > 5 sec. closed open IMMER 100% 100% AGENTA 100% ELLOW ONTINUOUS OLOR CROLL TEPPED CROLL ONTINUOUS...
- Page 30 Unit C6, Hastingwood Trading Estate 35, Harbet Road, London, N18 3HU Phone 020 8803 7400 email office@gradav.co.uk 020 8803 5060 www.gradav.co.uk...
Need help?
Do you have a question about the MAC 300 and is the answer not in the manual?
Questions and answers