Makita HR4001C Instruction Manual
Hide thumbs
Also See for HR4001C:
- Instruction manual (64 pages) ,
- Technical information (20 pages) ,
- Parts breakdown (4 pages)
Table of Contents

Related Manuals for Makita HR4001C


Summary of Contents for Makita HR4001C
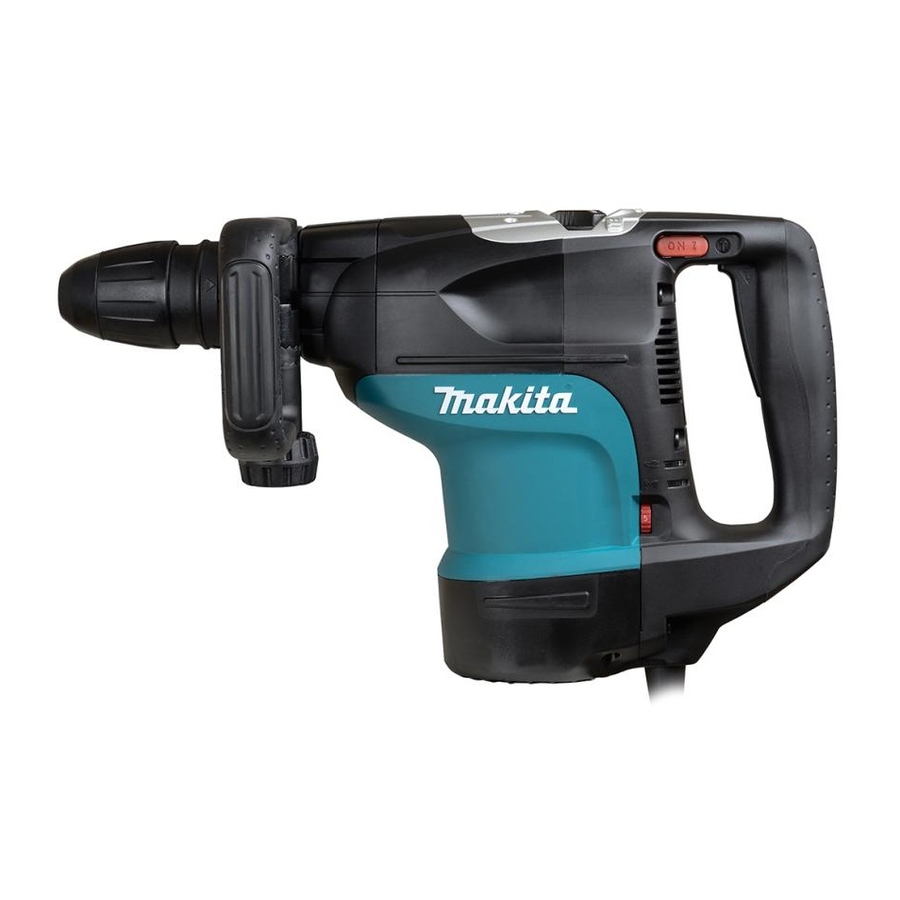
- Page 1 Rotary Hammer MODEL HR4001C MODEL HR4010C MODEL HR4011C 006305 DOUBLE INSULATION I N S T R U C T I O N M A N U A L WARNING: For your personal safety, READ and UNDERSTAND before using. SAVE THESE INSTRUCTIONS FOR FUTURE REFERENCE.
-
Page 2: Specifications
• Note: Specifications may differ from country to country. END201-2 SYMBOLS For Model HR4001C The following show the symbols used for the tool. Be For European countries only sure that you understand their meaning before use. Noise and Vibration The typical A-weighted noise levels are ....Read instruction manual. -
Page 3: General Safety Rules
We declare under our sole responsibility that this product 8JD, ENGLAND is in compliance with the following standards of stand- Responsible manufacturer: ardized documents, EN60745, EN55014, EN61000 in Makita Corporation Anjo Aichi Japan accordance with Council Directives, 89/336/EEC, 98/37/ Yasuhiko Kanzaki CE 2005 Director GENERAL SAFETY RULES... - Page 4 12. Remove any adjusting key or wrench before measures reduce the risk of starting the power tool turning the power tool on. A wrench or a key left accidentally. attached to a rotating part of the power tool may 19. Store idle power tools out of the reach of chil- result in personal injury.
-
Page 5: Functional Description
Before plugging in the tool, always check to see that the switch trigger actuates properly and returns to the “OFF” position when released. To start the tool, simply pull the switch trigger. Release the switch trigger to stop. FOR MODELS HR4010C/ HR4001C 1. Switch trigger Trigger switch CAUTION: •... - Page 6 Selecting the action mode Rotation with hammering 006309 For drilling in concrete, masonry, etc., depress the lock button and rotate the HR4001C change lever so that the pointer points to the symbol. Use a tungsten-car- HR4010C bide tipped bit.
-
Page 7: Torque Limiter
1. Change lever 2. Pointer 3. Lock button For long time hammering (FOR MODELS HR4001C AND HR4010C ONLY) 006313 For chipping, scaling or demolition operations, depress the lock button and rotate the change lever so that the pointer points to the symbol. -
Page 8: Indicator Lamp
Indicator lamp 006314 The green power-ON indicator lamp lights up when the tool is plugged. If the indicator lamp does not light up, the mains cord or the controller may be defec- tive. The indicator lamp is lit but the tool does not start even if the tool is switched on, the carbon brushes may be worn out, or the controller, the motor or the ON/OFF switch may be defective. - Page 9 Installing or removing the bit 003150 Clean the bit shank and apply bit grease before installing the bit. 1. Bit shank 2. Bit grease Insert the bit into the tool. Turn the bit and push it in until it engages. 006318 If the bit cannot be pushed in, remove the bit.
- Page 10 Bit angle (when chipping, scaling or demolishing) 006319 HR4001C The bit can be secured at 12 different angles. To change the bit angle, depress HR4010C the lock button and rotate the change lever so that the pointer points to the symbol.
-
Page 11: Operation
Depth gauge 006323 The depth gauge is convenient for drilling holes of uniform depth. Loosen the clamp screw and adjust the depth gauge to the desired depth. After adjusting, tighten the clamp screw firmly. NOTE: • The depth gauge cannot be used at the position where the depth gauge strikes against the gear housing/motor housing. -
Page 12: Maintenance
Lubrication CAUTION: • This servicing should be performed by Makita Authorized or Factory Service Centers only. This tool requires no hourly or daily lubrication because it has a grease- 006326 packed lubrication system. Lubricate the tool every time the carbon brushes are replaced. - Page 13 Be careful not to damage the connector or lead wires especially when wiping out the old grease or installing the handle. To maintain product SAFETY and RELIABILITY, repairs, any other mainte- nance or adjustment should be performed by Makita Authorized Service Cent- ers, always using Makita replacement parts. 1. Connector 2.
- Page 14 CAUTION: • These accessories or attachments are recommended for use with your Makita tool specified in this manual. The use of any other accessories or attachments might present a risk of injury to persons. Only use accessory or attachment for its stated purpose.
- Page 15 Memo...
- Page 16 Makita Corporation Anjo, Aichi, Japan 884611B223...
Need help?
Do you have a question about the HR4001C and is the answer not in the manual?
Questions and answers