Table of Contents
Advertisement
Quick Links
itchenAid
HOME APPLIANCES
9758654
instal "
Instructions
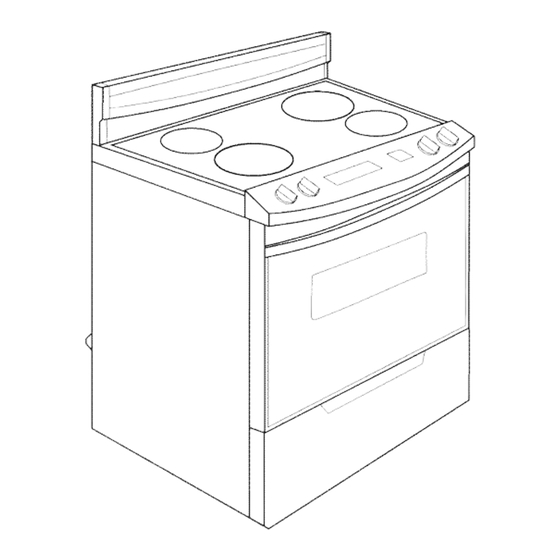
30"ElectricRange
with self-cleaning thermal/convection
oven
Freestanding
Range
Tip Over
Hazard
A child
or adult
can tip the range
and
be killed,
Connect
anti-tip
bracket
to rear
range
foot.
Reconnect
the anti=tip
bracket,
if the
range
is moved.
Failure
to follow
these
instructions
can
result
in death
or serious
burns
to
children
and adults.
Slide-in
Range
IMPORTANT:
Read and save these instructions.
IMPORTANT:
Installer:
Leave Installation
Instructions
with the homeowner.
Homeowner:
Keep Installation
Instructions
for future
reference.
Save Installation
Instructions
for
local electrical
inspector's use.
Write down the model and serial
numbers
before installing range.
Both numbers
are listed on the
model/serial
rating plate located on the
oven frame
behind the drawer.
Model #
Serial #
www.kitchenaid.com
Part No. 9758654
Advertisement
Table of Contents

Related Manuals for KitchenAid YKERC608LS0


Summary of Contents for KitchenAid YKERC608LS0
- Page 1 Failure to follow these instructions result in death or serious burns children and adults. www.kitchenaid.com IMPORTANT: Read and save these instructions. Write down the model and serial IMPORTANT: numbers before installing range. Installer: Leave Installation Both numbers are listed on the Instructions with the homeowner.
-
Page 2: Tools Needed
Before you start... All openings in the wall or floor where Tools needed: range is to be installed must be sealed. IMPORTANT: Some cabinet and building Assemble the required tools and parts Your safety and the safety materials are not designed to withstand before starting... -
Page 3: Product Dimensions
Product dimensions When installed in a 24" (61 cm) Freestanding Range Slide-in Range base cabinet with 25" (63.5 cm) countertop, front of oven door 30" (76.2 cm) _._-_"_ protrudes 1-7/8" (4.8 cm) beyond cooktop w dth 24" (61 cm) base cabinet. 30"... -
Page 4: Electrical Requirements
Slide-in ranges: Electrical requirements countertop Wire sizes and connections must conform to the requirements of the National preparations Electrical Code, ANSI/NFPA 70 -- latest edition* or CSA Standard C22.1, The cooktop sides of the slide-in range Canadian Electrical Code, Part 1 -- latest edition ** and all local codes... -
Page 5: Now Start
Now start,,, If countertop is not flush to the side of m Remove shipping materials, tape cabinet opening, align the left side of the template to allow for the countertop and protective film from range. Keep overhang.Tape the range anti-tip bracket cardboard bottom... - Page 6 lore Move range close to cabinet _ Place rack in oven. Place level opening. Make electrical connection. on rack, first side to side; then front "Electrical requirements" and "Electrical back. If the range is not level, pull range connection" sections for details.
-
Page 7: Check Operation
Press "CANCEL/OFF" pad. BAKED OTHER F---, _--7 NOTE: Control panels may vary. To get the most efficient from your new electric range, read your KitchenAid Use and Care Guide. Keep Installation Instructions and Guide close to the electric range easy reference. -
Page 8: If Range Does Not Operate
_ge_foo? bracket Check that range is level. Plug in range or reconnect power. itchenAid ° HOME APPLIANCES Part No. 9758664 © 2004 KitchenAid Printed in U.S.A. 2/2004 ® Registered Trademark of KitchenAid. Prepared by KitchenAid, Benton Harbor, Michigan 49022...
Need help?
Do you have a question about the YKERC608LS0 and is the answer not in the manual?
Questions and answers