KitchenAid ARCHITECT II KERS807 Use And Care Manual
Kitchenaid range - electric range user manual
Hide thumbs
Also See for ARCHITECT II KERS807:
- Use and care manual (32 pages) ,
- Use & care manual (32 pages) ,
- Use & care manual (32 pages)
Table of Contents
Advertisement
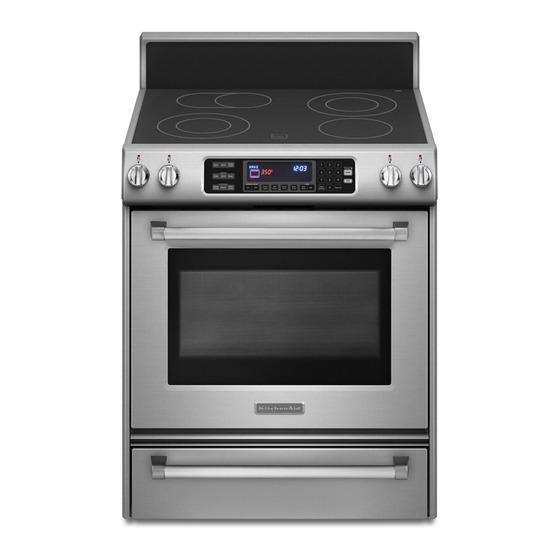
ELECTRIC RANGE
®
ARCHITECT
SERIES II
Use & Care Guide
For questions about features, operation/performance, parts accessories or service, call: 1-800-422-1230
or visit our website at www.kitchenaid.com
In Canada, call for assistance, installation and service, call: 1-800-807-6777
or visit our website at www.KitchenAid.ca
Table of Contents............................................................................................................ 2
Models KESK901 KESS907 KERS807 KESS908 YKESS907 YKERS807 YKESS908
W10109440
Advertisement
Table of Contents


Need help?
Do you have a question about the ARCHITECT II KERS807 and is the answer not in the manual?
Questions and answers