Table of Contents
Advertisement
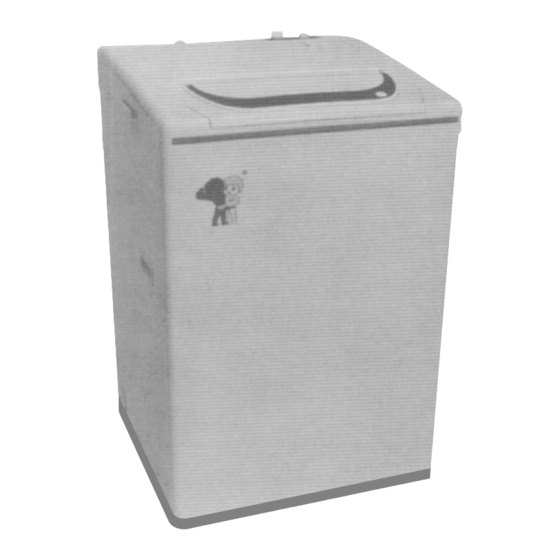
XQB60-C
Automatic Washing Machine
Please read this manual carefully before using.
Retain it for future reference
Please check if the power receptacle has good earthing
condition before using to guarantee your safety.
The manufacturer will not bear the responsibility for
those risks occurred from not obeying this manual.
Contents
Names of the parts The 2 cover
the back cover
nd
1
3
5
7
8
9
10
14
14
15
16
17
Advertisement
Table of Contents

Related Manuals for Haier XQB60-C


Summary of Contents for Haier XQB60-C
-
Page 1: Table Of Contents
XQB60-C Automatic Washing Machine Please read this manual carefully before using. Retain it for future reference Please check if the power receptacle has good earthing condition before using to guarantee your safety. The manufacturer will not bear the responsibility for those risks occurred from not obeying this manual. -
Page 2: Before Using
Names of the part s Top lid Control panel Lint filter(Installed by user) Control panel film Pulsator Base frame Accessories Water inlet hose (2 pieces) Bottom plate Water inlet (1 piece) hose jointer (2 pieces) The end connecting to the washing machine The end connecting to the water inlet hose jointer Meaning and description of the symbols... -
Page 3: Safety Precautions
Safety precautions Please insert the power cord into special receptacle with rated voltage.Be sure to use single-phase three pins receptacle. The earthing terminal must be earthed reliably.If possible,please adopt electric leakage protector. Earth Do not bend, stretch, twist, bind the power cord by force, or reform it. - Page 4 Safety precautions Do not put hand into the rotating tub. It is dangerous even if the rotation speed is slow. Take special care of the children. Keep children away from the washing machine to avoid them climbing on it. Do not put any hot or heavy items (such as the kettle with hot water) on the washing machine.
-
Page 5: Installation And Adjustment
Safety precautions Please install and adjust the machine according to the requirement of the manual, which is very important for you to operate the machine safely and properly. Install the lint filter Insert the bottom of the lint filter ( marked with down side ) into the filter frame, then push the upper part of the filter in ( marked with... - Page 6 Install the outer drain hose Connect the outer drain hose to the inner drain hose by using the drain hose clamp clip them. Remarks: The direction of the drain hose can be changed by professional person. Usage of the drain hose The drain hose shall drain smoothly 1.The height of the drain hose shall be less than 10cm, or the drainage will not...
-
Page 7: Install The Water Inlet Hose
Install the water inlet hose Install the water inlet pipe Water faucet, suitable It is required that the front end shall be longer than 10mm. The outlet end surface of the faucet shall be flat and smooth. If not, please file it smooth to avoid leakage. Connection between the water inlet hose jointer and the water faucet 1.Press the lower end of the lock lever and push down the slider. - Page 8 Connection between the water inlet hose jointer and the water inlet hose 1 Push down the slider. Plug the water inlet hose into the jointer. 2 Hang the lock lever onto the jointer. Release the slider till a click sound is heard. Check the connection between the water inlet hose jointer and the water faucet 1.Swing the hose gently to check if it is fastened stably.
-
Page 9: Using Process
1Preparation before washing Pay attention to the followings before washing Check C l e a r t h e the laundries pocket. Take have special out the coins, requirement sand, hairpins on washing etc. A. Check if the laundries are applicable for washing with machine. b. -
Page 10: Put In The Laundries
Using process Using process 2 Put in the laundries The capacity of washing and spinning refer to the largest weight of the standard laundries under dry condition that can be washed or spinned in one cycle. Washing quantity for one cycle shall be less than the rated capacity.The largest capacity of this machine is 6.0kg. -
Page 11: Add The Detergent And Softener
3 Add the detergent and softener How to use the whitener Fill water to decided level. Dilute the whitener with container. Pour it slowly into the washing tub. Do not use whitener on laundries with color or print as they are not colorfast. The whitener shall not touch the laundries directly. -
Page 12: Use The Operation Buttons
4 Use the operation buttons a Description of the function of the operation buttons Mode and meaning of the indicator Flash: indicating the running mode On: indicating the mode about to run Flash rapidly: indicating abnormal situation Push it to select one or more programs from WASH RINSE and SPIN Using process Using process... - Page 13 Select or adjust water level PROGRAM button The following four programs are available for your option Normal Common washing Speedy Quick washing of laundries with light soil Gentle Washing the woolen textiles or underwear Jeans Washing the large and heavy stained laundries Reset High Middle...
- Page 14 b Steps of using the operation buttons and description of each step. Attention Even there's no water in the tub, a certain period is required before spin starting. Separate the laundries that are not colorfast from other laundries in washing. 1.Push the POWER button to switch on the power.
- Page 15 2.Select suitable automatic program. After switching on the power, the machine will set standard program automatically. To select other automatic program, push the suitable button till the relative indicator is on. Refer to the PROGRAM button on Page 11 for the selection. For instance: Push the SPEEDY program for quick washing of laundries with light soil .
-
Page 16: Close The Top Lid
Procedure selection method Times of pushing the Selected procedure SELECT button WASH, RINSE, SPIN WASH (the washing liquid remains in the tub) WASH - RINSE (the rinsing liquid remains in the tub) RINSE - SPIN Spin (spin after drain) Push the SELECT button for 5 times, and it will resume the initial mode. It will circulate in that sequence. 4.Switch the WATER LEVEL button to select suitable water level According to the capacity of the laundries, choose the three water levels After the water inlet as per the preset water level, in case additional water quantity is required, please first set... -
Page 17: Disposal After Washing
7 Disposal After Washing Cleaning the lint filter The lint filter must be used during washing. It must be cleaned in time after each using. 1.Take off the lint filter Put hand at the indicated positon. Push down to take it off. (See to Figure 1) 2.Clean the lint Put it in water and clean while it is... -
Page 18: Trouble-Shootinganswers To Questions
Trouble-shootingAnswers to questions Trouble-shootingAnswers to questions Trouble-shootingAnswers to questions Trouble-shootingAnswers to questions (If there's breakdown, please pull off the power plug before checking) The following phenomena are not breakdowns sometimes. Please confirm again before sending it to repair. If there are real breakdowns, please come to the special maintenance department or after-sale service department of our company. -
Page 19: Packing List
Packing list Name User's manual Lint filter Water inlet hose component Bottom plate Tapping screw Outer drain hose Drain hose clamp Fuzzy logic automatic washing machine Quantity Storage position 1 piece Inside the document bag Inside the document bag 1 piece 1 piece Inside the inner tub Between the upper cushion of the... -
Page 20: Specifications
Rated washing / spinning capacity Water level/Water quantity (about) Max water consumption Water inlet pressure Rated washing power Rated spinning power Weight Dimensions (mm) XQB60-C 220-240V ~ 50Hz 6.0kg 50L/High, 42L/Middle, 34L/Low About 150L (the highest water level, normal program) 0.03MPa-0.78MPa 415W 315W...
Need help?
Do you have a question about the XQB60-C and is the answer not in the manual?
Questions and answers