
Related Manuals for Kramer SPK-W611


Summary of Contents for Kramer SPK-W611
-
Page 1: User Manual
KR AMER ELECTRON ICS LT D. USER MANUAL MODEL: SPK-W611 Multipurpose Speakers P/N: 2900-300116 Rev 2... -
Page 2: Table Of Contents
Introduction Getting Started Achieving the Best Performance Overview Defining the SPK-W611 Choosing the Best Location Installing the SPK-W611 Preparing for Installation Installing the Speaker Wires ... -
Page 3: Introduction
Introduction Welcome to Kramer Electronics! Since 1981, Kramer Electronics has been providing a world of unique, creative, and affordable solutions to the vast range of problems that confront the video, audio, presentation, and broadcasting professional on a daily basis. In recent years, we have redesigned and upgraded... -
Page 4: Getting Started
Achieving the Best Performance To achieve the best performance: • Use only good quality connection cables (such as the Kramer BC-2S cable) to avoid interference, deterioration in signal quality due to poor matching, and elevated noise levels (often associated with low quality cables) •... -
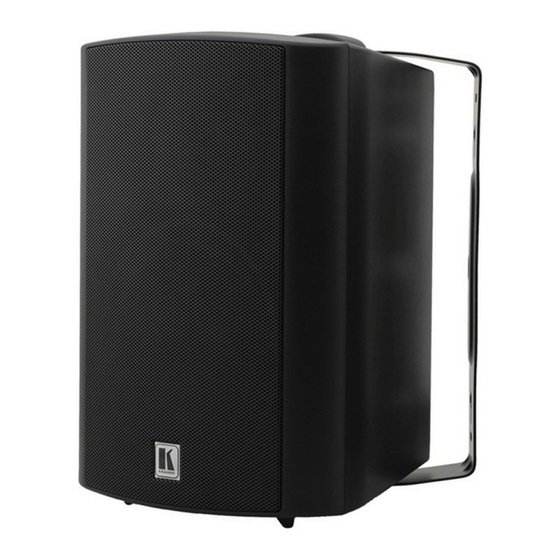
Page 5: Overview
Overview The SPK-W611 includes a pair of high performance speakers that can be mounted on the wall vertically or horizontally. The mounting brackets are made of hardened steel that can be attached to each speaker, letting you rotate each speaker to the left or right. -
Page 6: Choosing The Best Location
Each bracket is specifically designed to hold the weight of the speaker. Do not hang anything from the bracket other than the speaker, and do not place any item(s) on top of the speaker. SPK-W611 - Choosing the Best Location... -
Page 7: Installing The Spk-W611
1. Make sure that the amplifier power is OFF. 2. Prepare the wires for the speakers: Use two stranded speaker wires (it is recommended to use the Kramer BC-2S cables) of similar length for achieving high quality sound Measure the length from each speaker to the amplifier, and add some... -
Page 8: Figure 2: Installing The Speaker Wires
Unscrew the positive (red) screw-type connector on the rear panel of the speaker, insert the wire from the positive terminal on the amplifier, and retighten. Take care not to insert the insulated part of the wire into the screw-type connector SPK-W611 - Installing the SPK-W611... -
Page 9: Installing The Mounting Bracket
If you are mounting it on the wall, use wall anchors. Leave the screw heads protruding just a bit so the speaker can hang on them. SPK-W611 - Installing the SPK-W611... - Page 10 Check that the speakers are well aligned against the wall, and tighten if necessary. 3. Loosen the bracket knobs slightly to set the speaker in the desired angle and then retighten. SPK-W611 - Installing the SPK-W611...
-
Page 11: Painting The Speakers
Remove the following parts of the speaker: • The brackets and bracket knobs • The grille gently, using a bent paper clip Mask: • The input port area • The bracket knob openings and end panels • The grille area SPK-W611 - Installing the SPK-W611... -
Page 12: Figure 3: Preparing The Paint Masks
When painting the grille (in two layers), you can either cover the logo on the grille or paint over it. It is best to spray paint the grille using either a spray can or a spray gun with a compressor set to the finest spray diameter. SPK-W611 - Installing the SPK-W611... -
Page 13: Technical Specifications
21.5cm x 23cm x 29.5cm (8.5” x 9.1” x 11.6”), W, D, H bracket): WEIGHT: One speaker: 2.6kg (5.7lbs) approx. Shipping weight: (for pair): 5.6kg (12.3lbs) approx. ACCESSORIES: Two mounting brackets (fixed and rotating) Specifications are subject to change without notice at http://www.kramerelectronics.com SPK-W611 - Technical Specifications... - Page 14 SPK-W611 - Technical Specifications...
- Page 15 For the latest information on our products and a list of Kramer distributors, visit our Web site where updates to this user manual may be found. We welcome your questions, comments, and feedback. Web site: www.kramerelectronics.com E-mail: info@kramerel.com SAFETY WARNING...
Need help?
Do you have a question about the SPK-W611 and is the answer not in the manual?
Questions and answers