
Subscribe to Our Youtube Channel
Related Manuals for Kramer Yarden 8-C SPK-C821-K


Summary of Contents for Kramer Yarden 8-C SPK-C821-K
-
Page 1: User Manual
K R A ME R E LE CT R O N IC S L TD . USER MANUAL MODEL: Yarden 8-C (SPK-C821-K) Closed-back Ceiling Speakers P/N: 2900-300348 Rev 1... - Page 2 This page is intentionally left blank...
-
Page 4: Table Of Contents
Contents Introduction Getting Started Achieving the Best Performance Overview Your Yarden 8-C Closed-back Ceiling Speakers Installing the Yarden 8-C Closed-back Ceiling Speakers Choosing the Best Location Cutting the Ceiling Tile Mounting the Speakers Setting up an Array Installation Painting the Speaker Technical Specifications Figures Figure 1: Yarden 8-C in a Boardroom Setup... -
Page 5: Introduction
Introduction Welcome to Kramer Electronics! Since 1981, Kramer Electronics has been providing a world of unique, creative, and affordable solutions to the vast range of problems that confront video, audio, presentation, and broadcasting professionals on a daily basis. In recent years, we have redesigned and upgraded most of our... -
Page 6: Getting Started
Achieving the Best Performance To achieve the best performance: Use only good quality connection cables (we recommend Kramer high- performance, high-resolution cables) to avoid interference, deterioration in signal quality due to poor matching, and elevated noise levels (often associated with low quality cables) ... -
Page 7: Overview
Overview The Yarden 8-C consists of a pair of high performance closed back speakers. Mount your Yarden 8-C speakers to the ceiling in one of two ways: either directly onto the ceiling or, for added protection, secure the speakers safely, using our Section ... -
Page 8: Your Yarden 8-C Closed-Back Ceiling Speakers
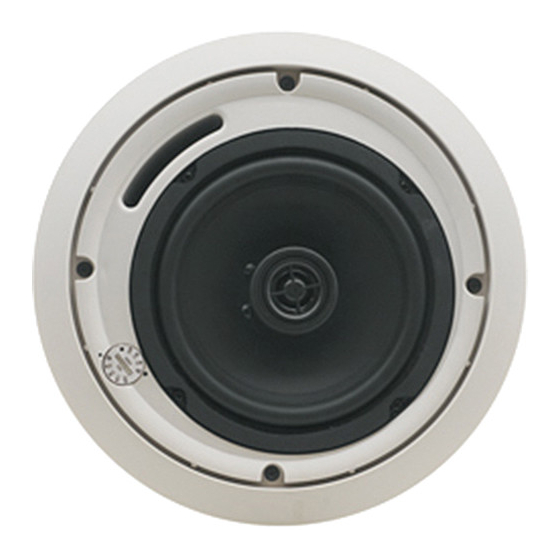
Your Yarden 8-C Closed-back Ceiling Speakers Figure 2 defines the Yarden 8-C: Figure 2: Yarden 8-C Closed-back Ceiling Speaker The following table defines the Yarden 8-C hardware items (per speaker pair) for each model in the series: Description A pair of ceiling Two grilles Cutout... -
Page 9: Figure 3: Yarden 8-C Schematic Diagram
Each Closed-back Ceiling speaker is supported by a C-ring and two tile rails. The tile rails prevent the speakers from falling if the tile itself comes out or falls apart, as their ends catch onto the T-grid. When mounting onto the ceiling tiles, use both supports. -
Page 10: Installing The Yarden 8-C Closed-Back Ceiling Speakers
Installing the Yarden 8-C Closed-back Ceiling Speakers This section explains how to install the Yarden 8-C, that is: Section 5 Choosing the best place to locate your speakers (see Section 5 Cutting the ceiling tile (see ... -
Page 11: Mounting The Speakers
4. Routethewiringfromtheamplifiertothespeakers’cutoutholes,takingcare not to place them next to electrical wires or at least at a distance of about two feet from an AC line. Do not nail or staple the speaker wires. If you are mounting the speakers onto a ceiling tile, remove the ceiling tiles where you plan to install the speakers. -
Page 12: Figure 4: Mounting The Yarden 8-C
T-channel Grid C-ring Support Ring Tile Rails Screws Ceiling Tile Figure 4: Mounting the Yarden 8-C 2. Place the tile rails on the tile and snap them into the two tabs on the C-ring. Align the rails so that the ends extend over the T-channel grid. 3. -
Page 13: Figure 5: Plugging And Securing The Cable
Figure 5: Plugging and Securing the Cable 7. Push the speaker into the ceiling hole until the front baffle rim is leveled with the ceiling. 8. Tighten the mounting tabs by turning the screw counter clockwise (see Figure Turning one quarter of a circle rotates the tab outwards; after that the screw is turned to tighten the tabs to the rear side of the ceiling surface When tightening the mounting tabs, the tabs automatically turn outward, thus clamping the speaker to the wall from its rear side. -
Page 14: Setting Up An Array Installation
Figure 7: Adjust Tap Selector 11. Install the grilles to the speakers: Push the grille fastener into the hole in front of the baffle Press the grille into place until the front of the grille is flush with the rim of the baffle ... -
Page 15: Figure 8: Square Layout
Figure 8: Square Layout Figure 9: Hexagonal Layout You can set the power on each speaker to get the desired power level in different installation areas. Figure 10 shows an example of parallel wiring in a square array installation: Yarden 8-C - Installing the Yarden 8-C Closed-back Ceiling Speakers... -
Page 16: Figure 10: Square Layout Parallel Wiring
Figure 10: Square Layout Parallel Wiring Yarden 8-C - Installing the Yarden 8-C Closed-back Ceiling Speakers... -
Page 17: Painting The Speaker
Painting the Speaker You can paint the speakers before or after they are installed. When painting before installation: Clean the rim and grille with mineral spirits or other light solvent that is unlikely to damage the surface Spray with color by holding the spray can at an angle of 45 When spraying the grille, take care not to clog the holes in the grille as this will greatly reduce the sound quality of the speakers. -
Page 18: Technical Specifications
Technical Specifications Yarden 8-C Audio and Power 2−Wayclosed-back ceiling speakers DESCRIPTION: FREQUENCY RESPONSE: 65Hz to 20kHz @ -10dB 85Hz to 20kHz @ ±3dB WOOFER: 8”(200mm) Kevlar(R) with rubber surround TWEETER: 1”(25.4mm) titanium dome 8Ω (transformer tap in off position) IMPEDANCE: 70V –... - Page 20 For the latest information on our products and a list of Kramer distributors, visit our Web site where updates to this user manual may be found. We welcome your questions, comments, and feedback. Web site: www.kramerelectronics.com E-mail: info@kramerel.com SAFETY WARNING...
Need help?
Do you have a question about the Yarden 8-C SPK-C821-K and is the answer not in the manual?
Questions and answers