
Related Manuals for Levana LV-TW501


Summary of Contents for Levana LV-TW501
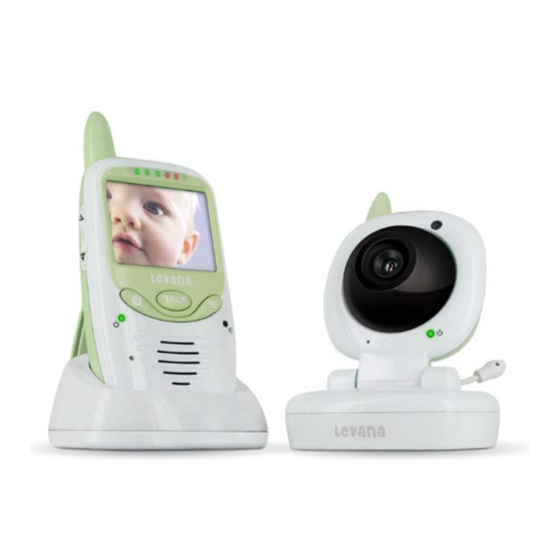
- Page 1 USeRS MANUAL Safe’N See Digital Video Monitor W/ Talk-To-Baby Intercom Model #: LV-TW501 www.myLevana.com...
-
Page 2: Product Warranty Information
5. This warranty does not cover the shipping cost, insurance or any other incidental charges. 6. You MUST call LEVANA before sending any product back for repair. You will be sent a Return Authorization form with return instructions. When returning the product for warranty service, please pack it carefully in the original box with all supplied accessories, and enclose your original receipt or copy, and a brief explanation of the problem (include RA #). -
Page 3: Table Of Contents
INTRODUCTION Congratulations on your purchase of the Levana TW501 Digital Video Baby Monitor! This monitor uses advanced Clearvu® digital technology that will deliver a crystal clear view of your baby’s room no matter where you are in the house. Feel free to relax and take comfort in knowing that your child is in good hands with Levana. -
Page 4: Features
FEATURES ClearVu® Digital Wireless Technology ClearVu® technology ensures outstanding image and sound clarity so that you can watch and listen to your child up to 450ft away. With Levana, you’ll never miss a moment. Temperature Monitoring to Ensure Safety Many studies indicate that your baby’s room should be between 61°-68° F (16°-20° C). -
Page 5: What's Included
FEATURES LED Noise Level Indication Lights The monitor has LED lights on it that light up to display up to five different levels of sound. This means you can turn the volume all the way down, relax and still know when and how much noise your baby is making. All-in-One Table Stand and Belt Clip The table-stand also functions as a belt clip for ultra usability. -
Page 6: Buttons And Connections - Monitor
BUTTONS AND CONNECTIONS - MONITOR... - Page 7 BUTTONS AND CONNECTIONS - MONITOR 1. Antenna Transmits and receives signals 2. Volume Level LEDs Indicates the amount of sound being heard by the camera 3. Increase Volume and Brightness Increases the volume through the speaker, and adjusts settings in the menu 4.
-
Page 8: Buttons And Connections - Camera
BUTTONS AND CONNECTIONS - CAMERA... -
Page 9: Night Light
BUTTONS AND CONNECTIONS - CAMERA 1. Antenna 6. CDS Light Sensor Transmits and receives signals Detects the absence of light and turns on night vision 2. Night Vision IR LEDs 7. Power LED Allows you to see up to 10 feet in complete darkness Indicates that the camera is powered on... -
Page 10: Setting Up Your System
SETTING UP YOUR SYSTEM Placing the Baby Monitor This monitor can be placed on a tabletop or hung from a screw on the wall above the area being monitored. Place the monitor within ten feet of the area being monitored for best picture and to ensure that everything will be visible with the IR LEDs on. 1. -
Page 11: Using The Rechargeable Battery
SETTING UP YOUR SYSTEM Using the Rechargeable Battery 1. Turn the belt clip on the back of the monitor unit, upwards. 2. Remove the battery compartment cover by sliding it down off the back of the monitor 3. Insert the included rechargeable battery, plug the battery cord in to the small jack on the inside of the battery compartment. -
Page 12: Camera Operation
CAMERA OPERATION Switching the Camera ON/OFF Position the camera to view the area you wish to monitor, angle the camera lens for best view, by turning it up or down. 1. Slide the power switch to the ON position. 2. The Power LED on the front of the camera will light up green. -
Page 13: Monitor Operation
1. Press and hold the power button until you hear two beeps. 2. The LEVANA logo will appear on the screen for a moment followed by the picture being transmitted. 3. To turn off the unit, press and hold the power button again for 1 second. -
Page 14: Switching The Night Light On/Off
MONITOR OPERATION Switching the Night Light ON/OFF 1. Press the menu button three times. 2. The night light icon will display on the screen along with the current status of the function, either ON or OFF. 3. Use the up and down buttons on the left side of the monitor to turn the night light of the camera ON or OFF. -
Page 15: Adjusting The Vox Sensitivity
MONITOR OPERATION Adjusting the VOX* Sensitivity VOX = Voice Operated Transmission = Sound Detection The VOX function causes the camera to transmit video and audio immediately after a sound is heard. Once transmission begins, the video will play for 10 seconds if no more noise is heard. -
Page 16: Intercom Feature
MONITOR OPERATION Intercom Feature This video baby monitor is equipped with a 2-way audio intercom to enable you to talk to and soothe your baby back to sleep without going into the room. 1. Press and hold the intercom button in the middle of the front of the monitor. -
Page 17: Pairing The Devices
PAIRING THE DEVICES The camera and monitor come paired (connected) together. If you do receive this package and the devices do not automatically connect and transmit, you may do so manually. 1. Slide the power switch on the right hand side of the camera to the OFF position. -
Page 18: Troubleshooting
TROUBLESHOOTING PROBLEM SOLUTION Equipment does not function • Camera and/or monitor are not switched on • The battery is dead or defective • The power adapters are not connected No reception • Camera and monitor are not paired • Camera is too far away from monitor •... -
Page 19: Specifications
SPECIFICATIONS Camera Specifications Input Power...............100 - 240 VAC, 50 - 60 Hz ~ 200mA Output Power ............6 VDC ~ 800mA IR LEDs and Range .............8 LEDs, 10 foot range Range.................450 Feet Maximum Frequency Range ............2.4 GHz Operable Temperature ..........32 ˚ F to 104 ˚ F (0 ˚ C to 40 ˚ C) Transmission Power ...........15 ~17 dBm Monitor Specifications Input Power ..............100 - 240 VAC, 50 - 60 Hz ~ 200 mA... -
Page 20: Fcc Statement
FCC APPROVED This equipment has been tested and found to comply with the limits for a Class B digital device, pursuant to Part 15 of the FCC Rules. These limits are designed to provide reasonable protection against harmful interference in a residential installation. - Page 21 SAFETY INSTRUCTIONS Ventilation: This baby monitor should not be used on a bed, sofa, rug or similar surface that may block the ventilation openings, or be placed in an enclosed area, such as a bookcase or drawer that may impede air flow. Keep Away from Sources of Heat: This unit should not be exposed to direct heat sources such as a candle, fireplace, radiator, heat register, stove or other appliance that emits heat.
Need help?
Do you have a question about the LV-TW501 and is the answer not in the manual?
Questions and answers