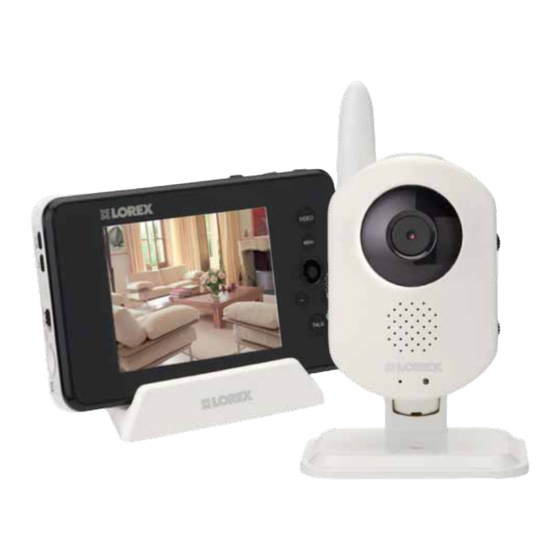
Lorex LIVE LW241 Series Quick Start Manual
Wireless video home monitor
Hide thumbs
Also See for LIVE LW241 Series:
- User manual (60 pages) ,
- Instruction manual (50 pages) ,
- Faq (3 pages)
Advertisement
L IV E
LOREX
Wi rel e s s Vid eo Hom e M onit or
LOREX
LW241/LW2401 Series Quick Start Guide
Getting Started
The Lorex Live Wireless Video Home Monitor comes with
the following components:
1 x Rechargeable Video Monitor
1 x Monitor Charging Cradle
1 x Wireless Camera(s)*
1 x microSD card
1 x Power Adaptor (for receiver)
1 x Power Adaptor (for camera)*
3 x Cable Clips*
Driver CD
Instruction Manual
Quick Start Guide
*Number of cameras and power adaptors may vary by model. Check
your package for specific content information.
FOR MORE INFORMATION:
www.lorextechnology.com
A.
Camera Setup
The Camera can be placed on a flat
1
surface, or wall mounted.
Determine where you want to locate the
camera.
NOTE: Keep cables and wires at least
3 feet (1 meter) away from infants or
young children. Use the included cable
Desk/Counter Mount
clips as necessary.
NOTE: AVOID INSTALLING IN A LOCATION WHICH REQUIRES THE WIRELESS
SIGNAL TO PASS THROUGH CEMENT, CONCRETE AND METAL STRUCTURES.
THIS WILL REDUCE THE TRANSMISSION RANGE.
OPTIONAL
The camera features mounting holes on the bottom
of the base and can be mounted to a wall if
desired.
Determine the camera position that will give you
the best view before permanently wall mounting the
camera. Ensure the power cable is long enough to
power the camera.
Please refer to the Owner's Manual for a mounting
template and full instructions on how to wall-mount
your camera.
Connect the Power Adaptor to
2
the 5V Input on the back of the
camera.
OPTIONAL: You can use 'AA'
batteries or a rechargable battery
pack to power the camera. Please
refer to Appendix A in the Owner's
Manual for instructions.
NOTE: Battery operation is suggested
for temporary monitoring only.
Connect the power adapter to a
3
power outlet.
Slide the power switch up, to the
4
ON position.
Wall Mount
B.
Video Monitor Setup
Insert the included microSD card,
1
as indicated on the right side of
the video monitor.
Connect the power adapter to a
2
power outlet, and to the video
monitor or charging cradle. If
you use the cradle, ensure the
video monitor firmly rests on
the cradle. The video monitor's
charging LED indicator glows
red to indicate charging is in
progress.
NOTE: It takes 6 hours to fully charge
the video monitor.
Slide the power switch up to the
3
ON position. The video monitor
will automatically scan for
cameras in range.
LW2401 Series QSG_EN_R1 Page 1
Advertisement
Table of Contents

Summary of Contents for Lorex LIVE LW241 Series
-
Page 1: Camera Setup
If template and full instructions on how to wall-mount you use the cradle, ensure the your camera. The Lorex Live Wireless Video Home Monitor comes with video monitor firmly rests on the following components: the cradle. The video monitor’s... - Page 2 ©2011 Lorex Technology Inc. LW2401 Series QSG_EN_R1 Page 2 FOR MORE INFORMATION: As our product is subject to continuous improvement, Lorex Technology & subsidiaries reserve the right to modify product design, specifications & prices www.lorextechnology.com without notice and without incurring any obligation. E&OE...


Need help?
Do you have a question about the LIVE LW241 Series and is the answer not in the manual?
Questions and answers