Table of Contents
Advertisement
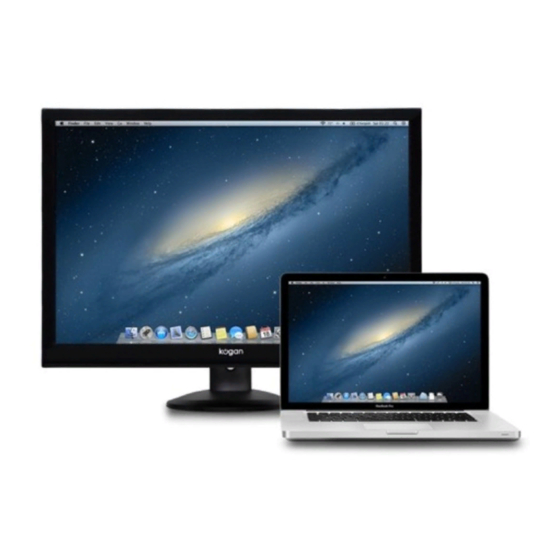
Quick Links
Advertisement
Table of Contents

Related Manuals for Kogan KALED30MONA


Summary of Contents for Kogan KALED30MONA
- Page 1 KALED30MONA USER MANUAL...
- Page 2 • Don't put the display on an instable car, chair or table. If the monitor falls down, it may damage the user and equipment. If you mount the monitor on a wall or shelf, the fixed installation is entirely the responsibility of the customer and Kogan are not responsible if the monitor comes loose and falls.
-
Page 3: Packing List
PC or the system. Additionally, you should power off the electricity for two hours after every 12 hours’ working. • When the screen turns black, flickers or doesn't power up at all, please contact the Kogan customer support team. Please do not attempt to repair the monitor by yourself. -
Page 4: Control And Connection
Control and Connection Visual connections Signal line connection: Choose either the the 15 stitch plug or the DVI line of the 24 needle plug to connect the output port of the computer to the input port of the monitor. Finally use the screw to fix it. - Page 5 Angle adjusting • The ideal angle we recommend is to face to the LCD monitor, and then according to your requirements, adjust the angle of the LCD display. • When you adjust the angle of the display, hold on to the base while adjusting to prevent the display shaking.
-
Page 6: Operation Instructions
Operation Instructions General Descriptions You can turn on or off the display with pressing the power switch. Other function buttons are located on the front panel as shown below. By using these function keys you can get the pictures you need. •... -
Page 7: Power Light
• Keep the original packaging materials. If you need your monitor transported, it will be far more convenient. • In the event of the monitor being needed to be returned back to Kogan for servicing under warranty, we recommend you ship the monitor back to us in the original packaging. -
Page 8: Picture Adjusting
How to Use the OSD Adjustment 1. Use the "MENU" button to activate the OSD window. 2. Use the "▲" or "▼" buttons to browse the main menu. If you want to make adjustments as the functions appear and the main MENU icon background color is deep blue, press "MENU"... - Page 9 Slightly adjust green color green temperature blue Slightly adjust blue color temperature MENU MENU Submenu Submenu Project Specification Project Icon Project Horizontal Position Adjust OSD horizontal position Upright Position Adjust OSD vertical position Time Setting Adjust OSD display time Clarity Adjust OSD clarity Setting Choose the OSD menu display...
-
Page 10: Technical Support (Faq)
﹡ Adjust brightness and contrast settings. Weak brightness and problem persists, please contact the contrast ratio Kogan customer support team. ﹡ close Win95/98/2000 / ME/XP , adjust a horizontal or vertical CLOCK and FOCUS or executive hot interference of picture keys (AUTO key) The clock controls the quantity of the scanning pixels per line. - Page 11 Wrong Information and Possible Solutions No signal lines connected: 1. Check the cable plugs to assure the connection is secure. If the connector becomes loose, please tight the screws. 2. Check whether the pins which connect signal lines are damaged. Input is not supported: Your computer is set in the wrong display mode, please reset your computer display settings to display a supported mode.
- Page 12 • Automatic Adjustment Button • “▼”button/ Luminance Setting Profile(Eco Mode) Switch • Power Supply Button · “▲”button/ Dynamic Contrast Ratio(DCR)Adjustment key • Menu/Enter Key • Contrast Ratio • Luminance • Phase • Timing Sequence • Horizontal Position External control • Vertical Position •...
- Page 13 Factory Presets Mode Table Preset 15 kinds of form on monitor, and the list is fixed Standard Resolution H FREQ (KHz) field frequency (Hz) • DOS mode • 720×400 • 31.469 • 70 • VGA • 640×480 • 31.469 • 60 •...
- Page 14 Double-link DVI-D 24+0 pin DVD-D root distribution Data Signal Data Signal Data Signal Data Signal Grounding Grounding Data Signal Data Signal Data Signal Data Signal DDC- SCLK DDC- SDA Grounding Plug and Play Port...
Need help?
Do you have a question about the KALED30MONA and is the answer not in the manual?
Questions and answers