Table of Contents
Advertisement
Quick Links
Advertisement
Table of Contents

Subscribe to Our Youtube Channel
Summary of Contents for Kogan KAMN27QFSB
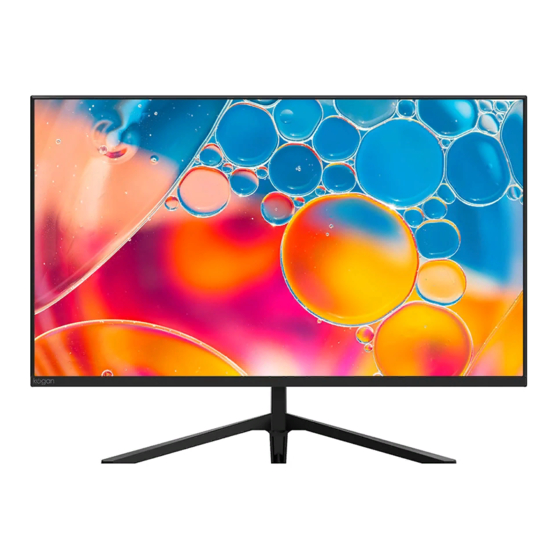
- Page 1 27" QHD IPS FREESYNC 75HZ FRAMELESS MONITOR 2560 x 1440 KAMN27QFSB...
-
Page 2: Table Of Contents
Safety & Warnings Components Overview Stand Assembly VESA Mount Connectivity Operation Cleaning & Care Specifications Notes... -
Page 3: Safety & Warnings
SAFETY & WARNINGS Ensure to read all instructions and warnings in this user guide prior to first use. Retain this user guide for future reference. • Do not open the back panel of the monitor as it contains a high-voltage current even when unplugged. -
Page 4: Components
COMPONENTS A Monitor (x1) B Stand connector (x1) C Stand base (x1) D 16mm M6 stand base screw (x1) E VESA screw (x4) F DisplayPort cable (x1) G Power cable (x1) H User guide (x1) -
Page 5: Overview
OVERVIEW Monitor controls Power button Directional arrows Ports Power port DP connector DVI port VGA connector HDMI port Audio input... -
Page 6: Stand Assembly
STAND ASSEMBLY 1. Carefully remove the monitor (A) from the packaging with the foam attached, and place it face down on a soft cloth spread across a stable surface. Note: The monitor is fragile. Keep the foam underneath the monitor while assembling the stand. - Page 7 3. Insert the stand connector (B) onto the back of the monitor (A). Push down until firmly connected. 4. Lift the monitor (A) straight up and remove the foam on the bottom. Stand the monitor (A) on the installed base.
-
Page 8: Vesa Mount
VESA MOUNT 1. Open the box and gently take out the monitor with the protection form attached and place it on a desktop or table. Remove the extra components and the foam covering the back of the monitor. Press the release button to remove the stand plate. If the monitor was already attached to the stand, remove the stand. -
Page 9: Connectivity
CONNECTIVITY Power cable Connect one end of the power cable into the monitor’s power port, then connect the other end to a power outlet. Audio input Connect the audio end of an audio to 3.5mm cable (not included) into the audio input on the monitor. - Page 10 For the monitor to receive VGA signals from the computer, plug one end of a VGA cable (not included) into the VGA connector on the monitor. Connect the other end into the computer’s VGA output. DisplayPort For the monitor to receive DisplayPort signals from the computer, plug one end of the DisplayPort cable into the DP connector on the monitor.
- Page 11 HDMI For the monitor to receive HDMI signals from the computer, plug an HDMI cable (not included) into the HDMI port on the monitor. Connect the other end into the computer’s HDMI port. For the monitor to receive DVI signals from the computer, plug one end of the DVI cable (not included) into the DVI port on the monitor.
-
Page 12: Operation
OPERATION 1. Connect the monitor to your input device via HDMI/DP/VGA/DVI. 2. Connect the power cable of the monitor into the monitor’s power port and the power socket. Switch the power socket on. 3. Press and hold the power button for 6 seconds to turn the monitor on. Monitor control You can easily control the functions of the monitor by pressing or sliding the Power button. - Page 13 FreeSync To use this feature, ensure your hardware has FreeSync capabilities, and that the graphics drivers are fully up to date. After connecting the monitor, you may receive a prompt to enable the feature on your computer. If you do not receive the prompt, you may need to enable the function in the graphics card menu.
- Page 14 On-screen display (OSD) menu The On-Screen Display (OSD) menu may be used to adjust your monitor’s settings (for example, appearance, modes). When using the monitor for the first time, it will configure to the optimal settings automatically. If you would like to make manual changes, follow the instructions below: 1.
- Page 15 Refer to the below table for a detailed list of the OSD menu options. Category Sub-menu Options Description Brightness ~0–100 Adjusts display brightness Contrast ~0–100 Adjusts display contrast STANDARD / TEXT / GAME / MOVIE / Selection of pre-set colour modes FPS / RTS On/ Off Turns dynamic contrast ratio on/off...
- Page 16 Auto Source / VGA / Auto-selection of input source and Input source HDMI / DVI / DP allows for manual selection Enables/disables the monitor’s Mute ON / OFF speaker Volume 0–100 Adjusts monitor speaker’s volume Restores the monitor to factory Reset default settings Full Screen...
-
Page 17: Cleaning & Care
CLEANING & CARE Ensure the monitor is unplugged before cleaning. • Use a clean, slightly dampened cloth to wipe the main monitor body. • To clean the screen, wait for it to cool completely, then wipe with a dry micro-fibre cloth. -
Page 18: Specifications
SPECIFICATIONS Screen size 27" Aspect ratio 16:9 Power AC 240V, 50Hz, 1.1A Brightness 350cd/m (typical) Panel Resolution 2560 x 1440 Refresh rate 75Hz 7ms with Overdrive enabled (14ms Response time typical) Viewing angle ≥178°(H) / 178°(V) Contrast ratio 1000:1 VESA mounting 100 x 100mm Colours 16.7M... -
Page 19: Notes
NOTES... - Page 20 Need more information? We hope that this user guide has given you the assistance needed for a simple set-up. For the most up-to-date guide for your product, as well as any additional assistance you may require, head online to help.kogan.com...


Need help?
Do you have a question about the KAMN27QFSB and is the answer not in the manual?
Questions and answers