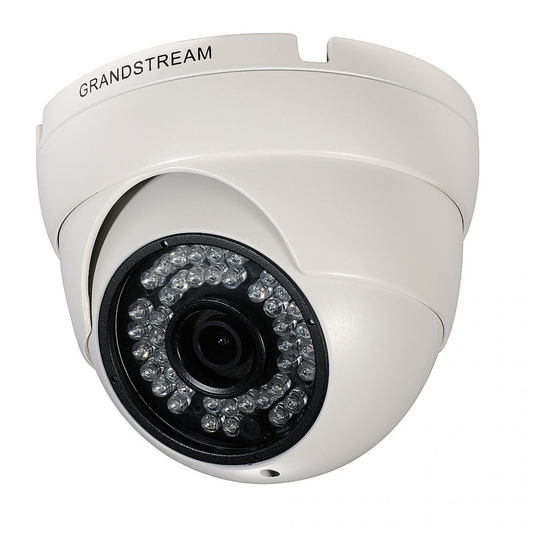
Grandstream Networks GXV3610_HD Mounting And Installation Manual
Hide thumbs
Also See for GXV3610_HD:
- User manual (59 pages) ,
- Quick start manual (47 pages) ,
- Admin manual (9 pages)
Summary of Contents for Grandstream Networks GXV3610_HD
- Page 1 Grandstream Networks, Inc. GXV3610_HD/GXV3610_FHD Mounting and Installation Guide GXV3610_HD/FHD www.grandstream.com Mounting and Installation Guide http://esupport.grandstream.com...
-
Page 2: Table Of Contents
ABLE OF ONTENTS GXV3610_HD/FHD Mounting and Installation Guide SAFETY COMPLIANCES ..........................3 WARRANTY ..............................4 EQUIPMENT PACKAGE CONTENTS ......................5 COMPONENT TERMINOLOGY ........................6 MOUNTING PROCEDURES ........................7 1 ................................ 7 2 ................................ 7 3 ................................ 8 4 ................................ 8 5 ................................ -
Page 3: Gxv3610_Hd/Fhd Mounting And Installation Guide
AFETY OMPLIANCES These instructions are intended to assist users with the operation of the GXV3610_HD/FHD and to instruct on how to avoid dangerous situations or damage to the device. Warning: Serious injury or death may be caused if any of the warnings below are neglected. -
Page 4: Warranty
User Manual, could void your manufacturer warranty. Please do not use a different power adaptor with the GXV3610_HD/FHD as it may cause damage to the products and void the manufacturer warranty. -
Page 5: Equipment Package Contents
GXV3610_HD/FHD IP Camera 12V DC Universal Power Adaptor Ethernet Cable 1 Hex Key and 4 Screws and Wall Anchors Quick Installation Guide Grandstream Networks, Inc. GXV3610_HD/FHD Mounting and Installation Guide Page 5 of 14 Last Updated: 10/2013... -
Page 6: Component Terminology
OMPONENT TERMINOLOGY Grandstream Networks, Inc. GXV3610_HD/FHD Mounting and Installation Guide Page 6 of 14 Last Updated: 10/2013... -
Page 7: Mounting Procedures
Use the hex tool to loosen the collar locking screw by turning counter-clockwise for a few turns. NOTE: Do not completely remove the screw. Step 2 Loosen the locking collar by turning counter-clockwise. Grandstream Networks, Inc. GXV3610_HD/FHD Mounting and Installation Guide Page 7 of 14 Last Updated: 10/2013... -
Page 8: Step 3
If using wall anchors, use a drill to make the hole at the four screw locations to be approximately 7mm and then insert the wall anchor into the hole. Remove template when finished. Grandstream Networks, Inc. GXV3610_HD/FHD Mounting and Installation Guide Page 8 of 14 Last Updated: 10/2013... -
Page 9: Step 5
Place the power connectors through the slot behind the camera base (or through the wall for in-wall installation) and hold the camera dome on the camera base. After finish positioning the power connectors, tighten the four screws. Grandstream Networks, Inc. GXV3610_HD/FHD Mounting and Installation Guide Page 9 of 14 Last Updated: 10/2013... -
Page 10: Step 7
IR LED or light sensor. Fully secure the locking collar when finished. Step 8 Tighten the collar locking screw with the hex tool by turning clockwise. Mounting is complete. Grandstream Networks, Inc. GXV3610_HD/FHD Mounting and Installation Guide Page 10 of 14 Last Updated: 10/2013... -
Page 11: Connect Your Gxv3610_Hd/Fhd
Connect the other end of the RJ-45 cable to your network (switch or router or PC) Connect the power supply to the DC 12V power jack on the back of the GXV3610_HD/FHD Using PoE as power supply ... -
Page 12: Installation Guide
Support for DirectX 8.0 and above. Configure the GXV3610_HD/FHD via Web Browser The GXV3610_HD/FHD has embedded Web server to respond to HTTP GET/POST requests. Embedded HTML pages allow user to configure the IP camera through Microsoft Internet Explorer (7.0 or above), Firefox and Chrome (plug-in from Grandstream required). -
Page 13: Connect The Camera To Network With Dhcp Server (Recommended)
Connect the Camera to network with DHCP server (Recommended) The GXV3610_HD/FHD by default enabled as DHCP client, it will automatically get IP address from the network with DHCP server running. User can know the IP address assigned to the camera from DHCP server log or using the Grandstream GS_Search tool. -
Page 14: Connect To The Camera Using Static Ip
The default IP, if no DHCP server; or DHCP offer time out (3 minutes), is 192.168.1.168 1. Connect the computer RJ-45 via an Ethernet cable directly to the IP camera GXV3610_HD/FHD. 2. Configure the computer using Static IP: 192.168.1.XXX (1<XXX<255, but NOT 168) and configure the “Subnet mask”...


Need help?
Do you have a question about the GXV3610_HD and is the answer not in the manual?
Questions and answers