Table of Contents
Advertisement
Note to You
Pleaseread and save this manual This
information will make installing and using
your new Sears compactor easie_ If you
need help or have questions, call your
Sears store or service cente_ When you
call you will need the model and serial
numbers and purchase date. You can find
these numbers on a rating label located
behind the drawer on the front of
compactor opening. Keep this manual
and your sales sliptogether for reference
in case you ever need warranty service,
model
qerial
purchase
date
Also, please complete and mail the
enclosed Product Registration Card.
2
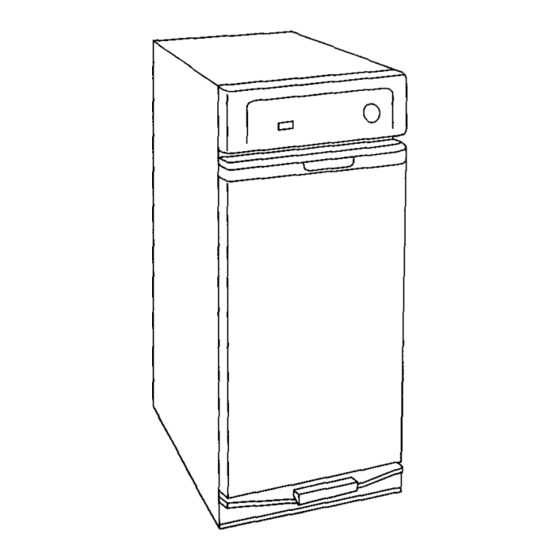
Compactor Features
.........
3
.....
4-8
4
Compactor dimensions ......
4
Cabinet opening dimensions ,. 4
Clearance dimensions .......
4
Electrical requirements .......
5
.......
5-8
Adjusting toe plate ..........
8
Custom-made panels ........
8
Using Your Compactor
.......
9
g
Starting/stopping
compactor..
10
., 10
TM
.......
10
Removing a filled bag .......
11
Installing a new bag ........
12
....
12
Cleaning Tips ..............
13
Troubleshooting
...........
14
................
14
Accessories ...............
15
Index
....................
15
.................
16
PART NO. 9871460
Advertisement
Table of Contents

Related Manuals for Kenmore Compactor


Summary of Contents for Kenmore Compactor
-
Page 1: Table Of Contents
Pleaseread and save this manual This How your compactor works ., 10 Compactor Features ..information will make installing and using your new Sears compactor easie_ If you Installation instructions ..EXTRA PAC cycle ..need help or have questions, call your Tools and materials needed ,.. -
Page 2: Important Safety Instructions
Unplug compactor from necessary when compactor is electrical outlet before servicing. used near children. The compactor must be Do not allow compactor to be electrically grounded. used as a toy, or to run You will be killed or seriously grounding instructions. - Page 3 Use this compactor illustration to name to help you find more detailed information about that feature. help you quickly learn how to install and use your new compactor. Page Some features shown may not be numbers are listed after the feature available on all models.
-
Page 4: Tools And Materials Needed
• 6 inches (15.2 cm) of clearance to ruler or measuring tape the right side of compactor to be able to remove bag. • 23 inches (58.4 cm) in front of requured for undercoun_ compactor to remove drawer. -
Page 5: Electrical Requirements
Installing compactor Do not allow the rear frame of Do not grasp console to move compactor. the compactor to touch the floor covering when lifting or moving Slide compactor onto cardboard compactor. or hardboard before moving compactor across floor to prevent damaging floor covering. - Page 6 (87 cm) (position "A°), assembly rear wheel. = Use pliers to lower leveling legs away from cabinet. Adjust legs so there will be 1/8" (3 ram) to 1/4" (6.4 ram) space between top of compactor and top of cabinet opening. Stand compactor upright.
- Page 7 Adjust leveling legs until compactor is level. Compactor must be level to operate properly. = Freestanding installation: If compactor frame is to be flush Go to Step 9. with cabinet front, place retaining retainin( bracket bracket screws through "A".
-
Page 8: Adjusting Toe Plate
Mark on each side of toe plate the amount of toe plate that rubs floor covering. b. Remove drawer from compactor. (See Step 3, Page 6.) c. Use a ruler and a pencil or chalk to draw a line between the marks on each side of toe plate. -
Page 9: Puffing Trash Into Compactor
Opener with your foot to open drawer. (7-15 cm) depending on load. Correct loading = Put trash into compactor. bottle on its side in center • Wrap or cover wet or messy trash. • Load bulky trash, bottles or cans on their sides in center of drawer. -
Page 10: How Your Compactor Works
Starting and Stopping Compactor Drawer must be at least 1/3 full before compactor will compact trash. REMOVE • To start your compactor: Turn Key-Knob to "START" Q and release. The compactor will stop automatically when cycle is done. You can stop compactor anytime 3. -
Page 11: Removing A Filled Bag
Removing a filled bag . Pull drawer completely open. Use paper or plastic bags made for use in a compactor. These bags are The compactor bag should be removed designed to resist cuts, tears and when trash is compacted almost to the leaks. -
Page 12: Installing A New Bag
If you have a holder. strong odor, open and close drawer several times. If your compactor is located in an area where temperatures can fall Sears Compactor Deodorizing Liquid below 32°F (0°C), the deodorizing is available at your Sears store or liquid may freeze and not dispense. - Page 13 Wipe up spills right away. Some a damp cloth. Rinse. Dry with a foods can damage finish if left on soft cloth. compactor surface. Cleaning inside the drawer NOTE: The drawer side can be 1. Put on protective gloves. removed by tilting it up, then 2.
-
Page 14: If You Need Assistance Or Service
If deOd_i_,ing liquid is not dispens ng when you open and close drawer, replaes deedorizing oan. Drawer does not open and Compactor should be level from front to back. Adjust front leveling legs until close properly compactor is level. (See Installation Instructions for detailed steps.) Flexible toe plate should not drag on floor. -
Page 15: Accessories
The custom front panels kits are: Trim for custom front panel • Part No. 9871381 (Brushed Special trim kits are needed if you Use Sears compactor bags for will be installing a custom front panel. stainless steel) proper operation of your compactor. •... - Page 16 United States. This or workmanship. warranty gives you specific legal If the compactor is subjected to For the repair or rights, and you may also have other than private family use, the...
Need help?
Do you have a question about the Compactor and is the answer not in the manual?
Questions and answers
Where to get deodorizing system for a kenmore 15” compactor?
Where to get new deodorizing can and how to get old one out?