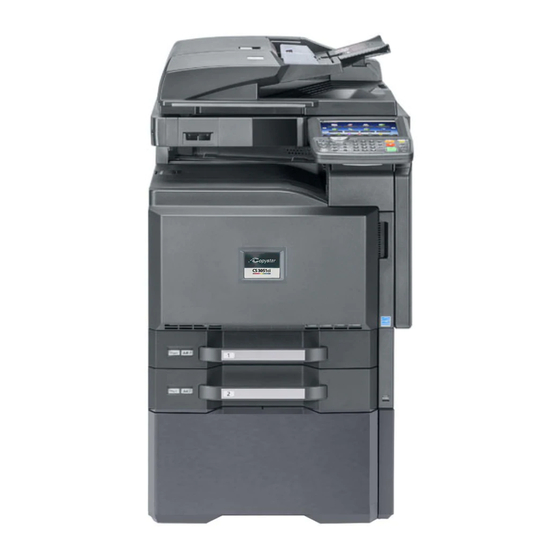
Kyocera TASKalfa 3051ci Operation Manual
Kyocera net admin operation guide for ver 3.1
Hide thumbs
Also See for TASKalfa 3051ci:
- Service manual (1403 pages) ,
- Operation manual (262 pages) ,
- Technical reference manual (260 pages)
Table of Contents
Advertisement
Advertisement
Table of Contents

Summary of Contents for Kyocera TASKalfa 3051ci
-
Page 2: Legal Notes
We cannot be held liable for any problems arising from the use of this product, regardless of the information herein. Regarding Trademarks KYOCERA Net Admin is a trademark of KYOCERA Document Solutions Inc. Microsoft®, Windows®, and Internet Explorer are registered trademarks of Microsoft Corporation in the U.S. and/or other countries. -
Page 3: Table Of Contents
Table of Contents Chapter 1 Installation System Requirements ........................1-1 Upgrade KYOCERA Net Admin ....................1-2 Creating a Backup of Earlier Versions ..................1-3 Installing the New Version 3.x ....................1-3 Restoring a Database in Version 3.x ..................1-3 Restore Files Manually ......................1-4 Server Installation ......................... -
Page 4: Chapter 1 Installation
Net Admin Agent and Multi-Set Template Editor are included in the installation, and are also available as separate installers along with the Local Device Agent (LDA). The KYOCERA Net Admin Agent and Multi-Set Template Editor can be installed locally or remotely at multiple sites. -
Page 5: Upgrade Kyocera Net Admin
Supported Languages English, French, German, Italian, Japanese, Portuguese, Spanish. Upgrade KYOCERA Net Admin You can upgrade your older version of KYOCERA Net Admin to the latest version. Depending on your current version, the following upgrade operations are required: All older versions – back up the database, and then restore the database after installing the new version. -
Page 6: Creating A Backup Of Earlier Versions
Firmware files Map view background images Installing the New Version 3.x After creating backup files from the older version, you can install KYOCERA Net Admin 3.x. Use the Windows Uninstall or change a program to remove KYOCERA Net Admin from the computer. -
Page 7: Restore Files Manually
Installation Restore Files Manually After KYOCERA Net Admin 3.x is installed, you can manually restore files that were saved from version 1.03, 1.04, or 1.5. Log files Copy the saved files to the default folder in C:\Program Files\Kyocera\NetAdmin\Admin\log, or to the log folder where version 3.x is installed. -
Page 8: Postgresql Files
Install now to proceed. When the process completes, the Finished page appears. You can select the Start now check box and then click Close to login to KYOCERA Net Admin with the default login credentials. For Administrator, the username and password is admin and admin, or for a read-only user, the username and password is guest and guest. -
Page 9: Removing Postgresql Files
Allowing the Remote Agent to Access Client Connections The administrator can set policies that are applied to the computer for any user who logs on to the KYOCERA Net Admin server. The Allow Print Spooler to accept client connections policy manages access to the Print Spooler. For information about group policy settings, refer to Microsoft documentation. -
Page 10: Stand-Alone Agent Installation
Installing an Agent with the Stand-alone Installer You can install an agent at a location that is remote from the KYOCERA Net Admin server. Installation Guide... -
Page 11: Usb Device Connections
Admin that links the agents to it. You must use the folder at the path above to create a stand-alone agent installer. If you use a folder from the KYOCERA Net Admin package before it is installed on your server, agent communication will fail. -
Page 12: Connecting A Usb Device
Installation The computer must have at least one connected local Kyocera USB device. The computer must have a real network interface card. The computer must be connected to the network. The computer must have an IP address in the connected network. -
Page 13: Multi-Set Template Editor Installation
On the Installation Completed page, click Close to exit the wizard. KYOCERA Net Admin Login At the end of the installation wizard, you can leave the Open the KYOCERA Net Admin login page check box selected to open the application after clicking Finish. -
Page 14: Starting And Logging In
Ctrl+N to open a new window while the application is running. Starting and Logging In You can start KYOCERA Net Admin from Internet Explorer 7 or higher. In the browser, click the application’s address in the format: http://<computer name or IP address>:<port number>/netadmin/ or find the URL in the Favorites or browser history. - Page 15 Rev. 3.1 2013.02...


Need help?
Do you have a question about the TASKalfa 3051ci and is the answer not in the manual?
Questions and answers