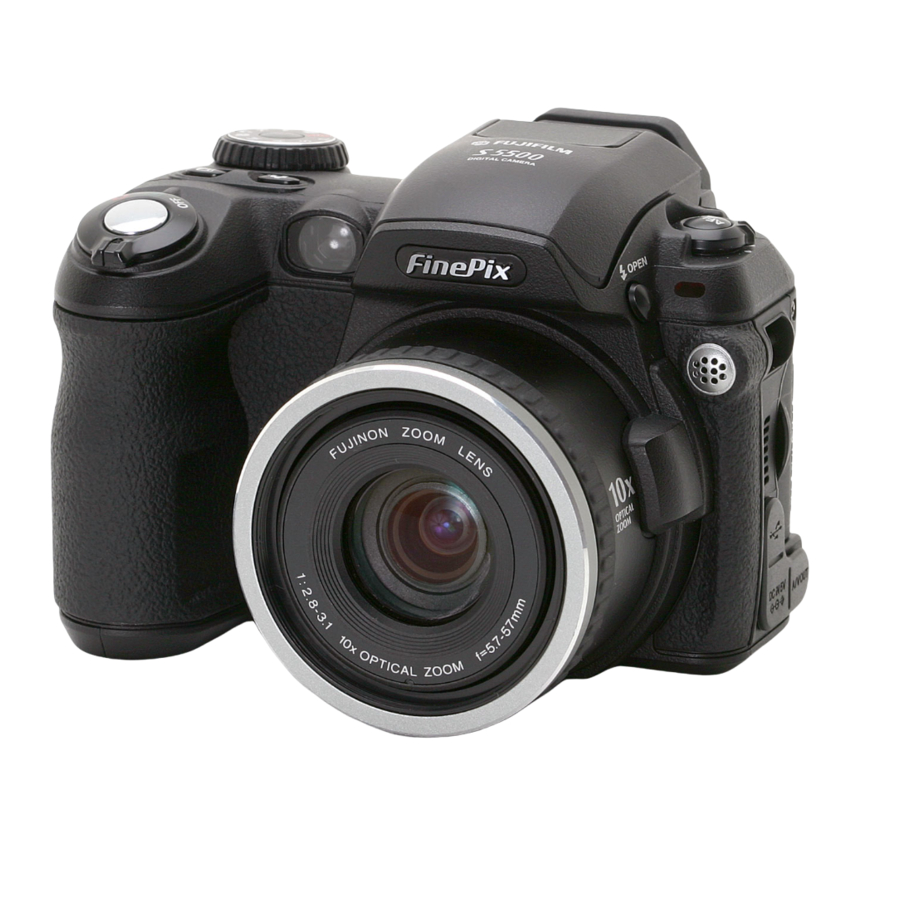
FujiFilm FinePix S5100 Owner's Manual
Fujifilm fine owner's manual digital camera finepix s5100,finepix s5500
Hide thumbs
Also See for FinePix S5100:
- Quick start (2 pages) ,
- Brochure & specs (3 pages) ,
- Service manual (96 pages)
Table of Contents
Advertisement
Quick Links
Advertisement
Table of Contents


Need help?
Do you have a question about the FinePix S5100 and is the answer not in the manual?
Questions and answers
how big is the memory card
The maximum memory card size supported by the FujiFilm FinePix S5100 is 512 MB.
This answer is automatically generated