
Subscribe to Our Youtube Channel
Related Manuals for Baumatic P619BS


Summary of Contents for Baumatic P619BS
- Page 1 P619BS/SS 60 cm Built-in fan oven P629BS/SS & P639BS/SS 60cm Built-in multifunction oven.
- Page 2 User Manual for your Baumatic P619BS/SS 60 cm 4 Function fan oven P629BS/SS 60 cm 7 Function multifunction oven P639BS/SS 60 cm 9 Function multifunction oven NOTE : This User Instruction Manual contains important information, including safety & installation points, which will enable you to get the most out of your appliance.
-
Page 3: Table Of Contents
Setting the start and end time function Adjusting the audible signal Selecting a cooking function and temperature 20 - 25 Selecting manual operation mode Selecting an oven function P619BS/SS oven functions P629BS/SS oven functions 21 – 22 P639BS/SS oven functions 22 - 23 Thermostat control knob... -
Page 4: Environmental Note
Environmental note o The packaging materials that Baumatic uses are environmentally friendly and can be recycled. o Please discard all packaging material with due regard for the environment. -
Page 5: Important Safety Information
Baumatic’s Conditions Of Guarantee. The foregoing does not affect your statutory rights. o Repairs may only be carried out by Baumatic service engineers or their authorised service agent. Warning and safety instructions o This appliance complies with all current European safety legislation. - Page 6 Child Safety o Baumatic strongly recommend that babies and young children are prevented from being near to the appliance and not allowed to touch the appliance at any time. o If it is necessary for younger family members to be in the kitchen, please ensure that they are kept under close supervision at all times.
- Page 7 This appliance must be correctly installed by a suitably qualified person, strictly in accordance with the manufacturer’s instructions. o Baumatic Ltd. declines any responsibility for injury or damage, to person or property, as a result of improper use or installation of this appliance.
-
Page 8: Specifications
Specifications P619BS/SS Product Dimensions Aperture dimensions Height: 590 mm Height: 580 – 583 mm Width: 595 mm Width: 560 mm Depth: 550 mm Depth: 550 mm Product specifications o 4 oven functions o Energy efficiency class: A o Gross oven capacity: 59 litres... -
Page 9: P629Bs/Ss
Optional extras o TEL2KIT Telescopic runners kit o SCL7KIT Stay-clean liners kit o BPS2 Pizza stone Electrical details Rated Voltage: 220 - 240 Vac 50 Hz Supply Connection: 13 A (double pole switched fused outlet with 3mm contact gap) Max Rated Inputs: 2.35 kW Mains Supply Lead: 3 x 1.5mm²... -
Page 10: P639Bs/Ss
o Cooling fan o Thermostatically controlled grill o Triple-glazed removable door o Removable inner door glass o Mark resistant coating Standard accessories o Enamelled baking tray with handle o 2 x Safety shelves o Trivet o Removable side racks o Removable roof liner o Telescopic runners- 1 level Optional extras o SCL7KIT Stay-clean liners kit... - Page 11 Product Dimensions Aperture dimensions Height: 590 mm Height: 580 – 583 mm Width: 595 mm Width: 560 mm Depth: 550 mm Depth: 550 mm Product specifications o 9 oven functions o Energy efficiency class: A o Gross oven capacity: 59 litres o Net oven capacity: 50 litres o Oven light o LED full programmer...
-
Page 12: Cooling Fan
Cooling fan o A tangential cooling fan is fitted inside of these appliances, to make the internal temperature of the oven stable and the external surface temperature lower. o After you have finished cooking and switched off the oven, the cooling fan will continue to run for a period of time afterwards. -
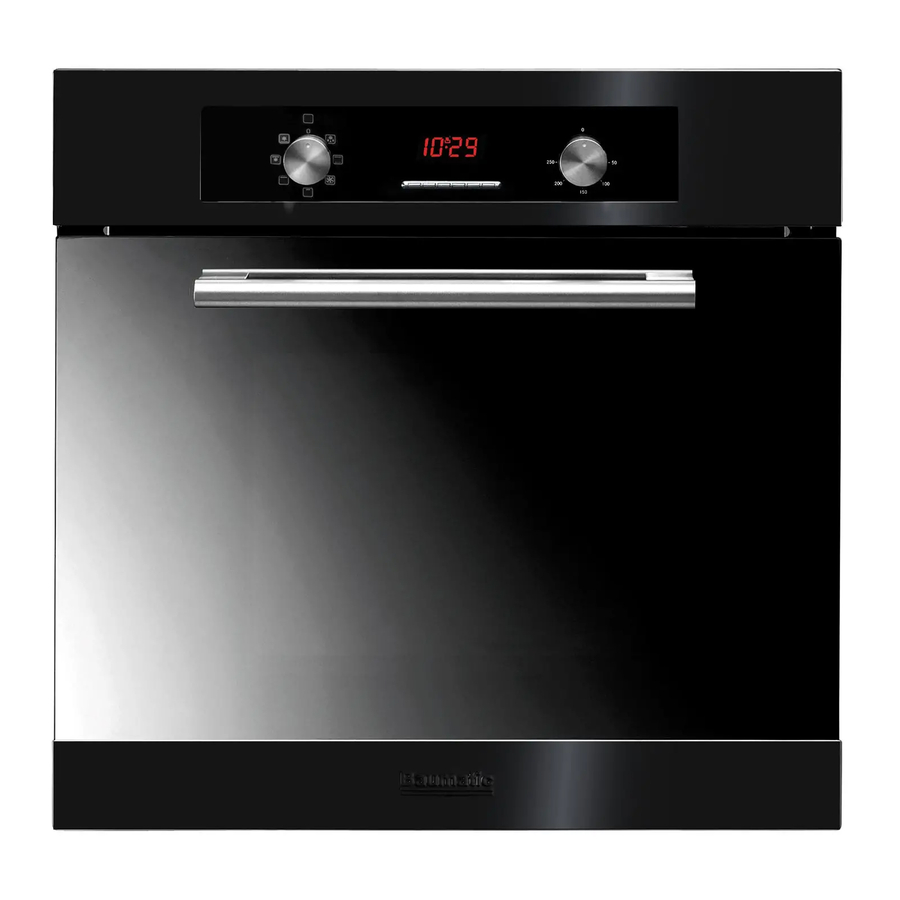
Page 13: Control Panel
Control Panel P619BS/SS P629BS/SS P639BS/SS... -
Page 14: Oven Programmer/Timer Display
1) Oven function selector knob 7) Timer duration button 2) LED display 8) Timer end cook button 3) Thermostat control knob 9) Timer manual operation button 4) Power indicator light 10) Timer minus button 5) Oven operating light 11) Timer plus button 6) Timer minute minder button Oven programmer/timer display Auto function symbol... -
Page 15: Before First Use
Before first use o To remove any residue from the oven that may have been left from the manufacturing process, you should select the fan oven function and set the thermostat to its maximum temperature setting. o It is perfectly normal for a smell to be produced during this process. -
Page 16: Setting The Minute Minder Function
Setting the minute minder function You are able to set the minute minder at any time, regardless of whether an oven function has been selected. You can set a period of time using the minute minder function and an alarm will sound when that period of time has elapsed. -
Page 17: Setting The Duration Function
Setting the duration function This function will allow you to set a countdown time similar to the minute minder function. However the oven will no longer continue to heat, once the countdown period has elapsed. o Use the thermostat control knob (3) to set the temperature that you require. -
Page 18: Setting The End Cook Function
Setting the end cook function This function is similar to the duration function, however instead of selecting a period of time that you wish the oven to switch off after. You select the time of day that you wish the oven to switch off at. -
Page 19: Setting The Start And End Time Function
Setting the start and end time function This function will allow you to set a time in the future that the oven switches on at and a time that the oven will switch off at. o Use the thermostat control knob (3) to set the temperature that you require. -
Page 20: Adjusting The Audible Signal
“manual operation” mode. o To select manual operation mode, press the manual operation button (9) on the control panel. Selecting an oven function P619BS/SS P629BS/SS P639BS/SS o The oven function selector knob should be used to select the particular mode of cooking that you require. -
Page 21: P619Bs/Ss Oven Functions
P619BS/SS oven functions LIGHT MODE: Separate light control which allows the oven light to be switched on, even when the oven is not heating. GRILL MODE: This method of cooking utilises the inner sections of the top element, which directs heat downwards onto the food. This function is suitable for grilling portions of bacon, toast and meat etc. -
Page 22: P639Bs/Ss Oven Functions
FAN AND GRILL: This method of cooking utilises the top element in conjunction with the fan, which helps to provide a quick circulation of heat. This function is suitable where quick browning is required and “sealing” the juices in, such as steaks, hamburgers, some vegetables etc. -
Page 23: Thermostat Control Knob
PIZZA MODE: This method of cooking uses the lower and circular element while the heat is distributed by the fan reproducing the same conditions of traditional clay wood-fire stoves. DEFROST MODE: The fan runs without heat to reduce the defrosting time of frozen foods. The time required to defrost the food will depend on the room temperature, the quantity and type of food. -
Page 24: Cooking Guidelines
Cooking guidelines o Please refer to the information given on food packaging for guidance on cooking temperatures and times. Once familiar with the performance of your appliance, temperatures and times can be varied to suit personal preference. o If you are using the fan oven function, then you should follow the information given on the food packaging for this particular mode of cooking. -
Page 25: Shelf Levels
o You should also never line the base of your oven with aluminium foil. o During cooking, never place pans or cookware directly onto the bottom of your oven. They should always be placed on the shelves provided. o The grill heating element and other internal components of the oven become extremely hot during operation, avoid touching them inadvertently when handling the food which you are grilling. -
Page 26: Cleaning And Maintenance
Any damage that is caused to the appliance by a cleaning product will not be fixed by Baumatic free of charge, even if the appliance is within the guarantee period. -
Page 27: Removable Oven Roof Liner (P629Bs/Ss And P639Bs/Ss Only)
Removable oven roof liner (P629BS/SS, P639BS/SS only) Your appliance is supplied with a roof liner, which should be slid over the top of the grill element. o Once you have finished cooking, the liner should be removed and thoroughly cleaned after each use of the appliance. o Do not allow fat and grease to build up on the oven liner, as this could cause a fire hazard. -
Page 28: Removing The Oven Door For Cleaning
Removing the oven door for cleaning To facilitate the cleaning of the inside of the oven and the outer frame of the oven, the door can be removed as follows:- o Open the oven door fully. o The hinges (A) have two movable bolts on them (B). -
Page 29: Removing The Inner Door Glass For Cleaning
Removing the inner door glass for cleaning o Do not use any abrasive cleaner that could cause damage. o Remember that if the surface of the glass panel becomes scratched, this could lead to a dangerous failure. o To facilitate cleaning, the inner door glass can be lifted out. ... -
Page 30: Installation
Care must be taken to ensure that the temperature of the mains supply cable does not exceed 50°C. o If the mains supply cable is damaged, then it must be replaced by an appropriate replacement which can be obtained from the Baumatic Spares Department. -
Page 31: Installing The Oven Into The Kitchen Cabinet
Installing the oven into the kitchen cabinet Positioning the appliance o Ensure that the aperture that you will be fitting the oven into is of the size given in the above diagram. o The oven must be fitted into an oven housing with the ventilation cut-outs shown in the “Ventilation requirements”... -
Page 32: Ventilation Requirements
Ventilation requirements (Figure shows the ventilation and cut-out requirements for the installation of the appliance into a standard kitchen unit). (Figure shows the ventilation and cut-out requirements for the installation of the appliance into a tall housing unit). -
Page 33: My Appliance Isn't Working Correctly
o Ensure that the oven has been securely fixed into the housing unit. The fixing of the oven into the housing is made by using four screws. These should be screwed through the oven cabinet and into the housing unit. My appliance isn’t working correctly o The oven isn’t coming on. - Page 34 o My food is not cooking properly. * Ensure that you are selecting the correct temperature and the correct cooking function for the food that you are cooking. It may be appropriate to adjust your cooking temperature by plus or minus 10°C, to achieve the best cooking results. o My food is not cooking evenly.
- Page 35 Or any installation other than the one specified by Baumatic Ltd. has been completed. Please refer to the conditions of guarantee that appear on the...
-
Page 36: Baumatic Consumables
BC005 Stainless Steel Cleaner and Protector (250 ml) o BC007 E-Cloth – General Purpose Cloth o BC008 Microwave Cover To order a Baumatic consumable product please call 0123 5437 244 and quote the product code. You can also order online from eshop.baumatic.co.uk... -
Page 37: Contact Details
United Kingdom Baumatic Ltd., Czech Republic Baumatic Buildings, Baumatic CR spol s.r.o. 6 Bennet Road, Lípovà 665 Reading, Berkshire 460 01 Liberec 4 RG2 0QX Czech Republic United Kingdom +420 483 577 200 Sales Telephone www.baumatic.cz (0118) 933 6900 Sales Fax...
Need help?
Do you have a question about the P619BS and is the answer not in the manual?
Questions and answers
My display on the baumatic oven is working fine but fan and heat aren’t coming on,everything except display, Please help