AG Neovo DR-17 User Manual
Hide thumbs
Also See for DR-17:
- Manual de utilizare (22 pages) ,
- Specifications (2 pages) ,
- Specifications (1 page)
Table of Contents
Advertisement
Quick Links
Advertisement
Table of Contents
Troubleshooting

Related Manuals for AG Neovo DR-17


Summary of Contents for AG Neovo DR-17
-
Page 2: Table Of Contents
Table of Contents Precautions....................... 2 Warning on installation ..................2 Warning on power connection ................. 2 Warning on tilt ....................3 Warning on Maintenance................. 3 Warning on transportation ................3 Getting Started......................4 Package Contents ................... 4 Identify the Parts and Controls ................ 5 Setup....................... -
Page 3: Precautions
Remark: Please be advised that IEC 60601-1 certification is only applicable when using DR-17 together with the 24V adapter that supplied by AG Neovo. If you use any adapter other than 24V adapter that was supplied with DR-17, then IEC 60601-1 certification will not be applicable. -
Page 4: Warning On Tilt
Use the display’s tilt capability to adjust its vertical orientation to an appropriate position. Grasp the top corners of the display with both hands and tilt to the desired angle. DR-17 Warning on Maintenance Clean the cabinet, glass, and controls with a soft cloth lightly moistened with a mild detergent solution. -
Page 5: Getting Started
Getting Started Package Contents Before using this display, check the following items are included in your carton box: Display (*1) X-ray film positioner (*1) with its rivets (*3) DC 24V Power adaptor (*1) 1. Please use the power adapter which provided by the manufacturer. 2. -
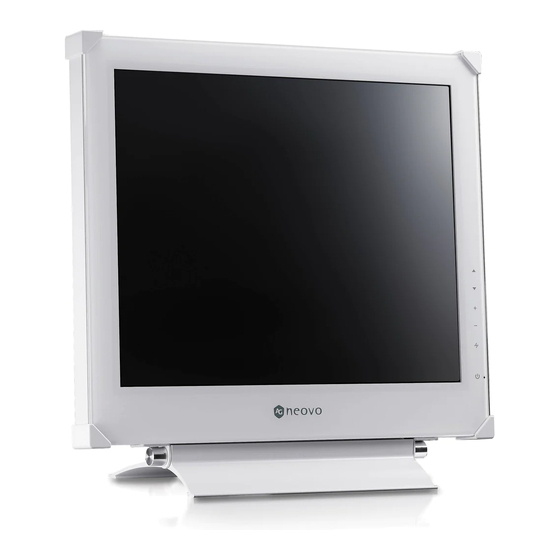
Page 6: Identify The Parts And Controls
Identify the Parts and Controls Equipotential Terminal Brings the various parts of a system to the same potential. Digital-In DVI-D connector for digital signal input. VGA-In D-sub 15-pin connector for VGA signal. CVBS-In Connector for CVBS signal. S-VIDEO-In Connector for S-Video signal. DC 24V Power in Provides 24V DC power to the display. - Page 7 Up Button 1. Activate the On-Screen Display menu. 2. While the On-Screen Display menu appears, press to move the selected item clockwise or onward. INPUT / Down Button 1. While the On-Screen Display menu appears, press to move the selected item counterclockwise or backward. Increase Button 1.
- Page 8 Auto Button / Video Mode 1. Press to select the preferred video mode: User, Text, Movie, Game or Graphic. The option will toggle on the top right hand corner of the display. 2. Press for 3 seconds to adjust the picture position and performance automatically for optimal settings.
-
Page 9: Setup
Setup Please follow the following instructions to setup display. Step 1: Remove all packing materials and wrapping from the display and then tear down the plastic dust cover from the screen surface. Step 2: With the computer or video equipment turned off, connect the enclosed VGA signal cable. - Page 10 Step 5: For best performance. (If the display is connected to a video equipment such as DVD or VCR player, please skip this step.) For DR-17 LCD display, it will have the best performance at resolution 1280 x 1024. Ensure that your computer display is set at 1280 x 1024 pixels and 60Hz.
-
Page 11: Customising Your Display
Customising Your Display Adjusting Your LCD Panel In the OSD menu, you will find all kinds of features to help you adjust your LCD panel to the optimal performance. User Mode: To allow preferable viewing images for different tasks, users are able to adjust each setting manually in User mode. -
Page 12: Osd Menus
OSD Menus VGA-Input Brightness Adjustment Contrast Adjustment Horizontal Position Adjustment Vertical Position Adjustment Sharpness Adjustment OSD Transparency Adjustment Important! Sharpness adjustment is not available when: 1. the resolution is set as 1280*1024; or 2. the application is in Text, Movie, Game, or Graphic mode. - Page 13 Phase Adjustment Clock Adjustment Color Temperature Selection Horizontal OSD Position Adjustment Vertical OSD Position Adjustment Tools Adjustment Video Mode selection Language Selection...
- Page 14 Auto and Input Select Selection Exit Selection DVI-Input Important! When DVI-Input is selected, the following adjustments are not available: horizontal position adjustment, vertical position adjustment, sharpness, phase adjustment and clock adjustment. Brightness Adjustment Contrast Adjustment OSD Transparency Adjustment Color Temperature Selection...
- Page 15 Horizontal OSD Position Adjustment Vertical OSD Position Adjustment Tools Selection Video Mode selection Language Selection Auto and Input Select Selection Exit Selection...
- Page 16 CVBS Input / S-VIDEO Input Brightness Adjustment Contrast Adjustment Color Adjustment Hue Adjustment Sharpness Adjustment OSD Transparency Adjustment Color Temperature Selection Horizontal Position Adjustment...
- Page 17 Vertical Position Adjustment Tools Selection Language Selection Auto and Input Select Selection Exit Selection...
-
Page 18: Warning Messages And Troubleshooting
Warning Messages and Troubleshooting Warning Messages If the message appears on the screen Check the items CAN NOT DISPLAY THIS INPUT SIGNAL The input signal is not acceptable by the display. • Please check the video resolution and frequency range is within that specified for the display. -
Page 19: Troubleshooting
Troubleshooting Symptom Check Items Check that the power switch of display is turned No picture Power LED is off. Check that the power adaptor is properly connected to the display. Check that the power cord is properly connected to the power adaptor. •... -
Page 20: Technical Specifications
Technical Specifications Specifications DR-17 Panel Panel Type 17” TFT LCD Max. Resolution SXGA 1280*1024 Pixel Pitch 0.264mm Display color 16.2M Frequency 30KHz~80KHz 56Hz~75Hz Max. Pixel Clock 140MHz Power Rating 24V / 2.62A Consumption <48W(on), <5W(stand-by), <2W(off) Adaptor AC power cord 1.8 m... -
Page 21: Regulation
Regulation FCC compliance This device complies with Part 15 of the FCC Rules. Operation is subject to the following two conditions: (1) this device may not cause harmful interference, and (2) this device must accept any interference received, including interference that may cause undesired operation. NOTE: This equipment has been tested and found to comply with the limits for a Class B digital device, pursuant to Part 15 of the FCC Rules. -
Page 22: Medical Product
IEC 60601-1 certification is only applicable when using DR-17 together with the 24V adapter that supplied by AG Neovo. If you use any adapter other than 24V adapter that was supplied with DR-17, then IEC 60601-1 certification will not be...
Need help?
Do you have a question about the DR-17 and is the answer not in the manual?
Questions and answers