
Related Manuals for Hoshizaki HR24A


Summary of Contents for Hoshizaki HR24A
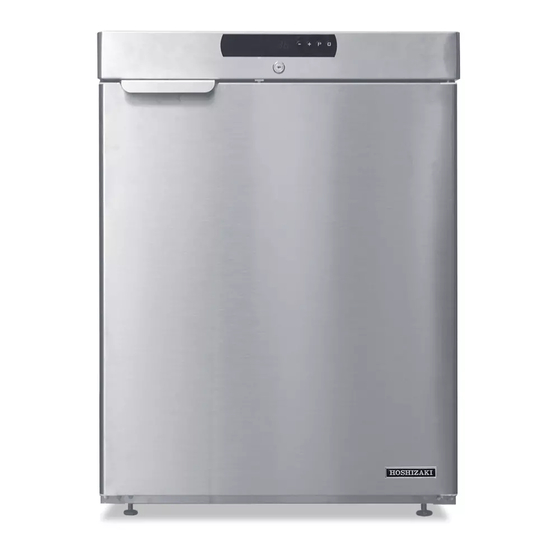
- Page 1 Hoshizaki Hoshizaki America, Inc. Undercounter Refrigerator Model HR24A INSTRUCTION MANUAL “A Superior Degree of Reliability” www.hoshizaki.com Issued: 4-15-2011 Revised: 8-18-2011...
- Page 2 Should the reader have any questions or concerns which have not been satisfactorily addressed, please call, send an e-mail message, or write to the Hoshizaki Technical Support Department for assistance. Phone: 1-800-233-1940; (770) 487-2331 Fax: 1-800-843-1056;...
-
Page 3: Table Of Contents
IMPORTANT This manual should be read carefully before the unit is installed and operated. Read the warnings and guidelines contained in this booklet carefully as they provide essential information for the continued safe use and maintenance of the unit. Retain this booklet for any further reference that may be necessary. -
Page 4: Important Safety Information
Important Safety Information Throughout this manual, notices appear to bring your attention to situations which could result in death, serious injury, damage to the unit, or damage to property. WARNING Indicates a hazardous situation which could result in death or serious injury. - Page 5 WARNING, continued • This appliance is not intended for use by persons (including children) with reduced physical, sensory, or mental capabilities, or lack of experience and knowledge, unless they have been given supervision or instruction concerning use of the appliance by a person responsible for their safety. •...
-
Page 6: Installation Instructions
I. Installation Instructions WARNING • This unit must be installed in accordance with applicable national, state, and local codes and regulations. • This unit is heavy. Use care when lifting or positioning. Work in pairs when needed to prevent injury or damage. •... -
Page 7: Built-In Installation Site
Installation Space Model Height Width Depth HR24A 34" (864 mm) minimum 24" (610 mm) minimum 24-1/2" (623 mm) minimum Between Two Cabinets Between a Cabinet and the End of a Counter Min. -
Page 8: Door Reversal
C. Door Reversal If you would like to reverse the door swing, follow the steps below. Otherwise, skip to section "II.D. Setup." 1) Make sure the unit is off and unplugged. 2) Remove the fasteners securing the top panel. See Fig. 1. Being careful not to pull on the wires to the control panel and door switch, lift off the top panel. -
Page 9: Setup
D. Setup 1. Install the Toe Kick 1) Remove the plastic film from the toe kick. 2) Block the rollers to prevent the unit from rolling. See Fig. 2. Tilt the unit back. NOTICE! Protect the floor. Do not tilt the unit more than 45°. Support the unit so it does not topple over. -
Page 10: Electrical Connection
E. Electrical Connection WARNING • Electrical connection must meet national, state, and local electrical code requirements. Failure to meet these code requirements could result in death, electric shock, serious injury, fire, or severe damage to equipment. • This unit requires an independent power supply. See the nameplate for proper voltage and breaker/fuse size. -
Page 11: Final Checklist
F. Final Checklist 1) Is the unit level? 2) Is the unit in a site where the ambient temperature is within 61°F to 95°F (16°C to 35°C) all year around? 3) Is there at least 1" (3 cm) clearance at bottom and top? Is air able to circulate freely under, behind, and above the unit? 4) Have the shipping carton, tape, and packing material been removed from the unit? Has the protective plastic film been removed from both the exterior panels and the... -
Page 12: Operating Instructions
II. Operating Instructions A. Important Notes About Usage WARNING • Only qualified service technicians should install and service the unit. • Failure to install, operate, and maintain the equipment in accordance with this manual will adversely affect safety, performance, component life, and warranty coverage. -
Page 13: Startup
B. Startup WARNING All parts are factory-adjusted. Improper adjustments may adversely affect safety, performance, component life, and warranty coverage. IMPORTANT At startup, there is a 2-minute delay before the compressor starts. 1) Plug the unit into the electrical outlet. WARNING! If you have to slide the unit back for a built-in installation, make sure you do not damage or pinch the power cord. -
Page 14: Display Icons
Should one of the alarms occur, follow the instructions in the table below to address the alarm. The alarm icon appears on the display and the alarm code alternates with the cabinet temperature. To obtain the name and phone number of your local Hoshizaki Certified Service Representative, visit www.hoshizaki.com. Alarm Signals... -
Page 15: Control Panel Lockout
F. Control Panel Lockout The control panel can be locked to help prevent the unit from being turned off or the setpoint from being changed inadvertently. To lock the control panel, press and hold the "-" button and the power button until "Loc” appears briefly on the display. -
Page 16: Power Outage
K. Power Outage In the event of a power outage, the unit will come back on if it was on at the time of the power outage. The unit will stay off if it was off at the time of the power outage. -
Page 17: Cleaning And Maintenance Instructions
III. Cleaning and Maintenance Instructions A. Cleaning WARNING • Before cleaning the unit, turn off and unplug the unit to prevent electric shock by unexpected entrance of water into the unit or injury by moving parts. • Before cleaning the unit, move all items into another refrigerator. •... -
Page 18: Maintenance
2. Power Supply Connection If the plug or power cord is damaged, contact your local Hoshizaki Certified Service Representative immediately and ask for repairs. All other service should be performed in accordance with the Hoshizaki Service Manual... -
Page 19: Preparing The Unit For Periods Of Non-Use
IV. Preparing the Unit for Periods of Non-Use A. Shutdown and Long Storage When shutting down the unit for more than one week, follow the instructions below. WARNING When preparing the unit for long storage, prevent the door from closing to reduce the risk of children getting trapped. - Page 20 HOSHIZAKI AMERICA, INC. 618 Hwy. 74 S., Peachtree City, GA 30269 USA TEL (770) 487-2331 FAX (770) 487-3360 www.hoshizaki.com 91A3PA10B...
Need help?
Do you have a question about the HR24A and is the answer not in the manual?
Questions and answers